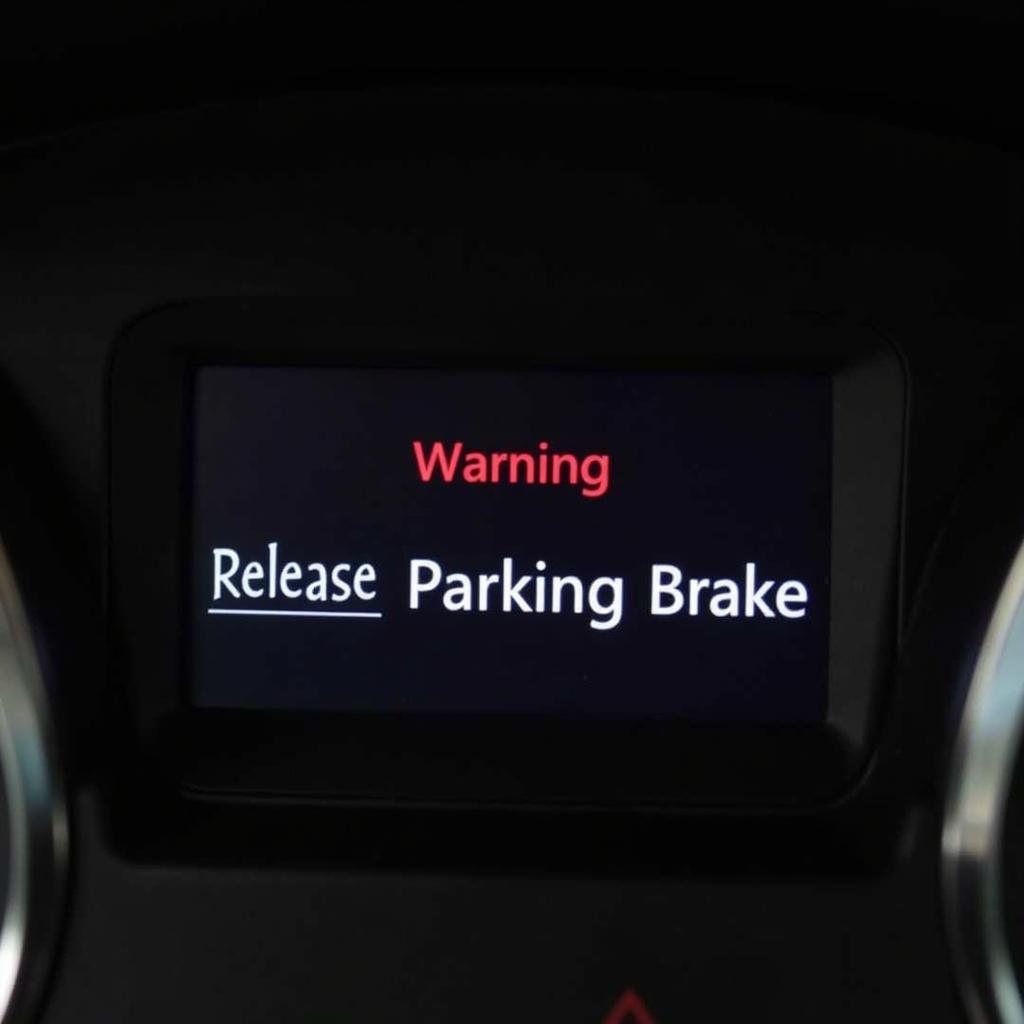
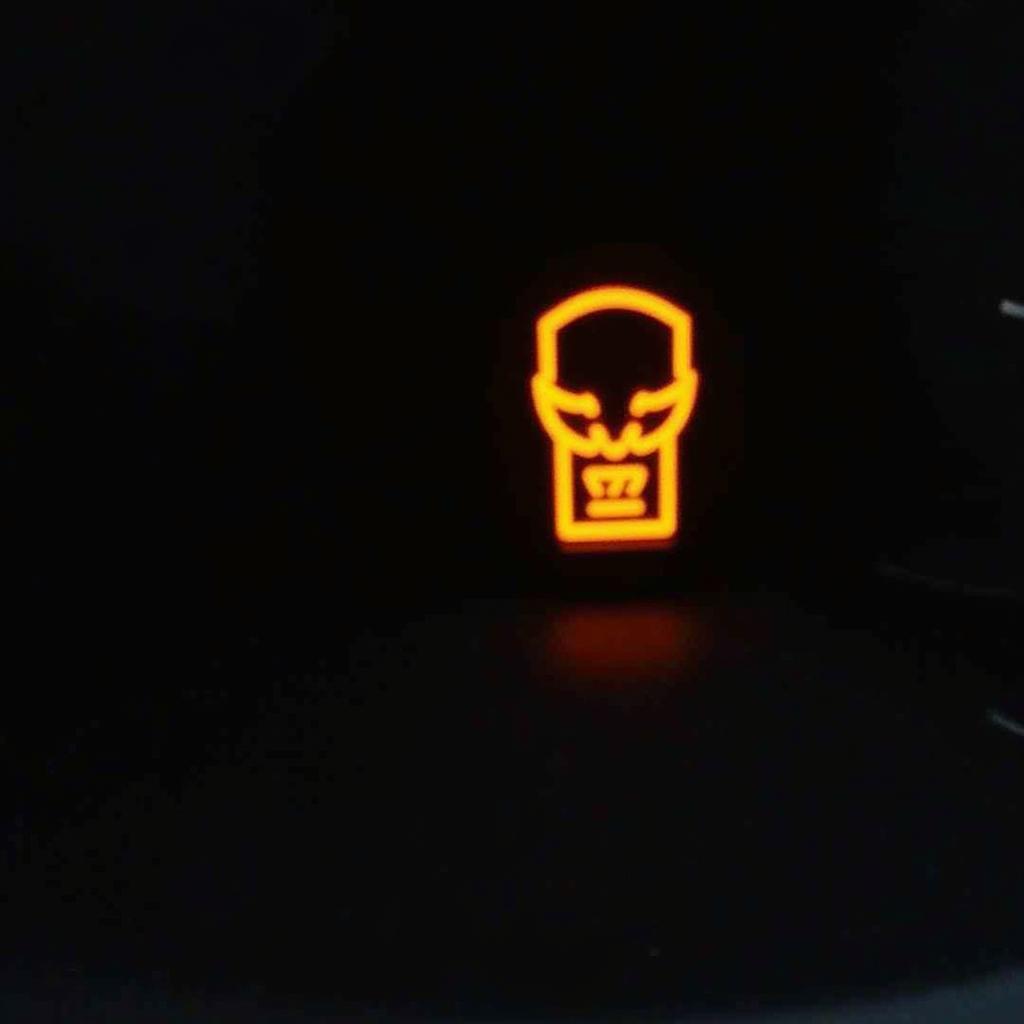
The dreaded “warning release parking brake” message can strike fear into any driver. This warning light, often accompanied by an annoying beep, signals an issue with your parking brake system. While it might seem alarming, understanding the cause and knowing how to address it can save you time, money, and unnecessary stress.
This comprehensive guide will delve into the common causes of a “warning release parking brake” message, provide practical solutions, and empower you to get back on the road safely.
Common Causes of a “Warning Release Parking Brake” Message
Before jumping into solutions, it’s crucial to understand what triggers this warning in the first place. Here are the most common culprits:
- Parking Brake Not Fully Released: This is the most straightforward cause. Sometimes, the parking brake lever or button might not be completely disengaged, triggering the warning.
- Faulty Parking Brake Switch: The parking brake switch, responsible for signaling when the brake is engaged or disengaged, can malfunction. A faulty switch may send incorrect signals to your car’s computer, leading to a false warning.
- Low Brake Fluid: Low brake fluid level can trigger various warning lights, including the parking brake warning. Brake fluid is essential for your car’s braking system, and a leak or low fluid level needs immediate attention.
- Worn Brake Pads or Rotors: While less common, worn brake pads or rotors can sometimes trigger the parking brake warning, especially if they affect the electronic parking brake system.
- Electrical Issues: Wiring problems, a blown fuse, or a malfunctioning electronic control unit (ECU) can disrupt signals within the parking brake system, leading to a false warning.
 Car Dashboard Displaying "Warning Release Parking Brake"
Troubleshooting the “Warning Release Parking Brake” Message
Now that you know the potential causes, let’s explore how to troubleshoot and fix the “warning release parking brake” message:
1. Check the Parking Brake Lever/Button
Start with the simplest solution. Ensure the parking brake lever is fully lowered or the electronic parking brake button is fully disengaged. Sometimes, a slight bump or accidental touch can leave the brake partially engaged.
2. Inspect Brake Fluid Level
Park your car on a level surface and locate the brake fluid reservoir. The reservoir is usually translucent, allowing you to check the fluid level. If the level is low, add the correct brake fluid type specified in your owner’s manual.
Expert Insight: “Never ignore low brake fluid levels,” advises automotive engineer Sarah Thompson. ” It’s a crucial safety concern and could indicate a leak in the braking system.”
3. Check for Visible Signs of Damage
Inspect the parking brake lever, button, wiring, and surrounding areas for any visible signs of damage, wear, or loose connections. If you notice any abnormalities, consult a qualified mechanic.
4. Test the Parking Brake Switch
If the previous steps don’t resolve the issue, the parking brake switch might be faulty. You can test the switch’s functionality with a multimeter or consult a mechanic for diagnosis and replacement if needed.
5. Inspect Brake Pads and Rotors
Worn brake pads and rotors should be addressed immediately as they compromise your braking performance. If you suspect issues with your brake pads or rotors, have them inspected and replaced by a qualified mechanic.
6. Scan for Error Codes
Modern cars have onboard diagnostic systems. Using an OBD-II scanner, you can retrieve error codes that provide insights into the problem. These codes can help pinpoint the root cause of the warning, such as a faulty sensor or wiring issue.
7. Seek Professional Help
If you’ve exhausted basic troubleshooting steps and the “warning release parking brake” message persists, it’s time to seek professional help. A qualified mechanic can diagnose the problem accurately, identify the faulty component, and perform the necessary repairs.
Conclusion
The “warning release parking brake” message is a crucial safety indicator that shouldn’t be ignored. By understanding its potential causes and following the troubleshooting steps outlined in this guide, you can address the problem promptly and ensure your vehicle’s safe operation. Remember, when in doubt, consult a qualified mechanic for accurate diagnosis and repair.

