If you’re driving a 2001 Volkswagen Passat and the brake pad warning light has illuminated on your dashboard, don’t panic. This is a common issue that can often be resolved without needing advanced mechanical skills. This comprehensive guide will walk you through the process of diagnosing the cause and resetting the warning light, combining expert knowledge with practical advice.
It’s important to understand that the brake pad warning light is a crucial safety feature, designed to alert you when your brake pads are wearing thin and need replacing. Ignoring this warning could lead to compromised braking performance and potentially dangerous driving conditions.
Common Reasons for the Brake Pad Warning Light
Before we delve into the reset procedure, let’s identify the typical culprits behind a triggered brake pad warning light:
- Worn Brake Pads: The most common reason for the light is simply worn brake pads. Over time, the friction material on the pads wears down, eventually triggering the warning sensor.
- Faulty Sensor: The brake pad wear sensor itself could be faulty. This small sensor is embedded within the brake pad and sends a signal to your dashboard when it detects excessive wear.
- Wiring Issues: Damaged or corroded wiring connected to the sensor can disrupt the signal, causing a false warning light.
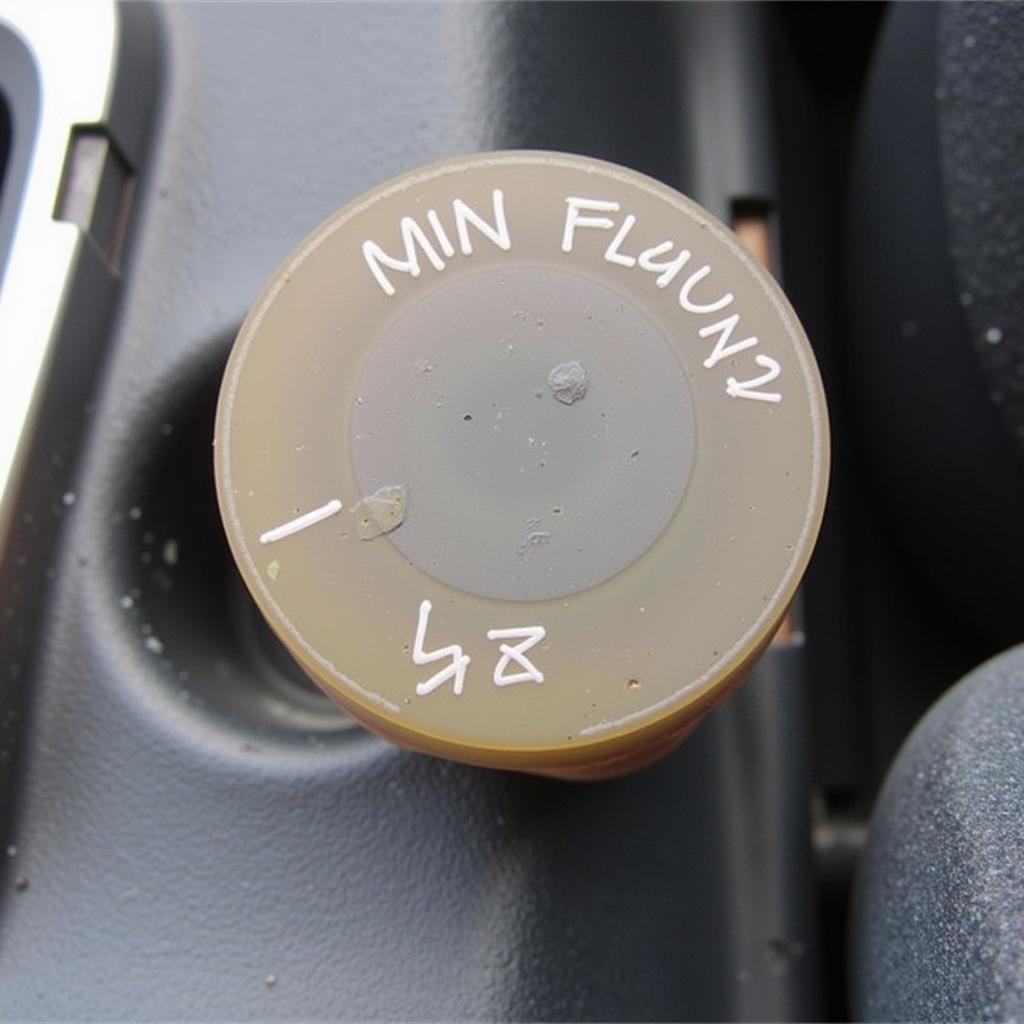
- Low Brake Fluid: While not directly related to brake pads, low brake fluid can also trigger the warning light. It’s essential to check your brake fluid level as part of your diagnosis.
How to Check Your Brake Pads
 Inspecting Brake Pads
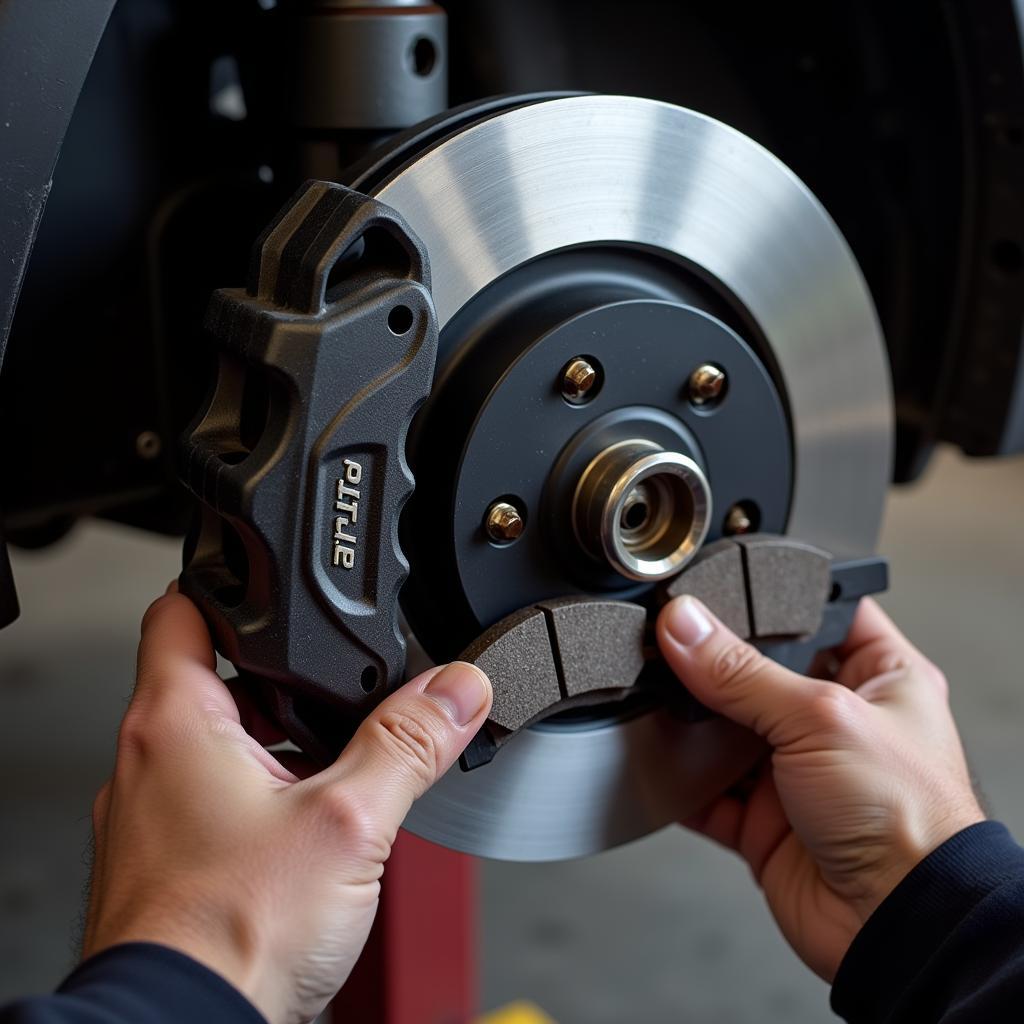
Before attempting to reset the warning light, it’s crucial to inspect your brake pads:
- Safety First: Park your car on a level surface, engage the parking brake, and ensure the engine is off.
- Locate the Calipers: The brake calipers are located behind each wheel and house the brake pads.
- Visual Inspection: Look through the spokes of your wheel to visually assess the brake pad thickness. If you see less than 1/4 inch of friction material remaining, it’s likely time for a replacement.
Resetting the Brake Pad Warning Light on a 2001 VW Passat
Disclaimer: The following instructions are provided as a general guide. If you are uncomfortable with any of these steps or suspect a more complex issue, it’s best to consult a qualified mechanic.
Method 1: Using a Diagnostic Tool
The most accurate and efficient way to reset the warning light is by using a compatible OBD2 diagnostic scanner. This tool connects to your car’s computer system, allowing you to read and clear error codes, including those related to the brake pad warning light.
- Connect the Scanner: Locate the OBD2 port under your dashboard, usually on the driver’s side. Connect the scanner and turn on your ignition (do not start the engine).
- Access Brake System: Follow the scanner’s instructions to navigate to the “Brake System” or “ABS” module.
- Read and Clear Codes: Read any existing error codes. If the brake pad warning light is triggered by worn pads, you’ll likely see a code related to the brake pad wear sensor.
- Reset the Light: Once you’ve addressed the underlying cause (e.g., replaced brake pads), use the scanner to clear the error codes. This should reset the warning light.
Method 2: Manual Reset (Not Recommended)
While a manual reset is possible on some vehicles, it’s not recommended for the 2001 VW Passat and may not be effective. Attempting a manual reset without addressing the root cause can be unsafe.
When to Consult a Mechanic
If you’re unsure about any aspect of diagnosing or resetting the brake pad warning light, or if you encounter any difficulties, it’s crucial to seek assistance from a qualified mechanic.
- Persistent Warning Light: If the light remains on after replacing the brake pads and attempting a reset, there might be a fault with the sensor, wiring, or the ABS system itself.
- Unusual Noises: Any grinding, squealing, or scraping sounds coming from your brakes should be investigated immediately.
Keeping Your Brakes in Top Condition
Proactive maintenance is key to preventing brake issues and ensuring your safety on the road:
- Regular Inspections: Visually inspect your brake pads every 10,000 miles or sooner if you notice any changes in braking performance.
- Timely Replacements: Replace your brake pads before the friction material wears down completely. This will help protect your rotors from damage.
- Quality Parts: Always use high-quality brake pads and rotors from reputable brands.
- Professional Service: Have your brake system inspected annually by a qualified mechanic.
Remember, your brakes are one of the most crucial safety features in your vehicle. Addressing any warning lights promptly and practicing proactive maintenance will ensure optimal braking performance and keep you safe on the road.