The dreaded “check brake light” warning on your Kia Optima’s dashboard can be a real head-scratcher. It usually pops up when you least expect it, leaving you wondering about the cause and, more importantly, the solution. Don’t worry, this comprehensive guide is here to illuminate the issue and get you back on the road safely.
Understanding the Kia Optima Brake Light Warning System
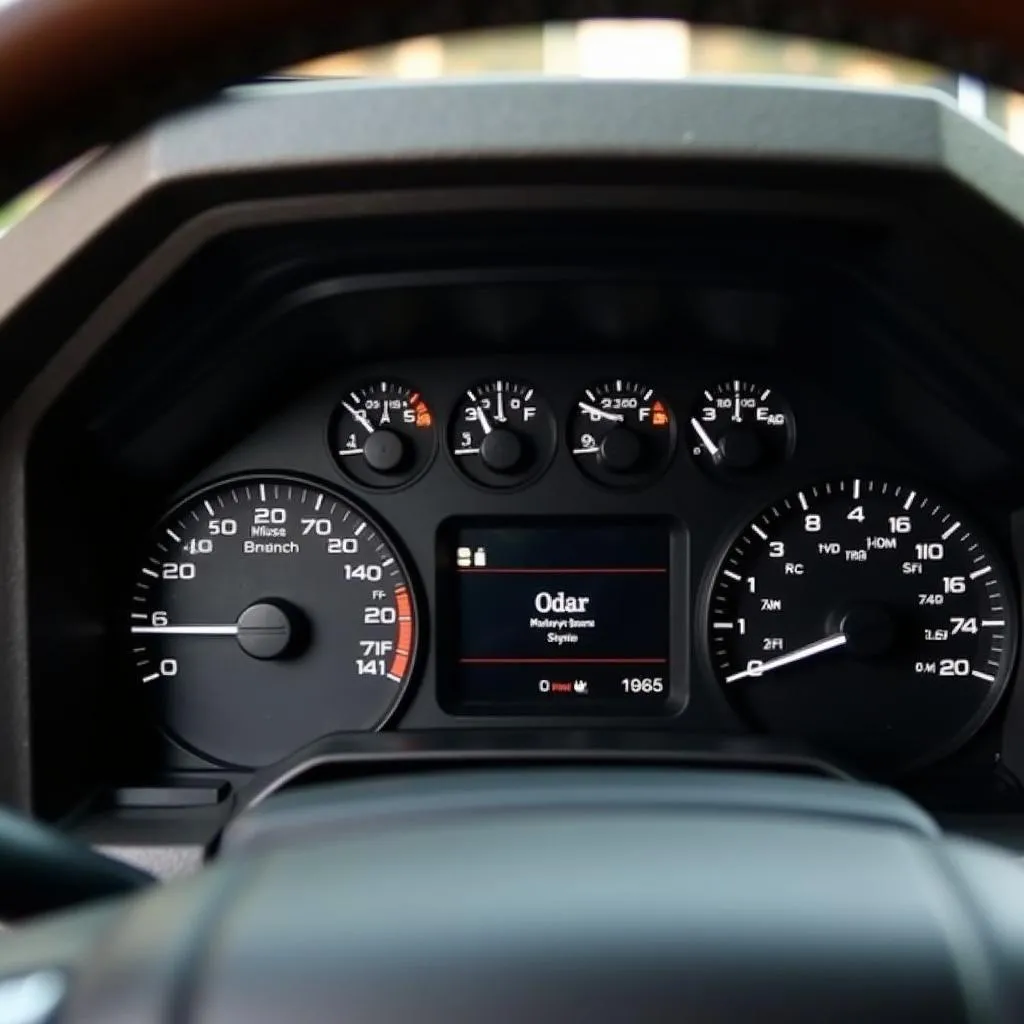
Your Kia Optima, like most modern vehicles, is equipped with a sophisticated electronic system that monitors various components, including the brake lights. When the system detects an issue, it triggers the “check brake light” warning on your dashboard.
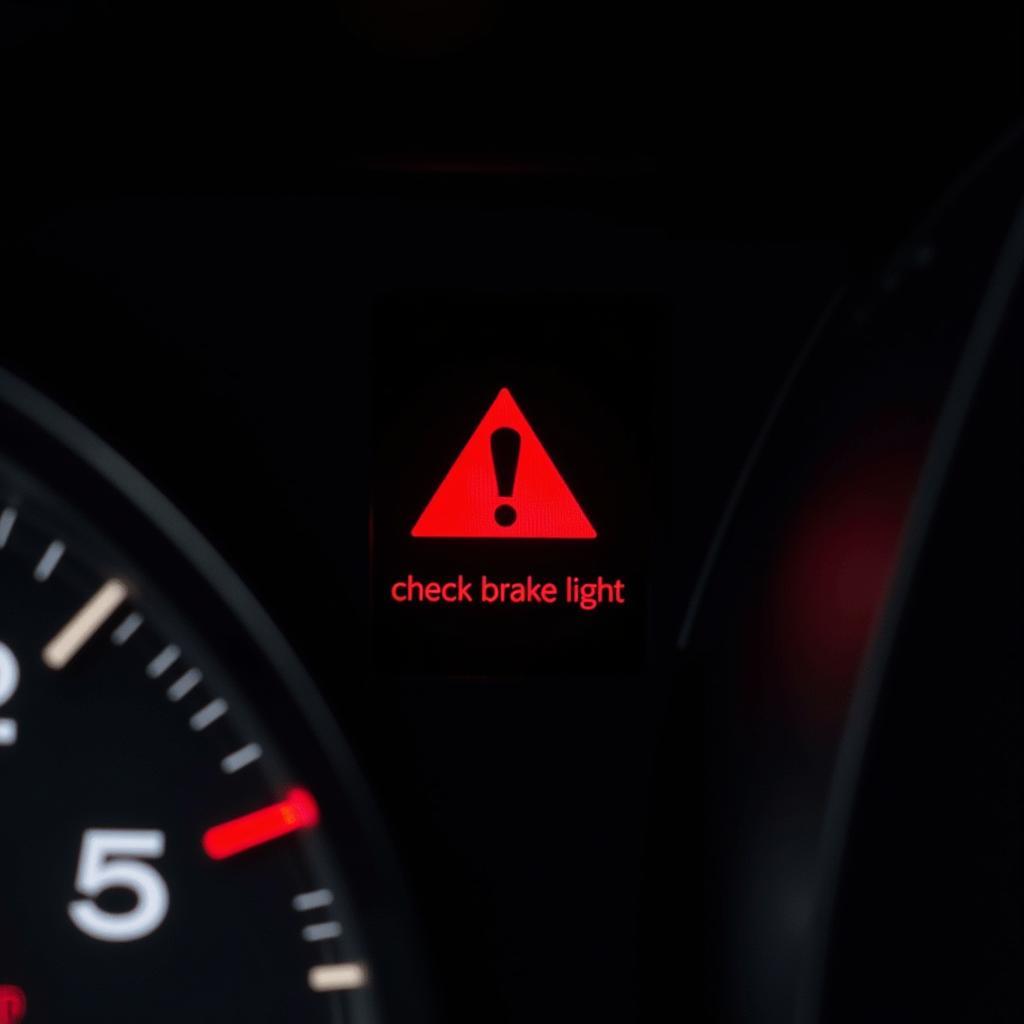 Kia Optima Dashboard Displaying "Check Brake Light" Warning
Common Causes of a Kia Optima Check Brake Light Warning
Several factors can trigger the “check brake light” warning in your Kia Optima. Let’s delve into the most common culprits:
1. Burnt-Out Brake Light Bulbs
This is the most frequent cause. Brake light bulbs, like any other bulb, have a limited lifespan and can burn out over time.
2. Faulty Brake Light Switch
The brake light switch, located near the brake pedal, activates the brake lights when you press the pedal. A malfunctioning switch can disrupt this process, leading to a warning.
3. Blown Fuse
A blown fuse in the brake light circuit can also be the culprit. Fuses act as safety devices, protecting electrical circuits from overloads.
4. Wiring Issues
Damaged or corroded wires in the brake light system can prevent the signal from reaching the bulbs.
5. Faulty Trailer Wiring (If Applicable)
If you frequently tow a trailer, faulty wiring connections between your Kia Optima and the trailer can trigger the warning.
Troubleshooting the Kia Optima Check Brake Light Warning
Here’s a step-by-step guide to help you diagnose the problem:
-
Check the Brake Light Bulbs: Inspect all brake lights (including the high-mounted brake light) for signs of burnout. If a bulb is blown, replace it with a new one of the correct type.
-
Inspect the Brake Light Switch: Locate the brake light switch and check for any visible damage or loose connections. You can test the switch’s functionality using a multimeter.
-
Examine the Fuses: Consult your Kia Optima’s owner’s manual to locate the brake light fuse. Inspect the fuse for any signs of a blown fuse, such as a broken wire or a blackened appearance. Replace if necessary.
-
Inspect the Wiring: Visually examine the wiring harness connected to the brake lights for any signs of damage, such as cuts, fraying, or corrosion. Repair or replace any damaged sections as needed.
-
Check Trailer Wiring (If Applicable): If the warning appeared after connecting a trailer, thoroughly inspect the wiring connections between your Kia Optima and the trailer for any loose connections, damage, or corrosion.
Seeking Professional Assistance
If you’re uncomfortable performing these checks or haven’t been able to pinpoint the issue, it’s always best to consult a qualified mechanic or your Kia dealership for diagnosis and repair.
Remote Diagnostic and Programming Services
In today’s technologically advanced world, remote diagnostic and programming services are becoming increasingly popular. These services allow skilled technicians to access your vehicle’s computer system remotely, diagnose issues, and even reprogram certain modules.
For instance, if your Kia Optima’s “check brake light” warning is due to a software glitch, a remote technician may be able to resolve the issue by reprogramming the relevant control module, saving you a trip to the mechanic.
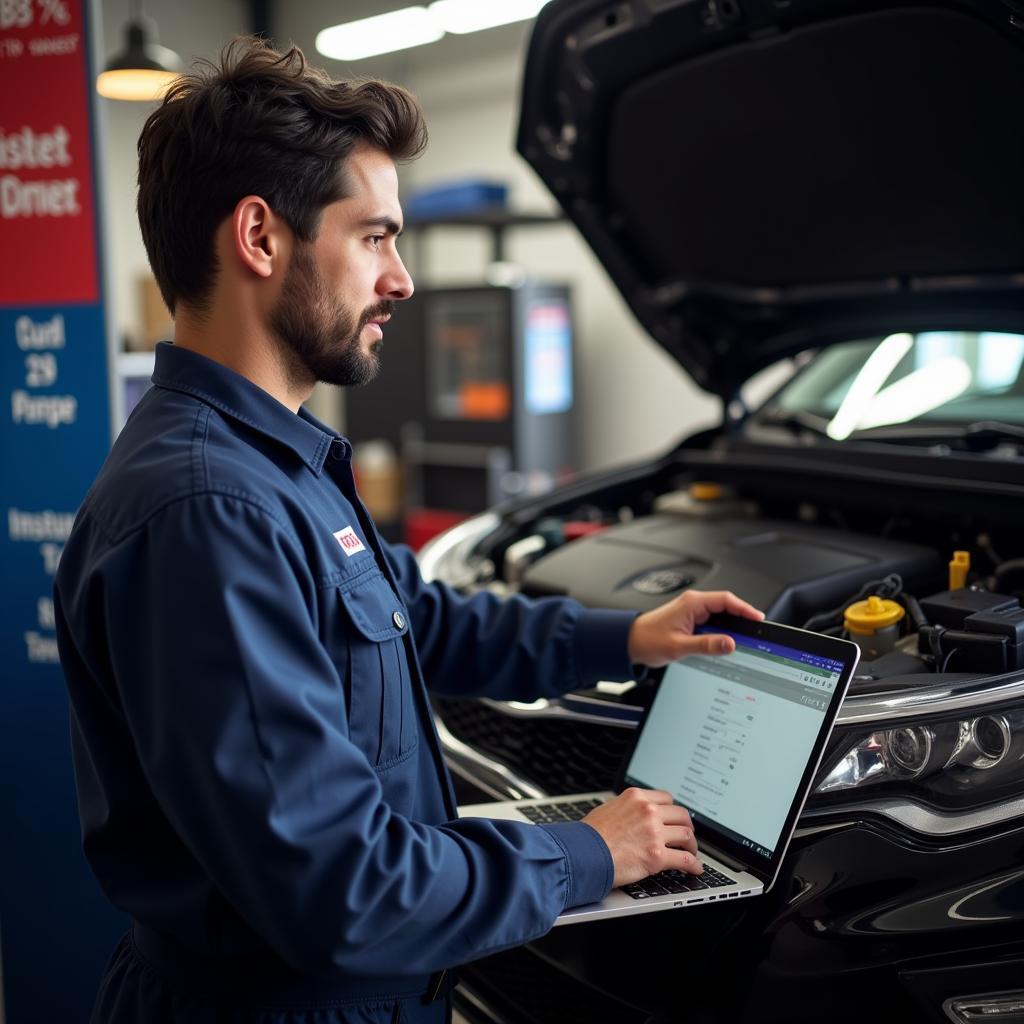 Mechanic Using a Laptop to Perform Remote Diagnostics on a Kia Optima
Tips to Prevent Future Brake Light Issues
- Regularly inspect your brake lights: Make it a habit to visually check all brake lights at least once a month.
- Replace brake light bulbs proactively: Consider replacing your brake light bulbs every two years or 24,000 miles as a preventative measure.
- Address warning lights promptly: Don’t ignore any dashboard warning lights, especially those related to safety systems like brakes.
Conclusion
Addressing a “kia optima check brake light warning” is crucial for your safety and the safety of others on the road. By understanding the common causes and following the troubleshooting steps outlined in this guide, you can often resolve the issue yourself or seek professional help if needed. Remember, maintaining your vehicle’s brake system is paramount for safe and reliable driving.