Imagine this: you’re driving your Chrysler Town and Country van, and suddenly, all your brake warning lights illuminate the dashboard. This alarming situation can leave you feeling anxious and unsure of what to do next. Don’t panic! This comprehensive guide will walk you through the possible causes, troubleshooting tips, and solutions for when all brake warning lights illuminate on your Chrysler Town and Country van.
Understanding Your Van’s Brake Warning System
Before we dive into the specifics, it’s crucial to understand how your Chrysler Town and Country van’s brake warning system works. The system is designed to alert you of potential problems with your brakes, ensuring your safety on the road. Here are the common warning lights associated with your van’s braking system:
- Anti-lock Brake System (ABS) Light: This light indicates an issue with the ABS, which prevents your wheels from locking up during hard braking.
- Brake Warning Light: This light, often accompanied by an audible chime, can signal several issues, including a low brake fluid level, a problem with the parking brake, or a fault in the brake system.
- Electronic Stability Control (ESC) Light: The ESC light signifies a problem with the electronic stability control system, which helps maintain vehicle stability during cornering and slippery conditions.
When all these warning lights illuminate simultaneously, it typically indicates a significant issue within the brake system.
Common Causes of All Brake Warning Lights Illuminating
Several factors can trigger all brake warning lights to turn on in your Chrysler Town and Country van. Let’s explore some of the most common culprits:
- Low Brake Fluid: Brake fluid is the lifeblood of your braking system. When the fluid level drops too low, it can trigger the warning lights.
- Faulty Brake Light Switch: This switch activates your brake lights when you press the pedal. A malfunctioning switch can disrupt the brake warning system.
- ABS Sensor Problems: The ABS system relies on sensors to function correctly. Damaged or dirty sensors can cause erratic readings and illuminate the warning lights.
- Worn Brake Pads: While not always the primary cause, severely worn brake pads can sometimes trigger the warning lights, especially if they affect the brake fluid level or ABS sensor operation.
- Electrical Issues: Problems with the wiring, fuses, or connectors within the brake system can also lead to multiple warning lights appearing.
Troubleshooting and Solutions
Seeing all those warning lights can be overwhelming, but here’s a step-by-step guide to help you troubleshoot the issue:
- Check Your Brake Fluid: Park your van on a level surface and inspect the brake fluid reservoir. If the fluid level is low, add the appropriate DOT-rated brake fluid, as specified in your owner’s manual. However, simply adding fluid won’t solve the problem if there’s a leak.
- Inspect for Leaks: Carefully examine the area around your brake master cylinder, brake lines, and calipers for any signs of fluid leakage. Look for wet spots, drips, or puddles of brake fluid.
- Check Your Brake Light Switch: Locate the brake light switch, typically above the brake pedal, and test its functionality. You can do this by pressing and releasing the brake pedal while observing if the brake lights illuminate. A faulty switch will need replacement.
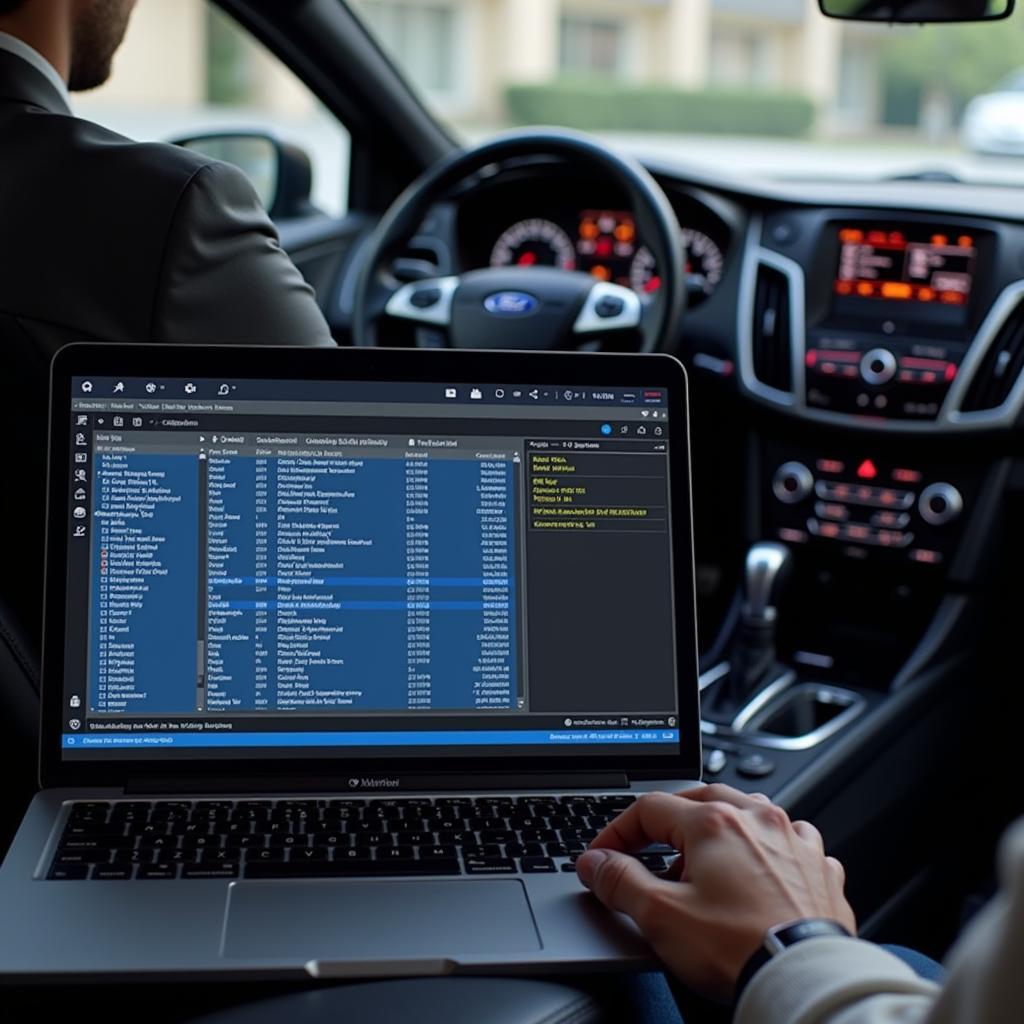
- Scan for Trouble Codes: If the brake fluid level is normal and you don’t see any visible leaks, it’s best to utilize an OBD-II scanner to retrieve any stored diagnostic trouble codes. These codes can pinpoint the specific area of the brake system requiring attention.
When to Seek Professional Help
While some brake system issues can be resolved with basic troubleshooting, it’s crucial to understand your limitations. If you’re uncomfortable working on your vehicle’s braking system or if the problem persists after basic checks, seeking professional assistance is essential.
brake warning light chrysler town country 2014
A qualified mechanic specializing in Chrysler vehicles can accurately diagnose the issue, perform necessary repairs, and ensure your van’s braking system functions safely and reliably. Remember, your safety and the safety of your passengers should always be your top priority.
Preventing Future Brake Problems
Taking proactive measures to maintain your Chrysler Town and Country van’s braking system can help prevent future issues and costly repairs:
- Regular Brake Inspections: Schedule routine brake inspections, ideally every 12,000 miles or annually.
- Timely Brake Pad Replacement: Don’t wait for your brake pads to wear down completely. Replace them as recommended in your owner’s manual or when you notice any signs of wear.
- Quality Brake Fluid: Always use high-quality, DOT-rated brake fluid and follow the manufacturer’s recommended replacement intervals.
- Address Warning Lights Promptly: Never ignore any illuminated warning lights on your dashboard, especially those related to your braking system. Promptly addressing any issues can prevent more significant problems down the road.
Conclusion
Experiencing a situation where all brake warning lights illuminate on your Chrysler Town and Country van can be alarming. By understanding the potential causes, following the troubleshooting tips, and knowing when to seek professional help, you can address the issue effectively and ensure your safety on the road.
2008 chrysler town and country brake warning lights
Remember, a well-maintained braking system is vital for your safety and the safety of others. Prioritize regular inspections and timely repairs to keep your Chrysler Town and Country van running smoothly and safely for miles to come.

