The brake warning light on your 1999 Mercury Villager’s dashboard is a crucial safety feature. When illuminated, it signals a potential issue with your braking system that requires immediate attention. Ignoring this warning could lead to brake failure and a dangerous situation on the road. This comprehensive guide will delve into the common causes of a lit brake warning light in a 1999 Mercury Villager and provide you with the knowledge to address them effectively.
Understanding Your Brake Warning Light
Before diving into the specifics of a 1999 Mercury Villager, it’s crucial to understand the general functions of a brake warning light. This light is connected to several components within your braking system, including:
- Parking Brake: The light will illuminate if your parking brake is engaged, serving as a reminder to disengage it before driving.
- Brake Fluid Level: A drop in brake fluid level often indicates a leak in the system, which the warning light will signal.
- Brake Pad Wear: Many vehicles, including some model years of the Mercury Villager, have sensors in the brake pads that trigger the warning light when the pads wear down to a certain level.
- Hydraulic System Issues: Problems within the hydraulic system, such as a malfunctioning master cylinder, can also trigger the warning light.
Common Causes in a 1999 Mercury Villager
While the general causes mentioned above apply to most vehicles, certain issues are more prevalent in a 1999 Mercury Villager. Here’s a closer look:
1. Low Brake Fluid
The most common culprit behind a lit brake warning light in a 1999 Mercury Villager is low brake fluid. This could be due to:
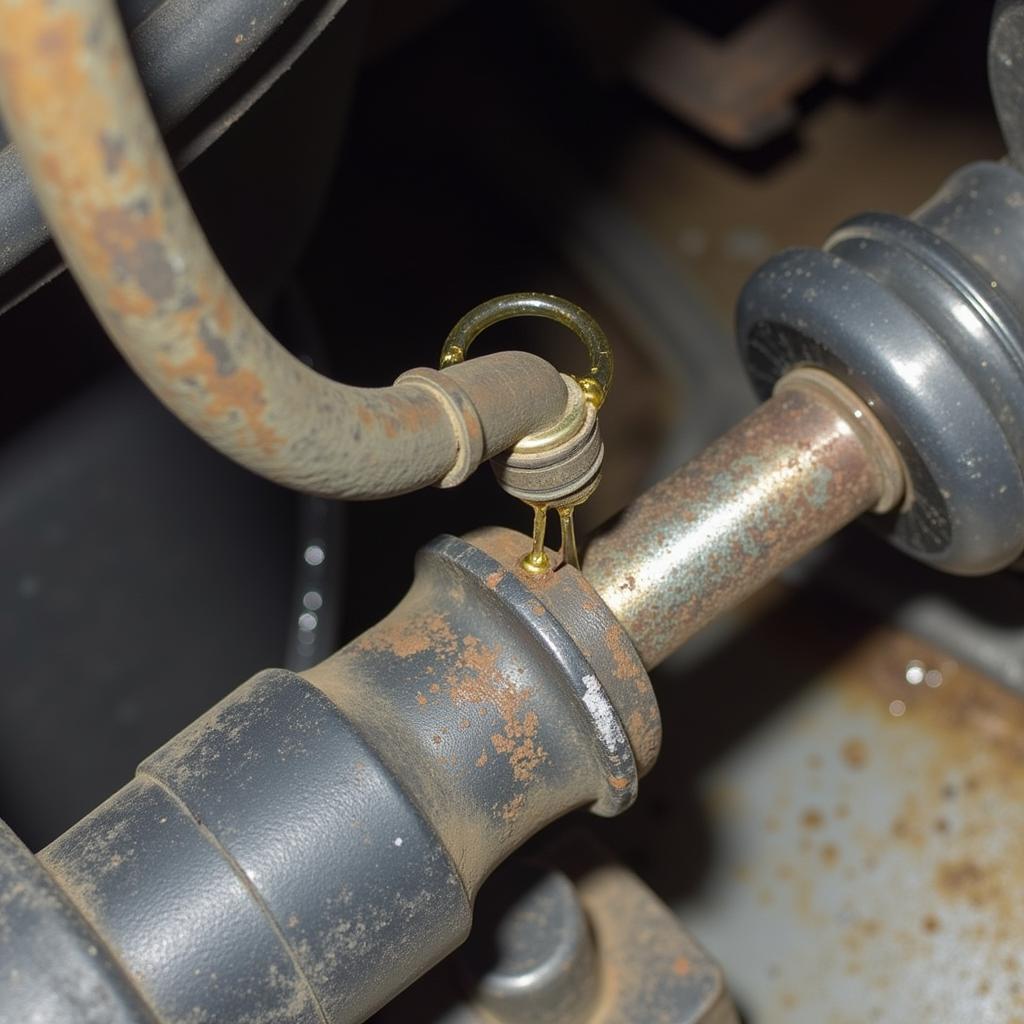
- Leaking Brake Lines: Over time, brake lines can corrode, especially in regions with harsh winters where road salt is used. A visual inspection of the lines, particularly around the wheels and near the master cylinder, can reveal leaks.
- Worn Brake Hoses: The flexible brake hoses connecting the rigid lines to the calipers can deteriorate with age and crack, leading to fluid leakage.
- Faulty Master Cylinder: The master cylinder is responsible for distributing brake fluid pressure. A leaking or internally damaged master cylinder can cause a significant drop in fluid level.
 Leaking Brake Fluid
2. Worn Brake Pads
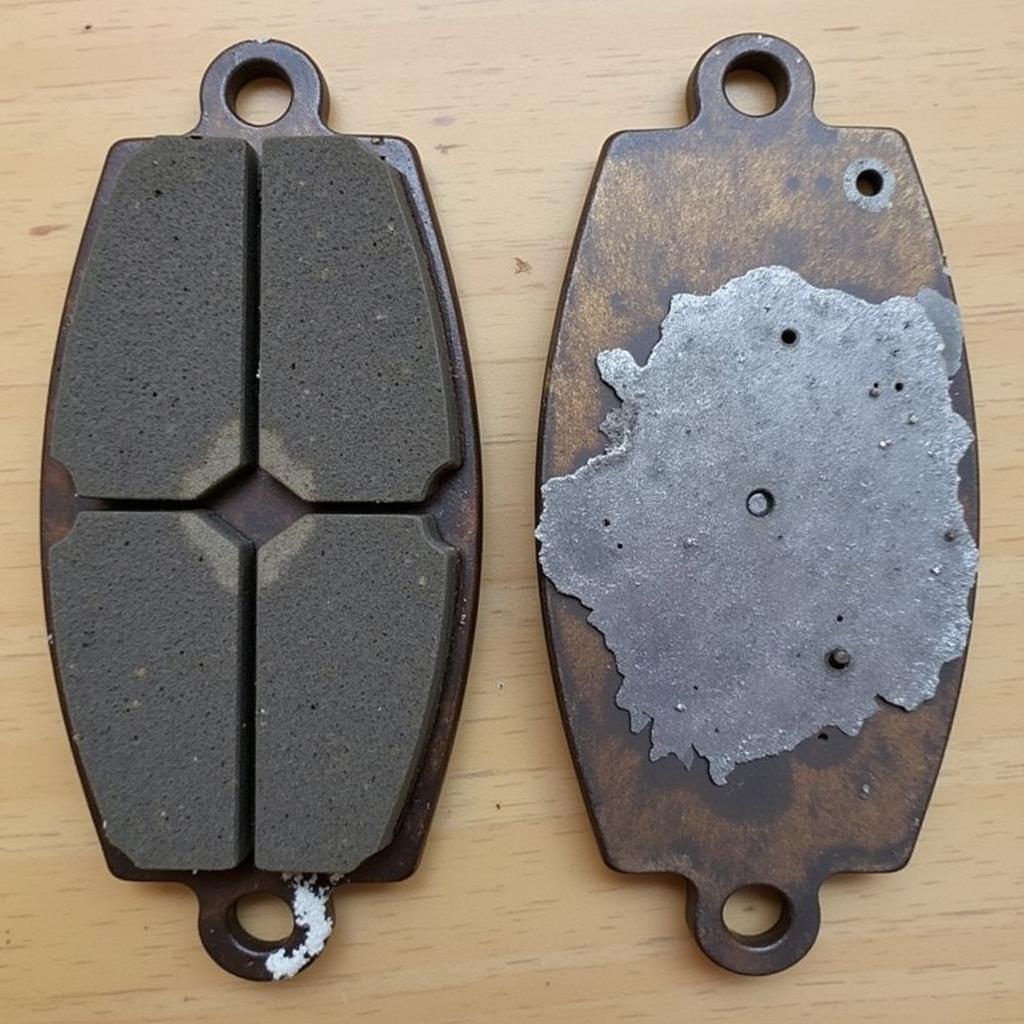
While the 1999 Mercury Villager may not be equipped with brake pad wear sensors on all trims, excessively worn brake pads can indirectly trigger the warning light by affecting the brake fluid level. As the pads wear down, the caliper pistons extend further to compensate, leading to a lower fluid level in the reservoir.
 Worn Brake Pads Comparison
3. ABS System Malfunction
The Anti-lock Braking System (ABS) is a crucial safety feature in the 1999 Mercury Villager. A malfunction within this system, often indicated by an illuminated ABS warning light alongside the brake warning light, can be caused by:
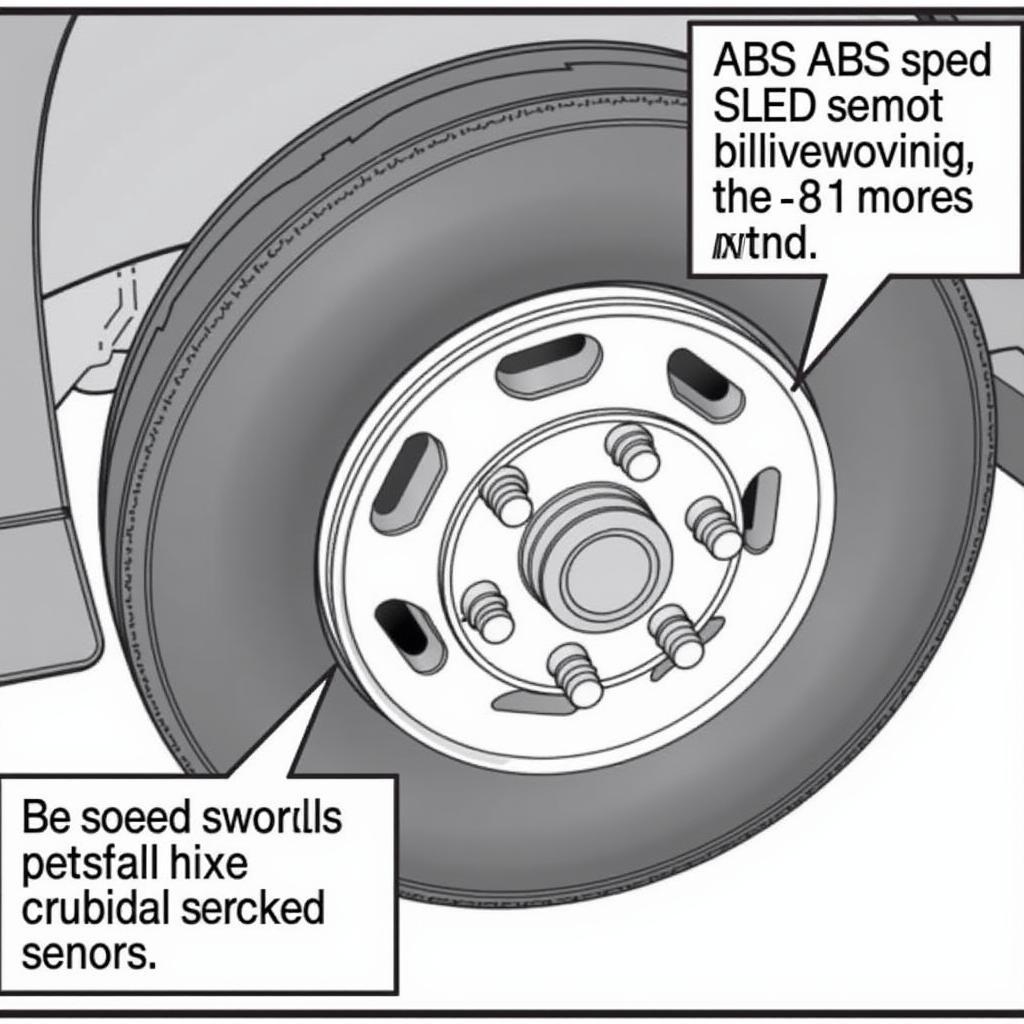
- Faulty ABS Wheel Speed Sensor: These sensors monitor wheel speed and relay information to the ABS control module. A malfunctioning sensor can disrupt the system’s operation.
- ABS Control Module Issues: The ABS control module is the brain of the system. Electrical issues or internal faults can lead to a system malfunction.
 ABS Wheel Speed Sensor Location
Troubleshooting and Solutions
If your 1999 Mercury Villager’s brake warning light illuminates, it’s crucial not to ignore it. Here are some troubleshooting steps:
- Check Your Parking Brake: Ensure the parking brake is fully disengaged.
- Inspect Brake Fluid Level: With the engine off, open the hood and locate the brake fluid reservoir. Check the fluid level, which should be between the minimum and maximum markings.
- Visual Inspection: Carefully examine the brake lines and hoses for any signs of leaks, cracks, or damage.
- Seek Professional Help: If you notice a low fluid level, visible leaks, or suspect an ABS system issue, it’s best to consult a qualified mechanic specializing in 1999 Mercury Villagers.
Conclusion
Addressing a brake warning light in your 1999 Mercury Villager promptly is crucial for ensuring your safety and the safety of others on the road. By understanding the common causes and following the troubleshooting tips outlined in this guide, you can approach the issue confidently and seek the appropriate solutions to keep your vehicle’s braking system in optimal condition. Remember, when it comes to brakes, it’s always better to err on the side of caution and seek professional help if you’re unsure about any aspect of the repair.

