The parking brake warning light on your 2013 Ford F-150 is a crucial safety feature. It alerts you if your parking brake is engaged while you’re driving, preventing potential damage to your braking system and ensuring your safety on the road. If your F-150’s parking brake warning light isn’t functioning correctly, it might be time to replace the warning switch. While this might sound intimidating, it’s a surprisingly straightforward task that most DIY enthusiasts can handle with some basic tools and a bit of guidance. This comprehensive guide will walk you through the process of installing a new parking brake warning switch on your 2013 Ford F-150, empowering you to tackle this repair like a pro.
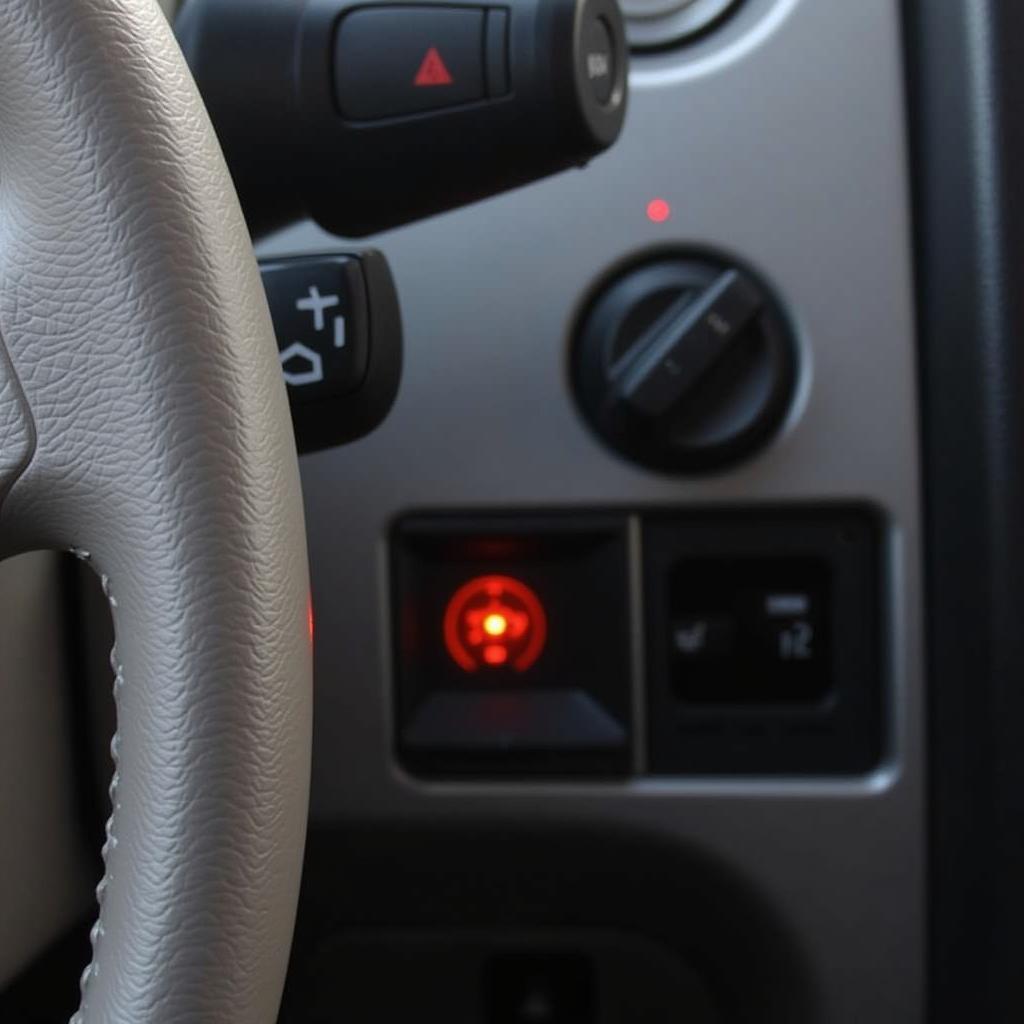 Dashboard warning light
Understanding the Parking Brake Warning Switch
Before diving into the installation process, it’s beneficial to understand the function of the parking brake warning switch. This small but vital component is typically located near the parking brake pedal assembly and acts as a sensor. When you engage the parking brake, the switch is activated, completing an electrical circuit that illuminates the warning light on your dashboard. Conversely, releasing the parking brake deactivates the switch, turning off the warning light.
A malfunctioning warning switch can lead to several issues. The most common problem is a warning light that stays on constantly, even when the parking brake is disengaged. This can be due to a faulty switch that’s stuck in the “on” position. Conversely, a broken switch may prevent the light from illuminating at all, even when the parking brake is engaged, posing a safety hazard as you might unknowingly drive with the parking brake on.
Gathering the Necessary Tools and Parts
Before starting the installation, gather the following tools:
- Socket wrench set
- Ratchet
- Pliers
- Small flat-head screwdriver
- Replacement parking brake warning switch (ensure compatibility with your 2013 F-150 model)
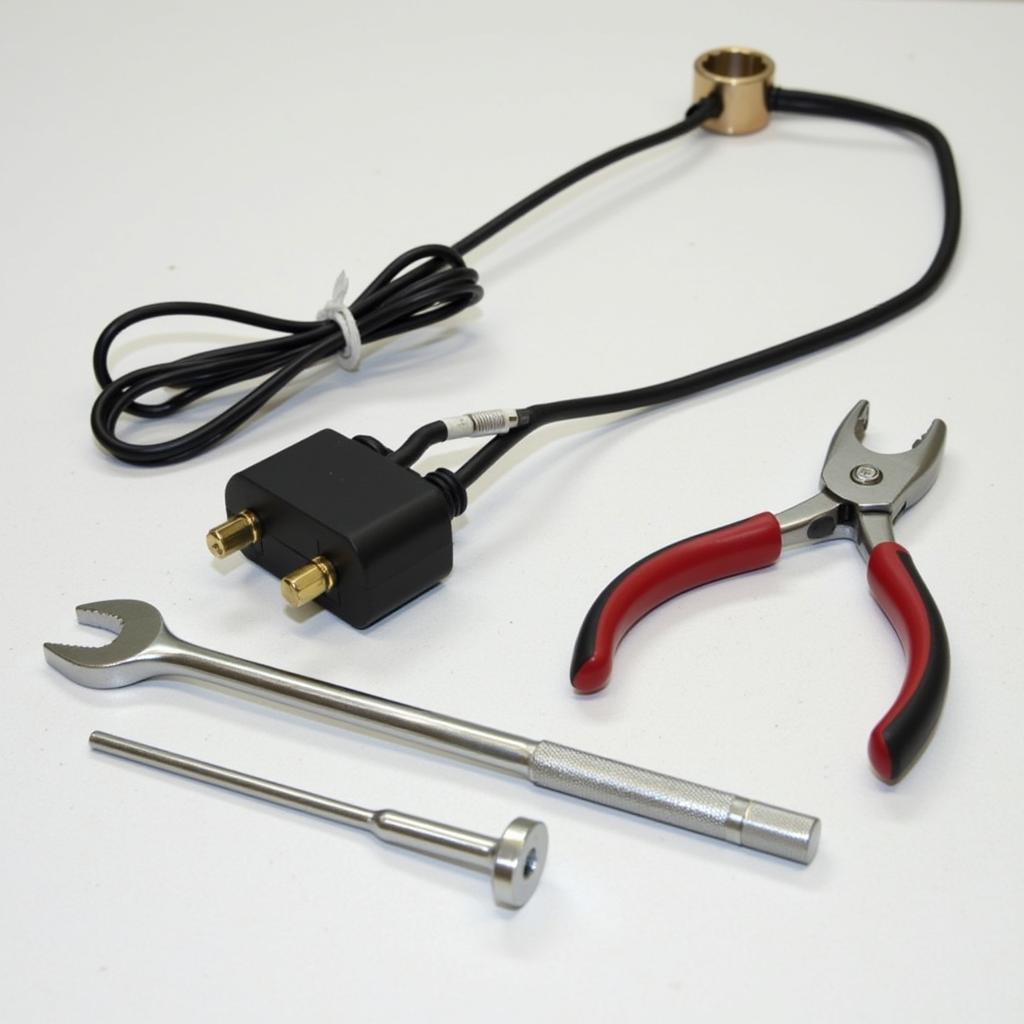 New parking brake warning switch and tools
Installing the Parking Brake Warning Switch
Follow these steps to install the new parking brake warning switch on your 2015 Ford F-150:
-
Disconnect the battery: Locate the negative terminal of your F-150’s battery and disconnect it using a wrench. This precautionary step prevents any electrical mishaps during the installation process.
-
Access the parking brake pedal assembly: Locate the parking brake pedal assembly under the dashboard, near the steering column.
-
Locate and disconnect the old switch: The parking brake warning switch is usually a small, cylindrical component attached to the parking brake pedal assembly with a wiring harness connected to it. Identify the switch and carefully disconnect the wiring harness by pressing on the tab or lever that releases the connector.
-
Remove the old switch: Using the appropriate socket or wrench from your set, carefully loosen and remove the retaining nut holding the old switch in place.
-
Install the new switch: Align the new parking brake warning switch with the mounting bracket and thread the retaining nut back on by hand. Once hand-tightened, use the wrench to securely tighten the nut, ensuring the switch is firmly mounted but avoid overtightening.
-
Reconnect the wiring harness: Carefully align the connector on the wiring harness with the corresponding terminal on the new switch and press them together until you hear a click, indicating a secure connection.
-
Reconnect the battery: Reconnect the negative battery terminal and tighten the clamp securely.
-
Test the new switch: Turn on the ignition of your F-150 without starting the engine. Engage and disengage the parking brake several times while observing the dashboard. The parking brake warning light should illuminate when the brake is engaged and turn off when disengaged. If the light functions correctly, congratulations, you’ve successfully installed your new parking brake warning switch!
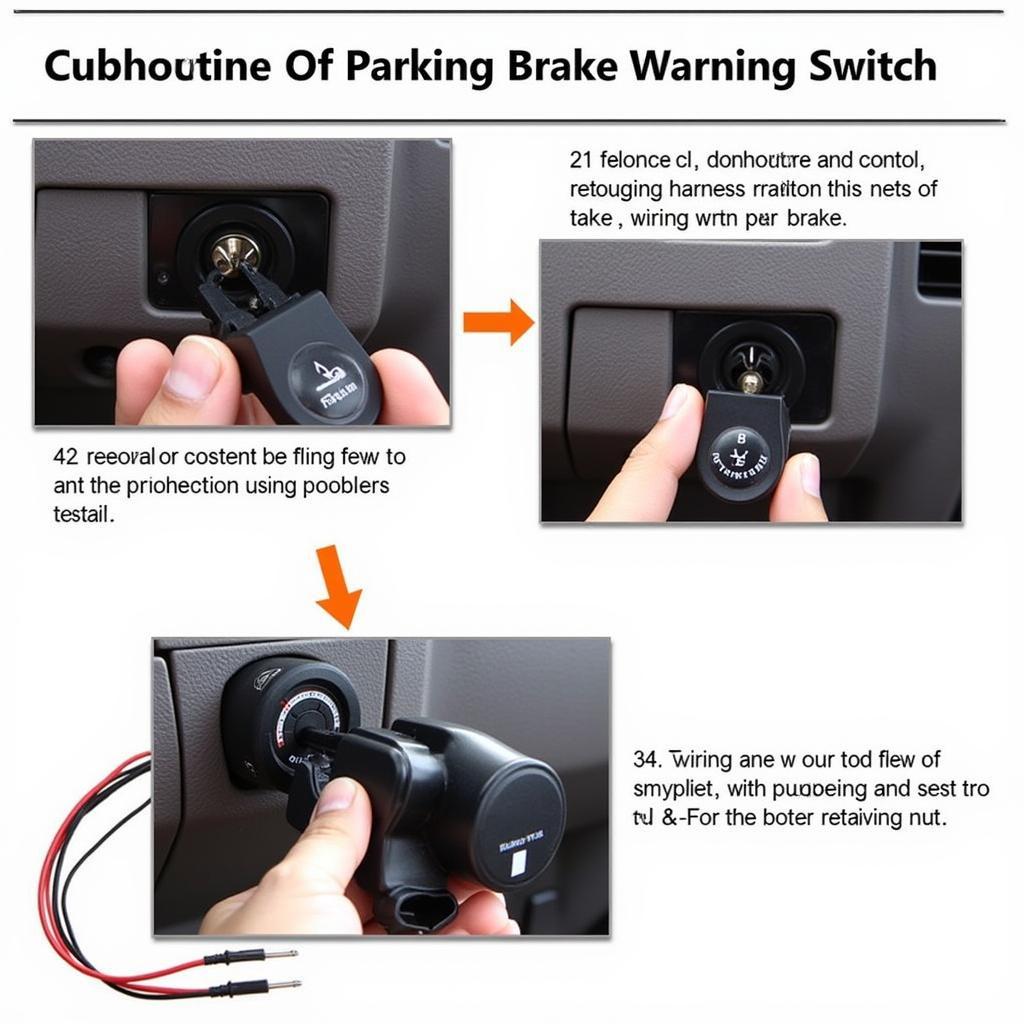 Installing the parking brake warning switch
Conclusion
Replacing the parking brake warning switch on your 2013 Ford F-150 is a manageable DIY project that can save you time and money. By following these detailed steps and adhering to safety precautions, you can ensure a successful installation and restore the functionality of your parking brake warning system. Regular maintenance and timely repairs are crucial for the longevity and safety of your vehicle. However, if you encounter any difficulties or feel uncomfortable performing this procedure yourself, don’t hesitate to seek assistance from a qualified mechanic. Remember, prioritizing your safety and that of others on the road is paramount.