If you’re driving a 2004 Mini Cooper S and the brake pad warning light pops up on your dashboard, don’t panic just yet. This article will guide you through the steps to diagnose the issue, reset the warning light, and get you back on the road safely.
The brake pad warning light is a crucial safety feature, designed to alert you when your brake pads have worn down to a certain point and require replacement. Ignoring this light can lead to further damage and potentially dangerous driving conditions.
Understanding Your Mini Cooper S Brake Pad Warning Light
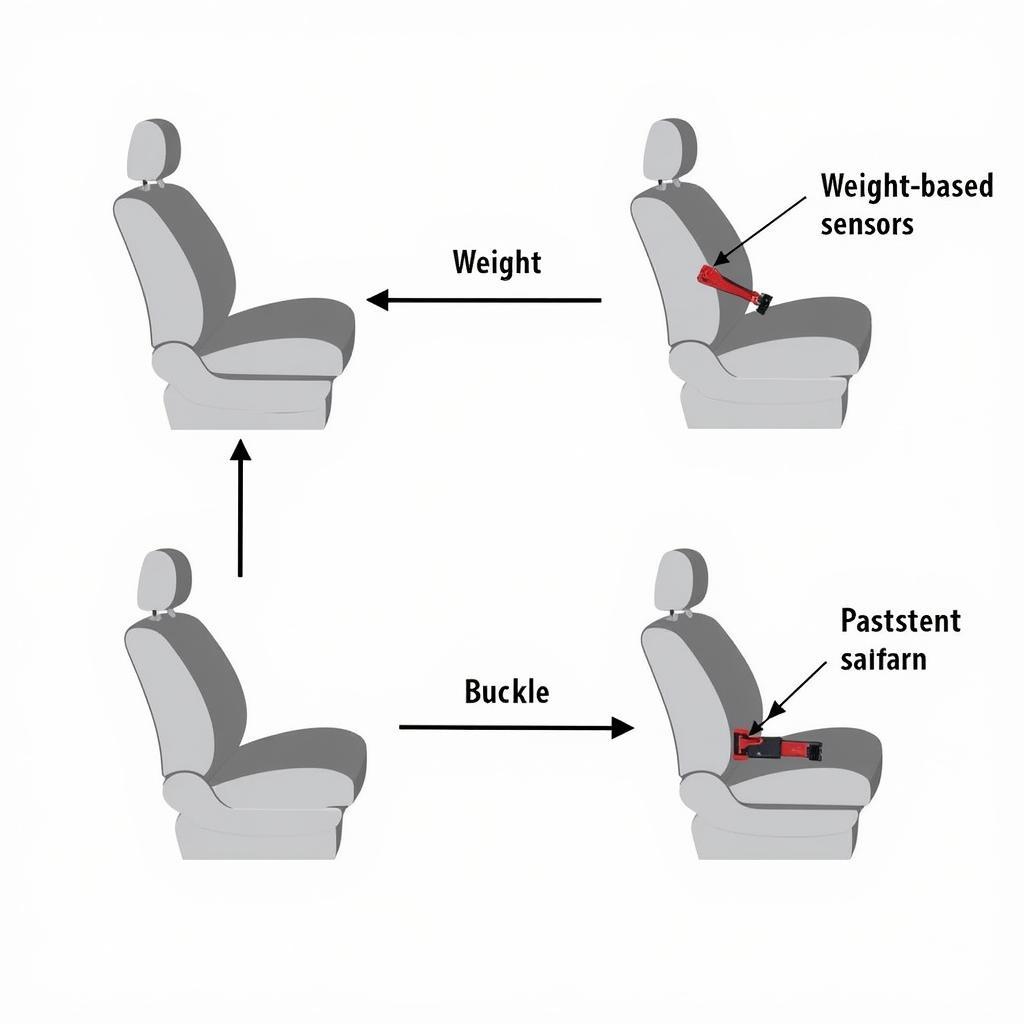
Your 2004 Mini Cooper S is equipped with a sensor system that monitors brake pad wear. When the brake pads reach a predetermined thickness, the sensor triggers the warning light on your dashboard.
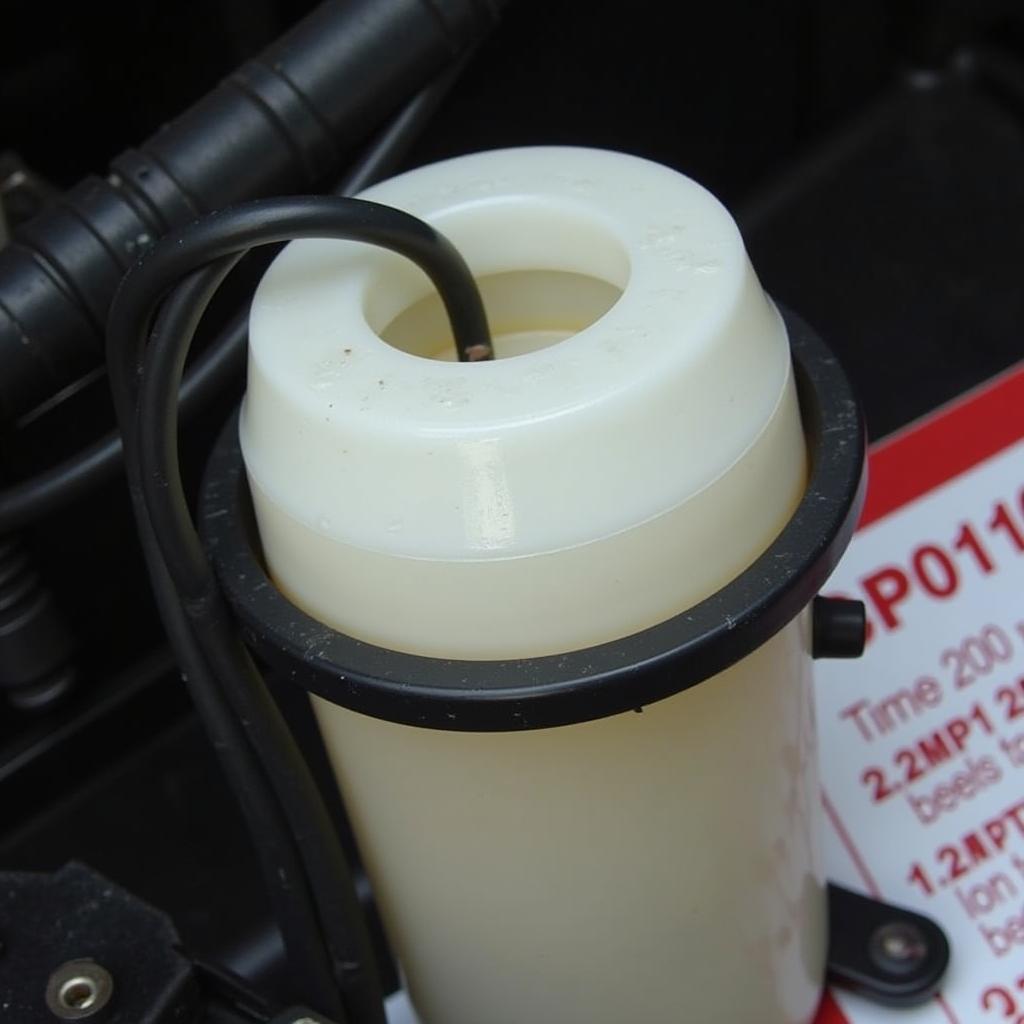
 2004 Mini Cooper S Brake Pad Warning Light
Common Causes of a Triggered Warning Light
While worn brake pads are the most common culprit, there are other potential reasons your warning light might be on:
- Worn brake pad sensor: The sensor itself could be faulty or damaged.
- Damaged wiring: A break in the wiring harness connecting the sensor to the warning light system can cause malfunctions.
- Electrical issues: Issues with the car’s electrical system, like a weak battery, can sometimes trigger false warning lights.
Diagnosing the Problem
Before you can reset the brake pad warning light, it’s essential to identify the root cause. Here’s a step-by-step guide:
- Check Your Brake Pads: This is the first and most obvious step. If you’re comfortable with basic car maintenance, you can visually inspect your brake pads. Look for significant wear and tear.
- Inspect the Brake Pad Sensor: Locate the brake pad sensor, usually a small wire clipped to the brake pad. Check for any visible damage or disconnection.
- Consult a Professional: If you’re unsure about any of the above steps or suspect a more complex issue, it’s always best to consult a qualified mechanic or Mini specialist.
Resetting the 2004 Mini Cooper S Brake Pad Warning Light
Once you’ve addressed the underlying issue that triggered the warning light, you can reset the system. Here are two common methods:
Method 1: Automatic Reset
In many cases, the brake pad warning light will reset automatically after you’ve replaced the worn brake pads and the sensor. Start your engine and check if the light turns off.
Method 2: Manual Reset using a Diagnostic Tool
If the light doesn’t reset automatically, you might need a specialized diagnostic tool. These tools can communicate with your Mini’s onboard computer and reset the warning light.
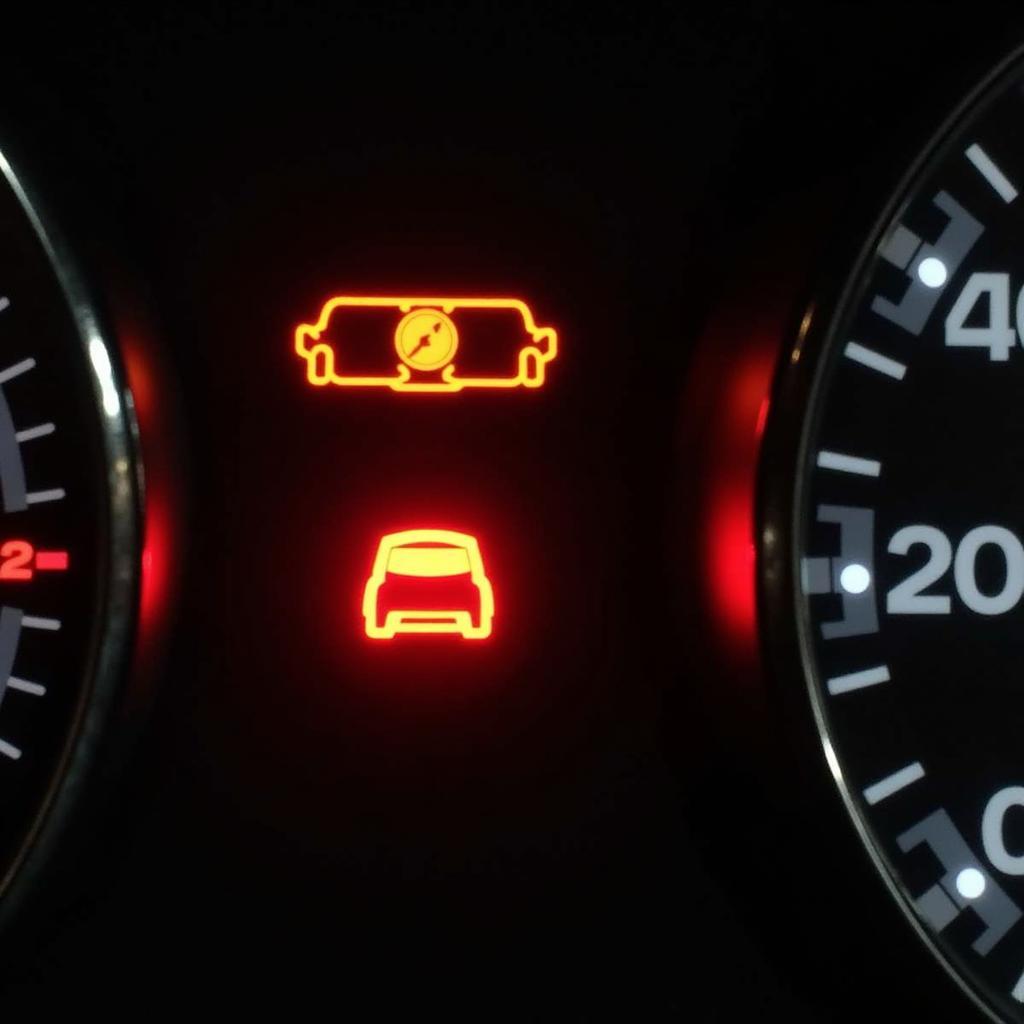
 Using a Diagnostic Tool to Reset Brake Pad Warning Light
Important Note: Attempting to reset the brake pad warning light without addressing the underlying issue will not solve the problem. It’s crucial to ensure your brakes are in safe working order.
“Ignoring brake pad warning lights is like ignoring a ticking time bomb,” says John Smith, a senior automotive technician at XYZ Auto Services. “Not only can it lead to costly repairs, but it also puts your safety and the safety of others at risk.”
Preventing Future Brake Pad Warning Light Issues
- Regular Brake Inspections: Schedule routine brake inspections with a qualified mechanic or as recommended in your Mini Cooper S owner’s manual.
- Quality Brake Pads: Invest in high-quality brake pads from reputable brands. They might cost a bit more upfront but can last longer and provide better braking performance.
- Mindful Driving Habits: Avoid aggressive driving habits like harsh braking, which can accelerate brake pad wear.
By understanding how to diagnose, reset, and prevent brake pad warning light issues in your 2004 Mini Cooper S, you can ensure optimal braking performance and safer driving experience.