The 1990 Plymouth Voyager, known for its family-friendly design, can sometimes throw a curveball with its brake warning system. If you’re experiencing issues with the brake warning switch on your 1990 Voyager, you’ve come to the right place. This comprehensive guide delves deep into the common problems, diagnostic procedures, and solutions for this specific issue, providing you with the knowledge to address it effectively.
Understanding the Brake Warning Switch
The brake warning switch, a critical component of your Voyager’s braking system, serves two primary functions. Firstly, it activates the brake lights when you press the pedal, alerting other drivers that you’re slowing down. Secondly, it acts as a vital safety mechanism by triggering the brake warning light on your dashboard if it detects a problem within the braking system itself.
A malfunctioning brake warning switch can lead to several issues, ranging from minor inconveniences to potential safety hazards.
Common Symptoms of a Faulty Brake Warning Switch
Identifying the symptoms of a faulty brake warning switch is the first step towards resolving the issue. Here are some telltale signs that your Voyager’s brake warning switch might be the culprit:
-
Brake lights stay on constantly: This is a common indication of a faulty brake warning switch, often caused by a short circuit within the switch itself.
-
Brake lights don’t illuminate: If your brake lights fail to light up when you press the pedal, the switch might not be sending the signal to activate them.
-
The brake warning light on the dashboard is illuminated: While this light can indicate various brake system issues, a faulty brake warning switch is a common culprit.
-
Difficulty shifting out of park: In some cases, a faulty brake warning switch can prevent the shift interlock mechanism from releasing, making it difficult to shift your Voyager out of the “Park” position.
Diagnosing a 1990 Plymouth Voyager Brake Warning Switch
Before jumping into repairs, it’s crucial to diagnose the problem accurately. Here’s a step-by-step guide to help you determine if the brake warning switch is indeed the root cause:
-
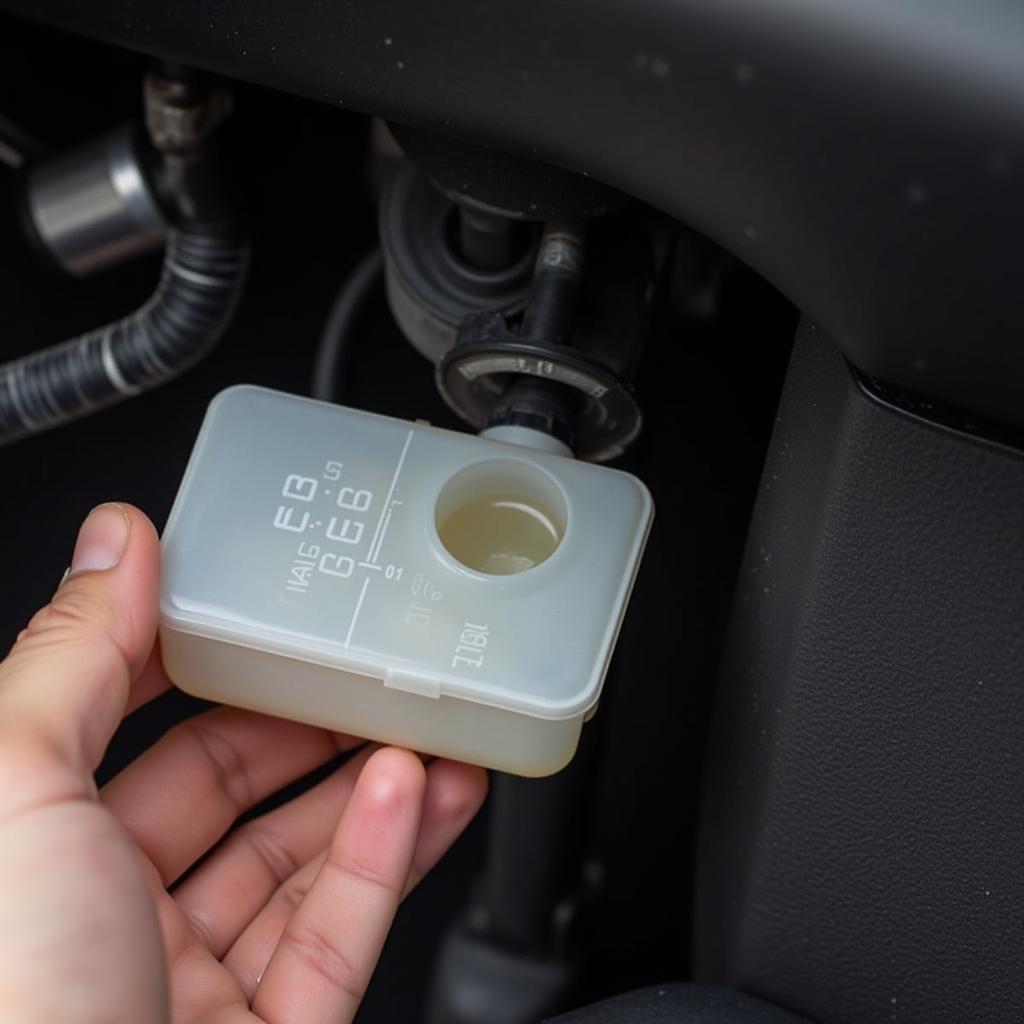
Check the brake fluid level: Ensure the brake fluid reservoir under the hood is full. Low brake fluid can cause similar symptoms and should be addressed immediately.
-
Inspect the brake light bulbs: Faulty brake light bulbs are a simple yet often overlooked cause of non-illuminating brake lights.
-
Locate the brake warning switch: The switch is typically located above the brake pedal arm, mounted to the brake pedal support bracket.
-
Test the switch:
- With the ignition off, disconnect the electrical connector from the switch.
- Use a multimeter set to the “Ohms” setting to check for continuity between the switch’s terminals.
- Press and release the brake pedal. The multimeter should show continuity when the pedal is pressed and no continuity when released. If the readings are inconsistent, the switch is likely faulty.
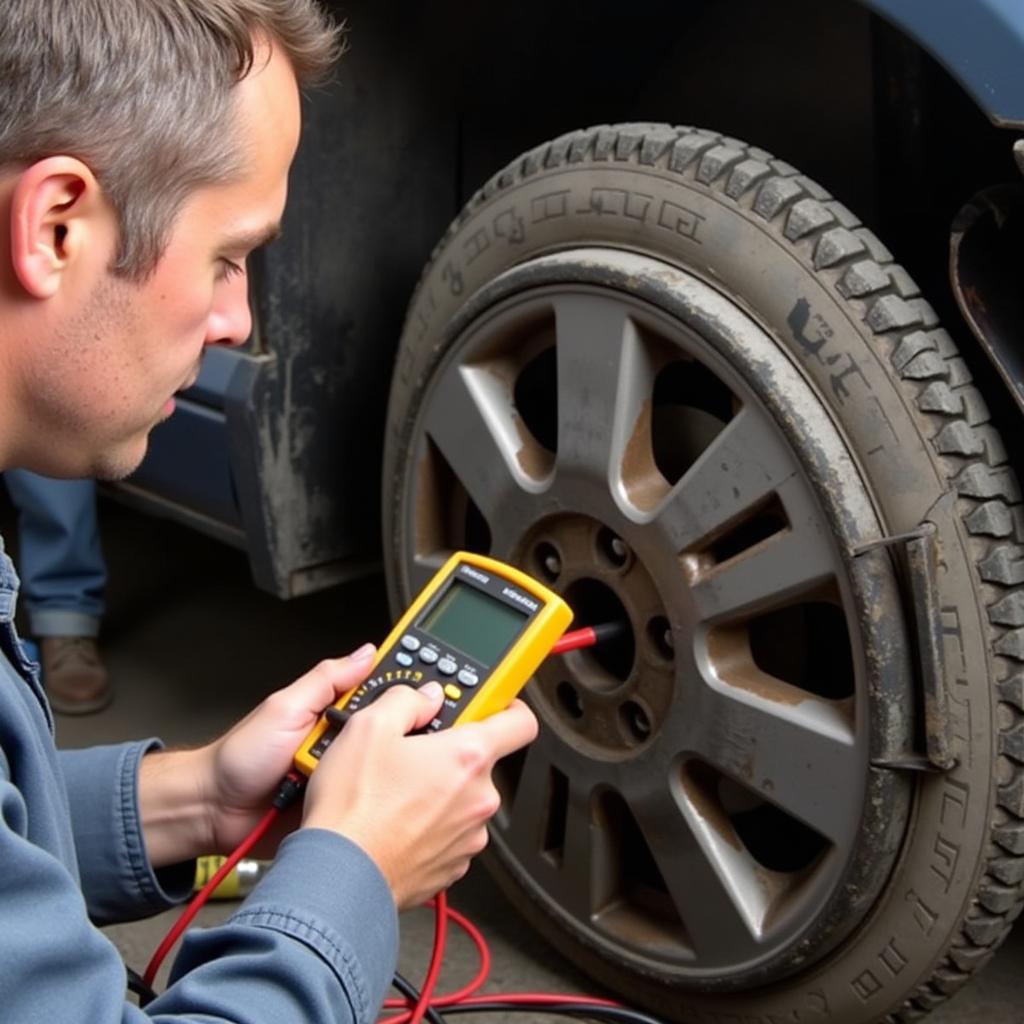 Testing 1990 Plymouth Voyager Brake Warning Switch
Replacing the Brake Warning Switch
If your diagnosis points to a faulty brake warning switch, replacement is the most effective solution.
Tools you’ll need:
- Socket wrench set
- New brake warning switch (ensure compatibility with your Voyager’s make and model)
Replacement procedure:
- Disconnect the battery: Before working on any electrical components, disconnect the negative battery cable to prevent electrical shorts.
- Remove the old switch:
- Locate the switch above the brake pedal arm.
- Disconnect the electrical connector from the switch.
- Use a socket wrench to loosen and remove the switch from its mounting bracket.
- Install the new switch:
- Install the new switch onto the mounting bracket and tighten the retaining nut.
- Reconnect the electrical connector.
- Reconnect the battery: Reconnect the negative battery cable.
- Test the new switch: Press the brake pedal several times and verify that the brake lights illuminate. Additionally, check if the brake warning light on the dashboard is off.
 Replacing 1990 Plymouth Voyager Brake Warning Switch
Consulting a Professional
While replacing a brake warning switch is a relatively straightforward procedure for those comfortable with basic automotive repairs, don’t hesitate to seek professional assistance if you encounter any difficulties or are unsure about any step.
“It’s always better to err on the side of caution when it comes to brake system repairs,” advises veteran automotive technician, John Miller. “If you’re not comfortable tackling this repair yourself, a qualified mechanic can diagnose and address the issue safely and effectively.”
Addressing brake warning switch issues promptly is crucial for maintaining the safety and reliability of your 1990 Plymouth Voyager. By understanding the function, symptoms, diagnostic procedures, and replacement process outlined in this guide, you can confidently troubleshoot and resolve problems related to your Voyager’s brake warning switch.