The brake warning light on your dashboard is a crucial safety feature, illuminating when the car senses an issue within your braking system. While it could be something as simple as a loose brake fluid cap, it’s essential to know how to test the brake warning light circuit to pinpoint the root cause. This article will guide you through the process, helping you diagnose and potentially resolve the issue.
Understanding the Brake Warning Light System
Before diving into the testing procedure, it’s crucial to understand the components involved:
- Brake Warning Light: The red light on your dashboard that signals a potential problem.
- Brake Fluid Level Sensor: This sensor monitors the brake fluid level in the master cylinder reservoir.
- Parking Brake Switch: This switch activates when the parking brake is engaged.
- ABS Control Module (If equipped): Modern vehicles with Anti-lock Braking Systems (ABS) have a dedicated module that monitors the ABS system.
The brake warning light is designed to illuminate in several scenarios:
- Low brake fluid level: This is the most common reason for the light to come on.
- Engaged parking brake: The light typically illuminates when the parking brake is applied.
- Fault in the ABS system: A malfunction within the ABS system can trigger the warning light.
Testing the Brake Warning Light Circuit
Here’s a step-by-step guide to testing the brake warning light circuit:
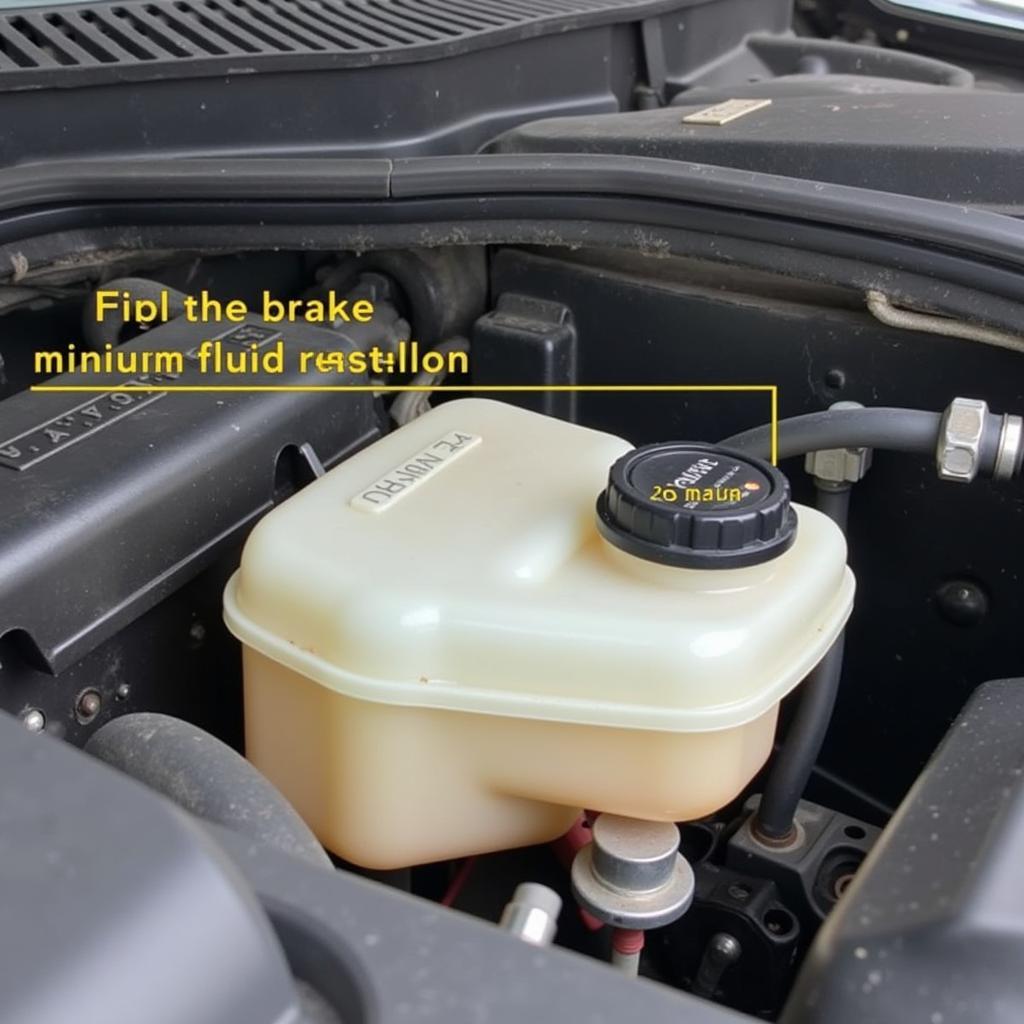
1. Check the Brake Fluid Level
- Park your vehicle on a level surface and engage the parking brake.
- Locate the brake fluid reservoir. This is usually a translucent plastic container situated near the firewall on the driver’s side.
- Visually inspect the fluid level. The reservoir will have “Min” and “Max” markings. Ensure the fluid level is within this range.
Expert Insight: “Always refer to your vehicle’s owner’s manual for the correct type of brake fluid. Using the wrong type can damage your braking system,” advises John Miller, Senior Automotive Technician at Miller’s Auto Repair.
2. Inspect the Brake Warning Light Bulb
If the brake fluid level is adequate, the next step is to check the warning light bulb itself:
- Locate the instrument cluster behind the steering wheel. You may need to remove a few screws or panels to access it.
- Identify the brake warning light bulb. Refer to your owner’s manual for its exact location.
- Inspect the bulb for any signs of damage or burning. If the bulb is blown, replace it with a new one of the same type.
3. Test the Brake Fluid Level Sensor
- With the ignition off, disconnect the electrical connector from the brake fluid level sensor.
- Use a multimeter set to ohms to check the sensor’s resistance. Refer to your vehicle’s repair manual for the specific resistance values.
- If the resistance is outside the specified range, replace the sensor.
4. Test the Parking Brake Switch
- Locate the parking brake switch, usually under the dashboard near the parking brake pedal.
- Disconnect the electrical connector from the switch.
- Use a multimeter set to continuity mode to test the switch. The multimeter should beep when the parking brake is applied and stop beeping when released.
- If the switch isn’t functioning correctly, replace it.
5. Check the ABS System (If equipped)
If the previous steps haven’t identified the issue, and your vehicle has ABS, the problem might lie within the ABS system:
- It’s recommended to take your vehicle to a qualified mechanic for diagnosis and repair. ABS systems are complex and require specialized tools and knowledge.
Expert Tip: “Never ignore a brake warning light. It signifies a potential safety hazard that requires immediate attention,” cautions Sarah Thompson, Lead Mechanic at Thompson Automotive Solutions.
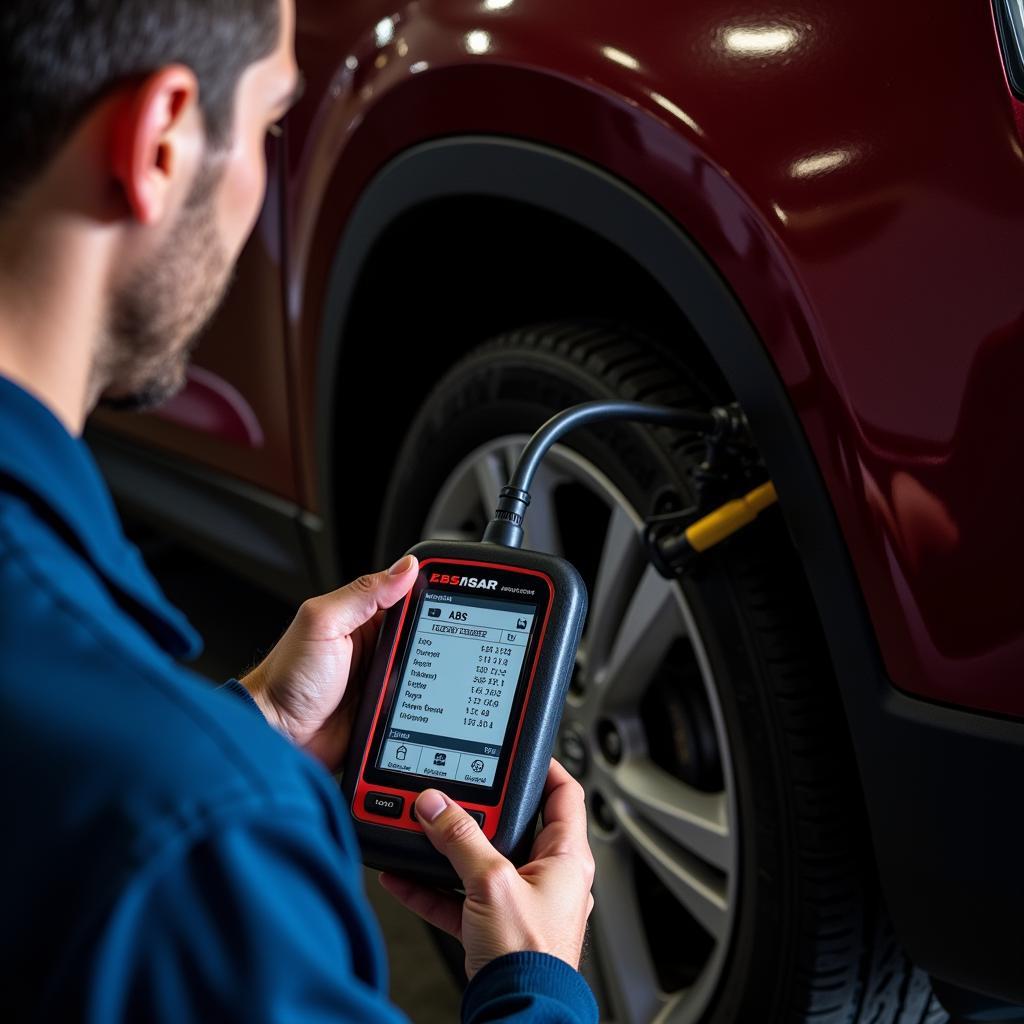 Mechanic Using Diagnostic Tool on ABS System
Conclusion
Testing the brake warning light circuit is crucial for ensuring a safe driving experience. By following the steps outlined above, you can identify the potential cause of the illuminated warning light. However, if you’re uncomfortable working with electrical components or suspect a complex issue, it’s always best to consult with a qualified mechanic. Remember, maintaining a properly functioning brake system is paramount for your safety and the safety of others on the road.