The brake warning lamp on your 1992 Geo Tracker is a critical safety feature that alerts you to potential issues within your braking system. When this light illuminates, it signifies a problem within the brake warning lamp circuit itself or a malfunction within the broader braking system. Ignoring this warning light can have serious consequences, potentially leading to brake failure and dangerous driving conditions.
This comprehensive guide will walk you through the common causes of a 92 Tracker brake warning lamp circuit issue, how to diagnose the problem, and the steps to take for a successful repair.
Understanding the 92 Tracker Brake Warning Lamp Circuit
Before diving into troubleshooting, it’s essential to understand the basics of the brake warning lamp circuit in your 1992 Geo Tracker. This circuit essentially acts as a monitoring system, connecting several key components:
- Brake Warning Lamp: Located on your dashboard, this lamp illuminates when the circuit detects an issue.
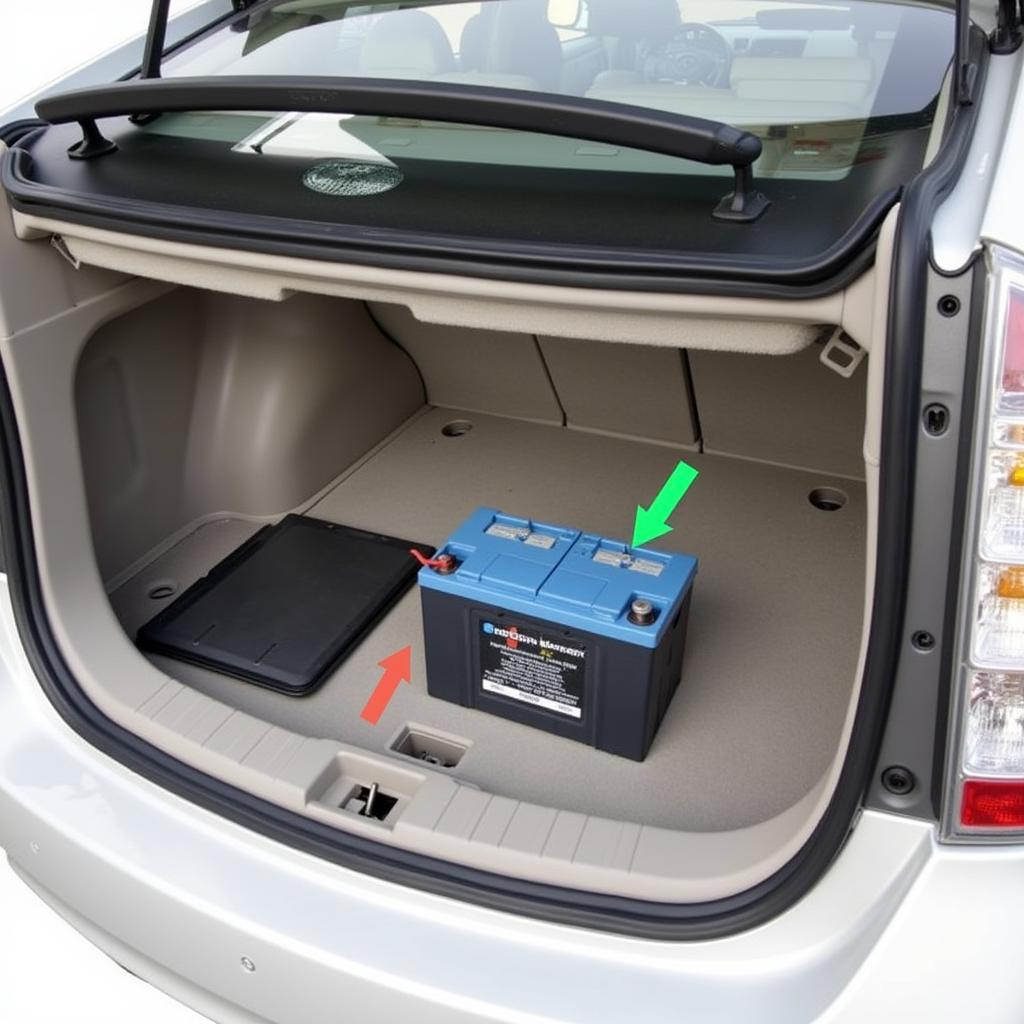
- Brake Fluid Level Sensor: This sensor, located in the master cylinder reservoir, monitors the brake fluid level. If it detects a low fluid level, it completes the circuit, triggering the warning lamp.
- Parking Brake Switch: Engaged when you apply the parking brake, this switch also forms part of the circuit. When the parking brake is on, the switch completes the circuit, illuminating the warning lamp.
- Hydraulic Pressure Differential Switch: This crucial component monitors the hydraulic pressure balance between the front and rear brake circuits. If a pressure difference occurs, indicating a potential leak or issue in one of the circuits, the switch activates the warning lamp.
- Wiring and Connectors: A network of wires and connectors link all these components, ensuring proper signal transmission within the circuit.
Common Causes of a 92 Tracker Brake Warning Lamp Circuit Issue
A variety of factors can cause the brake warning lamp on your 1992 Geo Tracker to illuminate. Here’s a breakdown of the most common culprits:
- Low Brake Fluid: This is the most frequent cause. A leak in the braking system, worn brake pads, or a failing master cylinder can lead to low brake fluid levels, triggering the warning lamp.
- Faulty Brake Fluid Level Sensor: Over time, this sensor can wear out, become clogged, or malfunction, sending a false signal to the warning lamp.
- Worn-Out Brake Pads: As your brake pads wear down, the brake caliper pistons extend further to compensate. This extension can lead to a lower brake fluid level in the master cylinder, activating the brake fluid level sensor and illuminating the warning lamp.
- Malfunctioning Parking Brake Switch: A faulty parking brake switch might not release properly, even when the parking brake is disengaged, causing the warning lamp to stay on.
- Hydraulic Pressure Differential Switch Failure: A malfunctioning or failing pressure differential switch can send a false signal or fail to detect a genuine pressure imbalance, leading to an inaccurate warning light.
- Wiring or Connector Problems: Corroded, loose, or damaged wiring and connectors within the circuit can interrupt signal transmission, causing the warning lamp to malfunction.
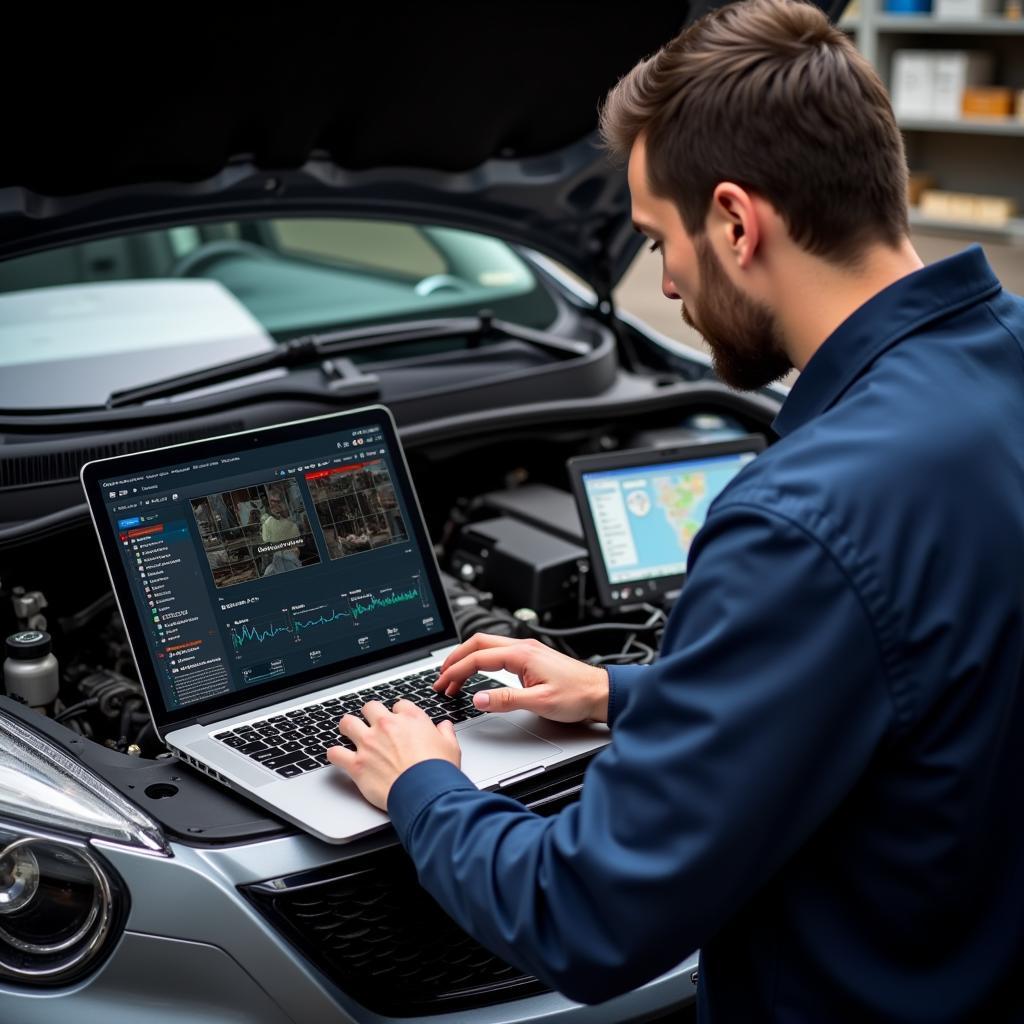
Diagnosing the Problem: A Step-by-Step Approach
Follow these steps to effectively diagnose the root cause of your 92 Tracker brake warning lamp circuit issue:
-
Check the Brake Fluid Level: Open the hood and visually inspect the brake fluid level in the master cylinder reservoir. If the fluid level is below the “MIN” mark, add the appropriate DOT 3 or DOT 4 brake fluid recommended in your owner’s manual.
-
Inspect for Brake Fluid Leaks: Thoroughly examine the master cylinder, brake lines, hoses, calipers, and wheel cylinders for any signs of leaks. Look for wet spots, drips, or corrosion.
-
Inspect the Parking Brake Switch: Locate the parking brake switch, usually near the parking brake lever. Check if the switch is stuck in the “on” position or if the mechanism is damaged.
-
Test the Brake Fluid Level Sensor: With the parking brake off and the ignition in the “on” position, disconnect the electrical connector from the brake fluid level sensor. If the warning lamp turns off, the sensor is likely faulty and needs replacement.
-
Test the Hydraulic Pressure Differential Switch: This switch is often located on the master cylinder or along the brake lines. With the engine off, disconnect one of the brake lines from the switch. If the warning lamp goes off, the switch is likely faulty.
Note: Due to the complexity of the hydraulic braking system, it’s recommended to have a professional mechanic test the hydraulic pressure differential switch and address any issues related to the brake lines.
- Inspect Wiring and Connectors: Visually inspect all wiring and connectors within the brake warning lamp circuit for any signs of damage, corrosion, or loose connections. Pay close attention to the wiring harness near the master cylinder, ABS control module (if equipped), and the areas where the wiring runs near heat sources or sharp edges.
Resolving the Issue: Repair or Replace?
Once you’ve pinpointed the source of the problem, you can decide whether to repair or replace the faulty component:
- Low Brake Fluid: If you identified a leak, repair it immediately and refill the brake fluid. If the low fluid level is due to worn brake pads, replace them.
- Faulty Sensors and Switches: These components are typically replaced rather than repaired. Ensure you use high-quality replacements compatible with your 1992 Geo Tracker.
- Wiring and Connector Issues: Repair any damaged wiring or connectors. Use heat shrink tubing or electrical tape to insulate and protect the repairs. If the wiring harness is severely damaged, replacement is often the best course of action.
Seeking Professional Help: When to Call a Mechanic
While this guide provides a good starting point for troubleshooting, remember that working with your car’s braking system can be dangerous. If you’re uncomfortable with any of these procedures or if your brake warning lamp remains illuminated after attempting these diagnostic steps, don’t hesitate to seek help from a qualified mechanic.
Here’s what a professional mechanic can offer:
- Specialized Tools and Equipment: Mechanics have access to advanced diagnostic tools, pressure gauges, and other specialized equipment that allow for more accurate diagnosis and repair.
- Experience and Expertise: Experienced mechanics have encountered a wide range of brake system issues and can efficiently diagnose and resolve the problem.
- Safety: Entrusting your car’s braking system to a professional ensures the repairs are done correctly and safely, giving you peace of mind on the road.
Conclusion: Prioritizing Your Safety
Addressing any issues with your 92 Tracker’s brake warning lamp circuit is crucial for your safety and the safety of others on the road. By understanding how the system works, recognizing the common causes of problems, and following the diagnostic steps outlined in this guide, you can be proactive in maintaining your vehicle’s braking system. Always remember to prioritize safety and don’t hesitate to seek professional assistance when needed.