The brake pad warning light on your Mini R50 is a crucial safety feature, alerting you when the brake pads have worn down and need replacement. Ignoring this warning can lead to costly damage and compromised braking performance. While replacing worn brake pads is essential, you might wonder how to reset the warning light after the job is done. This comprehensive guide will walk you through the process of resetting the Mini R50 brake pad warning light and address common questions.
Understanding the Mini R50 Brake Pad Warning Light
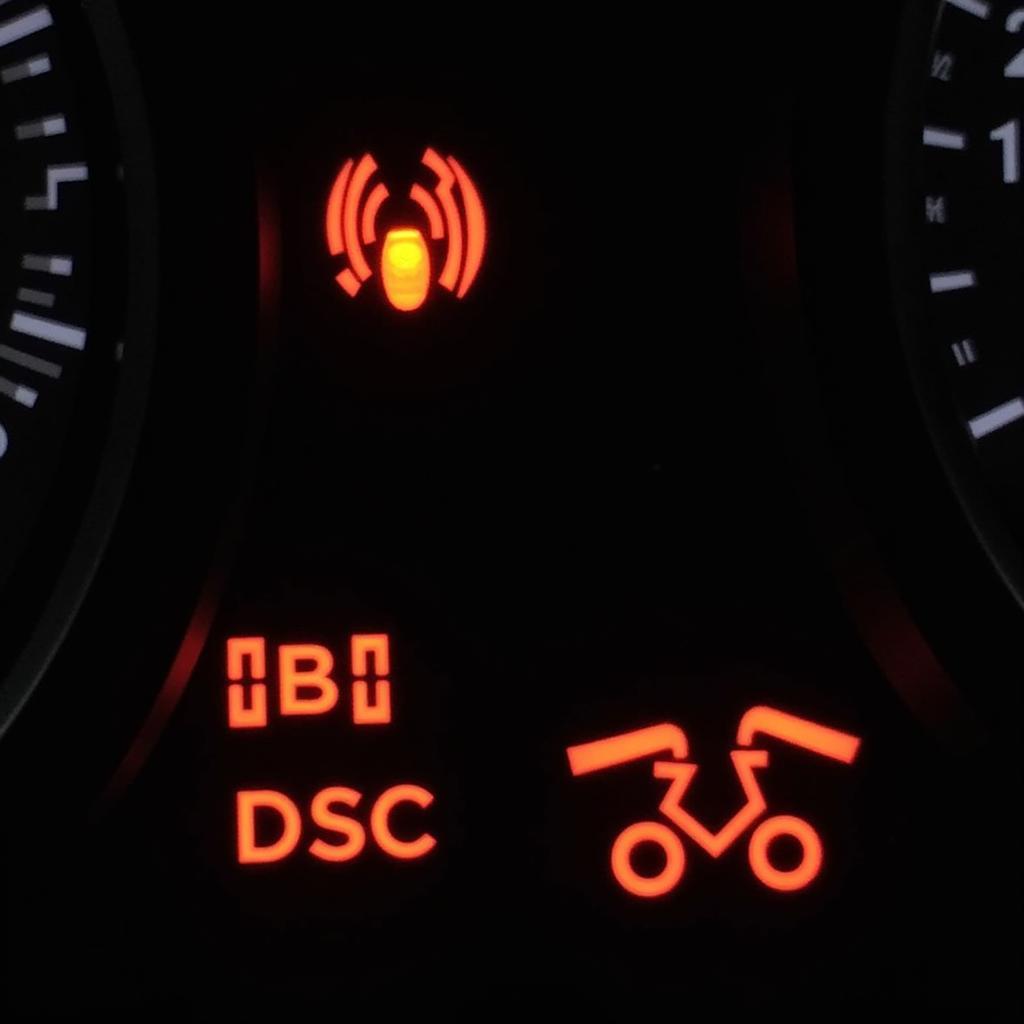
Your Mini R50 is equipped with a sensor in the brake system that monitors the thickness of the brake pads. When the pads wear down to a certain level, this sensor triggers the brake pad warning light on your dashboard. The light usually appears as a circle with dashed lines around it and the word “BRAKE” or a similar symbol.
Why Resetting the Warning Light is Important
Resetting the brake pad warning light after replacing the pads is crucial for a few reasons:
- Confirmation of Repair: Resetting the light confirms that you’ve successfully addressed the underlying issue of worn brake pads.
- Accurate Monitoring: It allows the brake pad sensor to accurately monitor the new pads and alert you when they eventually wear down.
- Avoiding Confusion: Driving with the warning light illuminated, even after replacing the pads, can lead to you ignoring potential future issues.
Methods to Reset the Mini R50 Brake Pad Warning Light
There are two primary methods to reset the brake pad warning light on a Mini R50:
1. Manual Reset Procedure
Most Mini R50 models allow for a manual reset of the brake pad warning light. Here’s a step-by-step guide:
- Turn the ignition ON: Insert your key into the ignition and turn it to position two (the position just before the engine starts).
- Press and hold the brake pedal: Firmly press and hold the brake pedal down.
- Turn the ignition OFF: While holding the brake pedal, turn the ignition completely off.
- Release the brake pedal: You can now release the brake pedal.
- Turn the ignition ON: Turn the ignition back to position two. The brake pad warning light should be off. If it’s not, repeat the process a couple more times.
Note: If the manual reset procedure doesn’t work, there might be a problem with the brake pad sensor itself, or the new brake pads might not have been installed correctly.
2. Using a Diagnostic Tool
For a more sophisticated approach, you can use a specialized diagnostic tool, often referred to as an OBD-II scanner. These tools connect to your car’s computer system and allow you to interact with various modules, including the brake system. Here’s how to reset the warning light using a diagnostic tool:
- Locate the OBD-II port: This port is usually located under the dashboard on the driver’s side.
- Connect the diagnostic tool: Plug the diagnostic tool into the OBD-II port.
- Turn the ignition ON: Turn the ignition to position two.
- Follow the tool’s instructions: Each diagnostic tool has a specific interface and set of instructions. Generally, you’ll navigate to the brake system menu and select the option to reset the brake pad warning light.
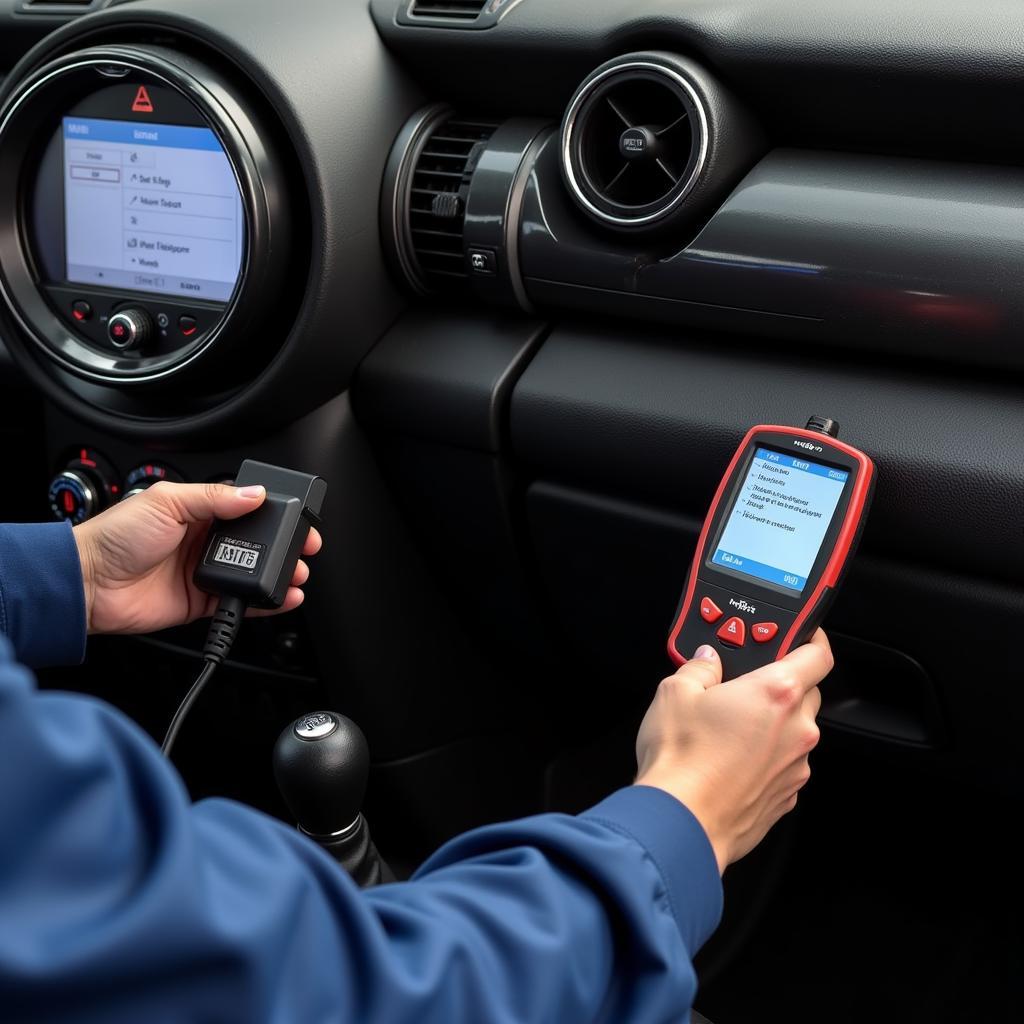 Using an OBD-II scanner to reset brake pad warning light on a Mini R50
When to Seek Professional Help
While resetting the brake pad warning light on your Mini R50 is often a straightforward process, there are times when professional help is recommended:
- Persistence of Warning Light: If the warning light persists after attempting both manual and diagnostic tool resets, there might be an issue with the brake system requiring professional diagnosis.
- Unfamiliarity with Car Maintenance: If you’re uncomfortable working on your car or using diagnostic tools, it’s always best to err on the side of caution and consult a qualified mechanic.
“It’s always best to address any brake-related issues promptly. Ignoring warning signs can lead to more extensive and costly repairs down the line,” advises John Miller, a seasoned automotive engineer with over 20 years of experience.
FAQs About Mini R50 Brake Pad Warning Light Reset
Q: Can I continue driving with the brake pad warning light on?
A: It’s highly discouraged to drive with the brake pad warning light illuminated. Doing so can lead to further damage to your braking system and compromise safety.
Q: How often should I replace my brake pads?
A: Brake pad lifespan varies depending on driving style and conditions. As a general rule, it’s recommended to have your brake pads inspected every 12,000 miles and replaced as needed.
Q: Is it normal for the brake pad warning light to flicker intermittently?
A: A flickering brake pad warning light could indicate a failing brake pad sensor or a loose connection. It’s crucial to have this issue diagnosed and repaired promptly.
Q: Will disconnecting the battery reset the brake pad warning light?
A: Disconnecting the battery might temporarily reset the warning light in some cases, but it’s not a reliable solution. It’s essential to address the root cause of the warning light, which is worn brake pads.
Q: Can I use any OBD-II scanner to reset the warning light?
A: While most OBD-II scanners can read basic engine codes, not all have the functionality to reset the brake pad warning light. Check the scanner’s capabilities before purchasing or using it for this purpose.
Conclusion
Resetting the brake pad warning light on your Mini R50 is a simple yet essential part of car maintenance. By understanding the methods outlined in this guide, you can ensure your car’s braking system is functioning correctly and enjoy peace of mind on the road. Remember, if you encounter any difficulties or are unsure about any aspect of the process, don’t hesitate to seek help from a qualified mechanic.