The brake pressure warning switch, also known as the brake light switch, is a small but vital component of your vehicle’s braking system. It’s responsible for activating your brake lights when you press the brake pedal, signaling to other drivers that you’re slowing down or stopping.
While seemingly simple, a malfunctioning brake pressure warning switch can lead to a range of issues, from inconvenient to downright dangerous. In this article, we’ll delve into the intricacies of this switch, exploring its function, common symptoms of failure, and troubleshooting tips.
What Does a Brake Pressure Warning Switch Do?
The brake pressure warning switch acts as a bridge between your brake pedal and your brake lights. It’s usually located under the dashboard, near the brake pedal arm. When you press the brake pedal, the arm activates the switch, completing an electrical circuit. This circuit sends a signal to your brake lights, illuminating them. When you release the brake pedal, the switch opens, breaking the circuit and turning off the lights.
Common Brake Pressure Warning Switch Problems
A failing brake pressure warning switch can manifest in various ways, impacting your vehicle’s safety and performance. Here are some telltale signs that your switch might be on its last legs:
-
Brake lights stay on constantly: This is a clear indication that the switch is stuck in the “on” position, keeping the circuit closed even when the brake pedal isn’t pressed.
-
Brake lights don’t turn on: Conversely, if your brake lights fail to illuminate when you hit the brakes, the switch could be stuck in the “off” position, preventing the circuit from completing.
-
Sporadic brake light behavior: Intermittent brake light function, where the lights flicker or work inconsistently, often points to a failing switch with loose or corroded internal contacts.
-
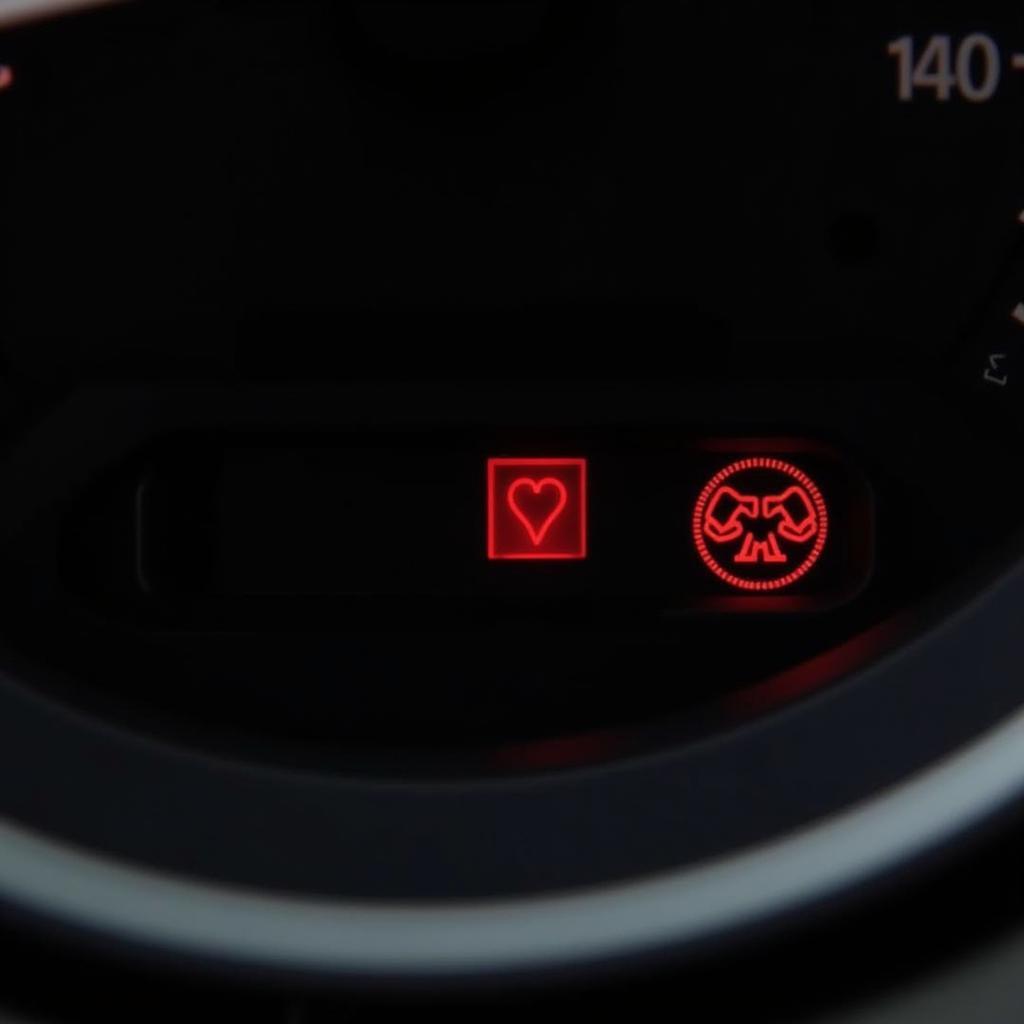
ABS or traction control lights illuminate: In some vehicles, a faulty brake pressure warning switch can trigger warning lights for the Anti-lock Braking System (ABS) or traction control, as these systems rely on input from the brake system.
Troubleshooting a Brake Pressure Warning Switch
Before assuming the worst, it’s wise to rule out simpler possibilities:
-
Check the fuse: A blown fuse in the brake light circuit can cause complete brake light failure. Locate your vehicle’s fuse box (refer to your owner’s manual) and inspect the brake light fuse.
-
Inspect the bulbs: It might seem obvious, but a burnt-out brake light bulb could be the culprit. Check all your brake lights and replace any faulty bulbs.
If the fuse and bulbs check out, and you suspect a faulty brake pressure warning switch, further diagnosis is necessary. This is where remote diagnostics and programming come in handy, especially if you’re comfortable with basic automotive electrical systems.
By connecting a specialized diagnostic tool to your vehicle’s OBD-II port, you can read fault codes stored in the vehicle’s computer. These codes can pinpoint the problematic area, including the brake pressure warning switch.
Replacing a Brake Pressure Warning Switch
Replacing a brake pressure warning switch is generally a straightforward procedure but may vary slightly depending on your vehicle model. Here’s a generalized guide:
-
Disconnect the battery: Always disconnect the negative battery cable before working on any electrical components to prevent shorts or electrical shocks.
-
Locate and access the switch: As mentioned earlier, it’s usually under the dashboard, near the brake pedal. You might need to remove some trim panels to access it.
-
Disconnect the electrical connector: Carefully detach the electrical connector from the switch.
-
Remove the old switch: This typically involves unscrewing it from its mounting point.
-
Install the new switch: Thread the new switch into place and tighten it securely.
-
Reconnect the electrical connector: Make sure it clicks into place.
-
Reconnect the battery: Reattach the negative battery cable.
-
Test the brake lights: Depress the brake pedal to confirm that the new switch functions correctly and illuminates the brake lights.
It’s important to note that if you’re uncomfortable working with automotive electrical systems, seeking professional help is always the safest route.
Conclusion
The brake pressure warning switch plays a crucial role in ensuring your safety on the road. By understanding its function and recognizing the signs of failure, you can address potential issues promptly. While troubleshooting and replacing the switch can be done by those with some automotive electrical knowledge, it’s always advisable to consult a professional mechanic for any complex repairs or if you’re unsure about any aspect of the process. Maintaining a properly functioning brake pressure warning switch contributes significantly to your overall driving safety and that of others on the road.