A brake booster warning light illuminating on your Silverado’s dashboard can be a nerve-wracking experience. This warning, often accompanied by a message like “Service Brake Booster,” indicates a problem with your truck’s brake system that requires immediate attention. Ignoring this warning could lead to reduced braking performance and increase the risk of an accident. This comprehensive guide will delve into the common causes of a Silverado brake booster warning, how to diagnose the issue, and the steps to rectify it.
Understanding Your Silverado’s Brake Booster
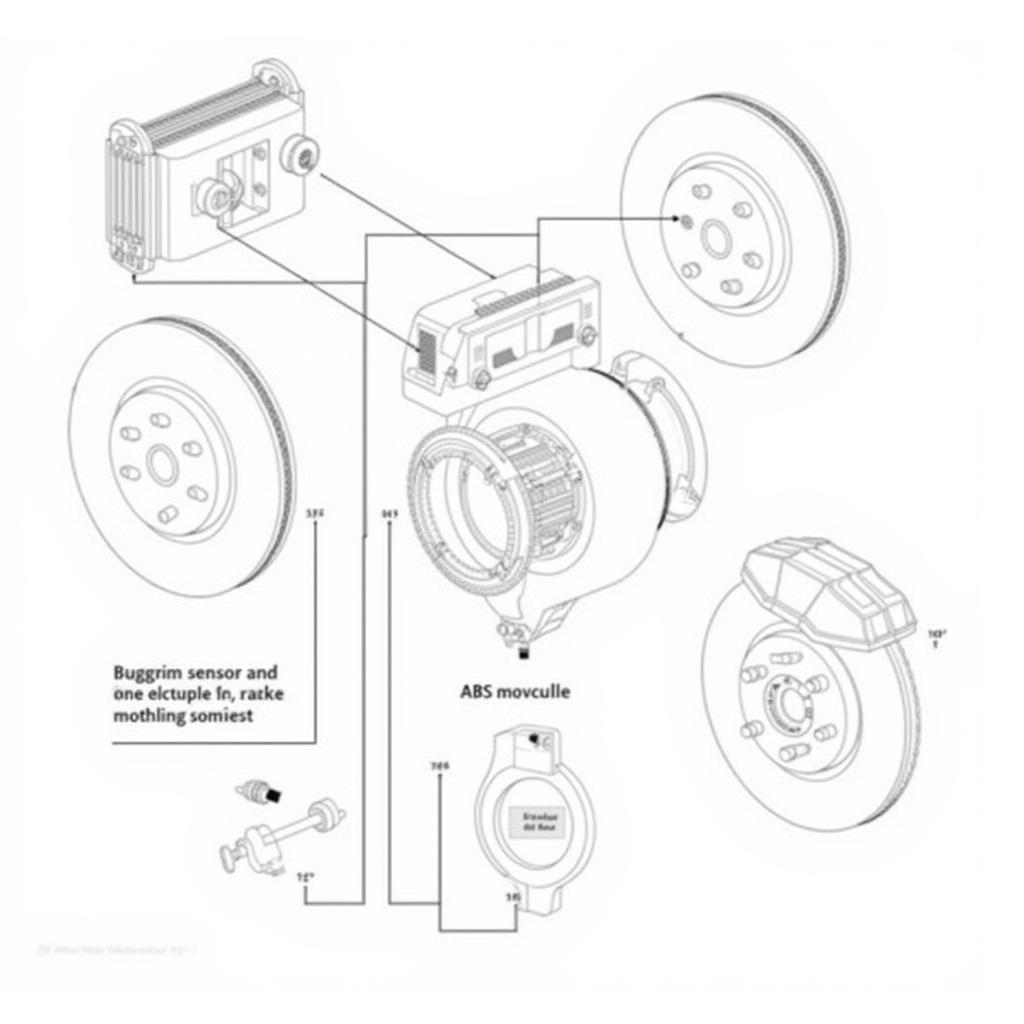
Before we dive into troubleshooting, it’s crucial to understand the vital role your brake booster plays. In essence, it’s a component that amplifies the force you apply to the brake pedal, making braking smoother and more effortless. The brake booster utilizes vacuum pressure, typically sourced from the engine, to assist in applying the brakes.
Common Causes of a Silverado Brake Booster Warning
A illuminated brake booster warning light can stem from various issues, ranging from simple fixes to more complex problems. Here are some of the most common culprits:
1. Vacuum Leaks:
The brake booster relies on a vacuum to function correctly. Any leaks in the vacuum hoses, check valve, or intake manifold can disrupt the vacuum supply, triggering the warning light.
2. Faulty Brake Booster:
Over time, the diaphragm inside the brake booster can wear out or tear, leading to internal vacuum leaks and a loss of assistance.
3. Brake Fluid Issues:
Low brake fluid levels, often caused by worn brake pads or leaks in the brake lines, can also affect the brake booster’s performance.
4. Electrical Problems:
While less common, faulty sensors, wiring harnesses, or a malfunctioning brake booster control module can also trigger the warning.
Diagnosing the Problem
Identifying the root cause of the brake booster warning is crucial for effective repair. Here’s a step-by-step approach:
-
Check for Visible Leaks: Inspect the vacuum hoses connected to the brake booster for any cracks, loose clamps, or signs of damage.
-
Inspect the Check Valve: This one-way valve, usually located in the vacuum hose, ensures the vacuum flow is unidirectional. A faulty check valve can disrupt the vacuum supply.
-
Listen for Hissing Sounds: With the engine running, listen carefully for any hissing sounds near the brake booster. This could indicate a vacuum leak.
-
Check Brake Fluid Level: Ensure the brake fluid reservoir is topped up to the recommended level. If it’s low, address any potential leaks in the brake system before proceeding.
-
Scan for Diagnostic Trouble Codes (DTCs): Using an OBD-II scanner can provide valuable insights into the specific issue by reading the stored DTCs related to the brake system.
Fixing the Silverado Brake Booster Warning
The repair approach depends on the diagnosed problem. Here are some common solutions:
-
Repairing Vacuum Leaks: Replace any damaged or worn-out vacuum hoses, tighten loose clamps, and address any leaks in the intake manifold or check valve.
-
Replacing the Brake Booster: If the booster itself is faulty, a replacement is necessary. This involves disconnecting the vacuum lines, master cylinder, and brake pedal linkage before installing a new booster.
-
Addressing Brake Fluid Issues: Refill the brake fluid to the recommended level and inspect the entire brake system for leaks. Repair any leaks and replace worn brake components as needed.
-
Resolving Electrical Issues: Consult a qualified mechanic to diagnose and repair any faulty sensors, wiring harnesses, or control modules related to the brake booster.
When to Seek Professional Help
While some brake booster issues can be addressed with basic mechanical skills, it’s crucial to remember that brakes are safety-critical components. If you’re uncomfortable with any aspect of the diagnosis or repair, seeking help from a certified mechanic is always recommended.
Conclusion
Addressing a Silverado brake booster warning promptly is crucial for maintaining your truck’s braking performance and ensuring your safety on the road. By understanding the common causes and following the troubleshooting steps outlined above, you can confidently address this issue and get back to driving with peace of mind. Remember, if in doubt, always consult a qualified mechanic.


