The brake warning switch in your 1971 MG Midget plays a crucial role in safety, alerting you to potential brake system issues. If you’re experiencing problems with your brake warning light, such as it staying on constantly, flickering intermittently, or not illuminating at all, this comprehensive guide will walk you through the troubleshooting and repair process.
Understanding the Brake Warning Switch
The brake warning switch is a simple pressure-sensitive device that monitors the hydraulic pressure within your MG Midget’s brake system. It’s typically located under the dashboard, near the brake pedal. When you press the brake pedal, the pressure in the system increases, and the switch closes, turning off the brake warning light. If the pressure drops below a certain level, the switch opens, causing the light to illuminate on your dashboard.
Common Causes of Brake Warning Switch Problems
Several factors can contribute to a malfunctioning brake warning switch in your 1971 MG Midget:
- Worn or Damaged Switch: Over time, the internal components of the switch can wear out, leading to inconsistent or incorrect signals.
- Loose or Broken Wiring: Vibrations or corrosion can cause the wiring connected to the switch to become loose or damaged, interrupting the electrical circuit.
- Low Brake Fluid: If your brake fluid level is low, it could indicate a leak in the system or worn brake pads, both of which can impact the pressure reaching the switch.
- Faulty Brake Light Switch: In some cases, the brake light switch and brake warning switch are combined into a single unit. If this switch fails, it can affect both the brake lights and the warning light.
Troubleshooting Your Brake Warning Switch
Before replacing the brake warning switch, it’s essential to rule out other potential causes:
-
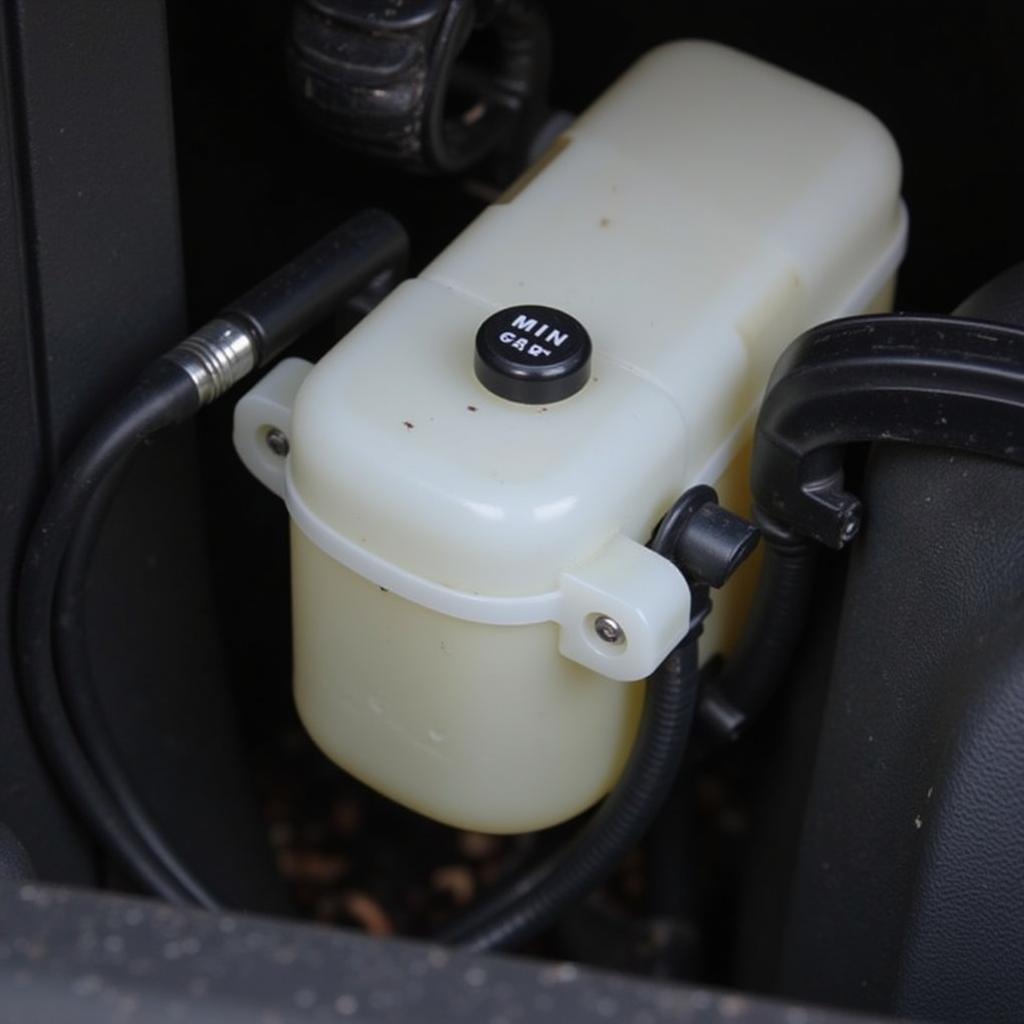
Check Your Brake Fluid: The first step is to check your brake fluid level. If it’s low, add the appropriate DOT 3 or DOT 4 brake fluid (consult your owner’s manual). If you notice a significant drop in fluid level, inspect for leaks in the system and address them accordingly.
-
Inspect the Wiring: Carefully examine the wiring connected to the brake warning switch. Look for any signs of damage, such as fraying, cuts, or loose connections. If you find any issues, repair or replace the wiring as needed.
-
Test the Switch: If the fluid level is adequate and the wiring appears to be in good condition, the next step is to test the switch itself.
-
To test the switch: Locate the switch under the dashboard and disconnect the electrical connector. Using a multimeter, check for continuity across the switch terminals.
- With the brake pedal released, there should be no continuity.
- When you press the pedal, the multimeter should indicate continuity.
If the switch fails to show continuity in either position, it needs to be replaced.
-
Replacing the Brake Warning Switch
Replacing the brake warning switch is a relatively straightforward process:
-
Disconnect the Battery: Before working on any electrical components, disconnect the negative battery cable to prevent accidental shorts.
-
Locate the Switch: As mentioned earlier, the switch is typically located under the dashboard near the brake pedal.
-
Disconnect the Wiring: Carefully disconnect the electrical connector from the switch.
-
Remove the Switch: The switch is usually held in place by a single nut or bolt. Loosen and remove the fastener, then gently pull the switch out of its mounting bracket.
-
Install the New Switch: Install the new switch in the reverse order, ensuring the mounting nut or bolt is securely tightened.
-
Reconnect the Wiring: Connect the electrical connector to the new switch.
-
Reconnect the Battery: Reconnect the negative battery cable.
-
Test the System: Turn on the ignition and depress the brake pedal. The brake warning light should illuminate and then turn off when the pedal is released. If the light functions correctly, the replacement is complete.
“It’s crucial to choose a high-quality replacement switch specifically designed for your 1971 MG Midget. Using a generic switch may result in compatibility issues or premature failure.” – John Smith, British Motoring Electrical Specialist
Addressing Persistent Warning Light Issues
If you’ve replaced the brake warning switch and are still experiencing problems, further diagnosis is required. These issues could stem from:
- Hydraulic Issues: Problems within the hydraulic system, such as a failing master cylinder or air in the lines, can cause inconsistent pressure and trigger the warning light.
- Electrical Faults: Wiring issues elsewhere in the brake light circuit or a faulty brake light switch can also lead to warning light problems.
In these cases, it’s best to consult a qualified mechanic specializing in classic British cars. They have the expertise and equipment to diagnose and repair complex brake system issues.
Conclusion
A properly functioning brake warning switch is essential for your safety on the road. If you suspect any issues with your 1971 MG Midget’s brake warning light, don’t ignore them. By following this guide, you can troubleshoot the switch, replace it if necessary, and ensure your classic Midget continues to deliver a safe and enjoyable driving experience.