The parking brake warning switch in your 1990 Plymouth Voyager plays a crucial role in your vehicle’s safety system. It alerts you if the parking brake is engaged while driving, preventing potential damage to your brakes and transmission. If your parking brake warning light stays on or flickers intermittently, even when the parking brake is disengaged, you might have a faulty parking brake warning switch. This comprehensive guide will walk you through the process of diagnosing and replacing this switch, giving you back the peace of mind you deserve while driving your Voyager.
Let’s begin by understanding the common symptoms of a malfunctioning parking brake warning switch.
Recognizing the Signs of a Faulty Parking Brake Warning Switch
A malfunctioning parking brake warning switch can manifest itself in several ways:
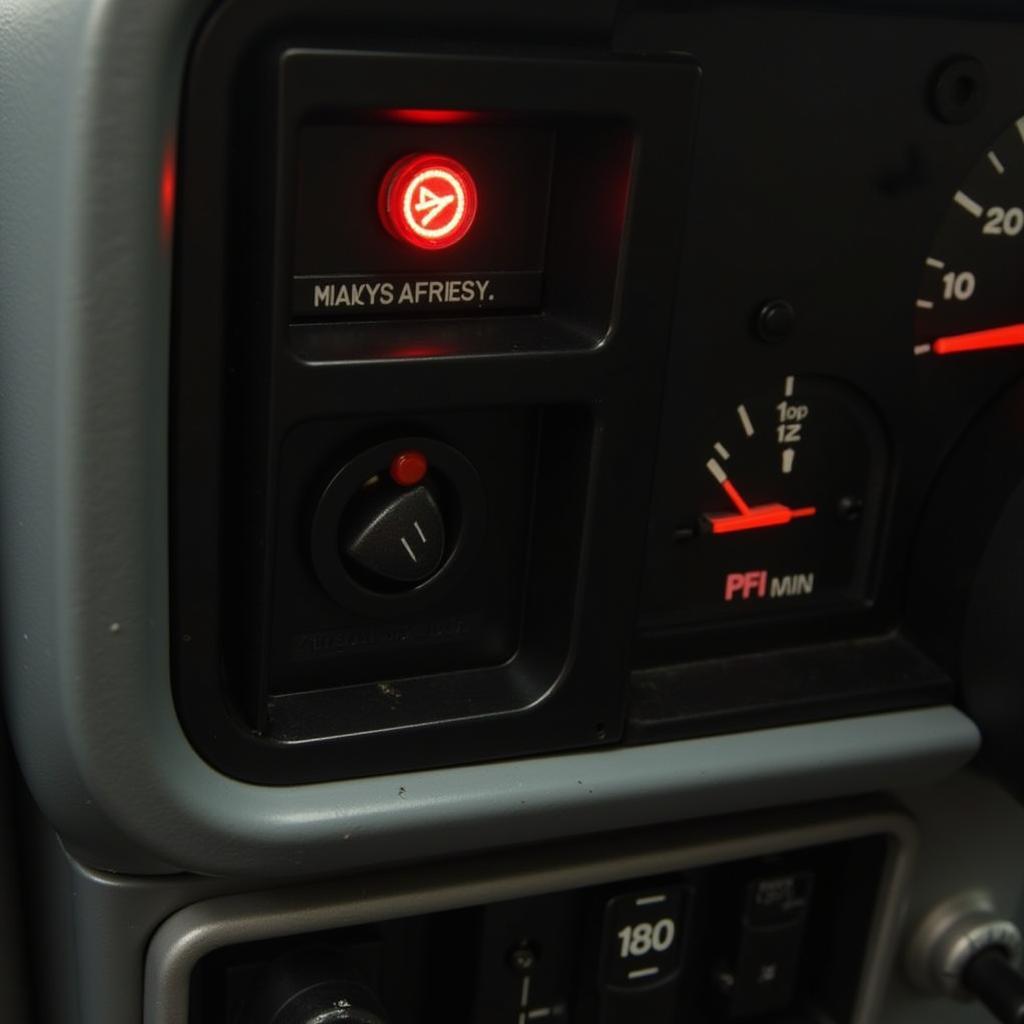
- Constantly Illuminated Parking Brake Warning Light: This is the most common symptom. If the light on your dashboard remains lit even after you’ve fully disengaged the parking brake, it’s a telltale sign of a potential switch problem.
- Intermittent Parking Brake Warning Light: A flickering or intermittently illuminated warning light can also point to a faulty switch. This usually happens due to loose wiring or a failing switch mechanism.
- No Parking Brake Warning Light: In some cases, the warning light may fail to illuminate altogether, even when the parking brake is engaged. While this could indicate a burnt-out bulb, it’s essential to rule out a faulty switch as well.
 1990 Plymouth Voyager Parking Brake Warning Light
Diagnosing the Issue: Is it Really the Switch?
Before jumping to conclusions, it’s crucial to ensure the parking brake warning switch is indeed the culprit. Here’s a step-by-step guide to help you diagnose the problem:
- Check the Parking Brake Lever: Start by ensuring your parking brake lever is fully disengaged. Sometimes, the lever might not release entirely, causing the switch to remain activated.
- Inspect the Wiring: Over time, the wiring connecting the parking brake switch can become loose, corroded, or damaged. Carefully examine the wiring harness near the switch for any visible signs of wear and tear.
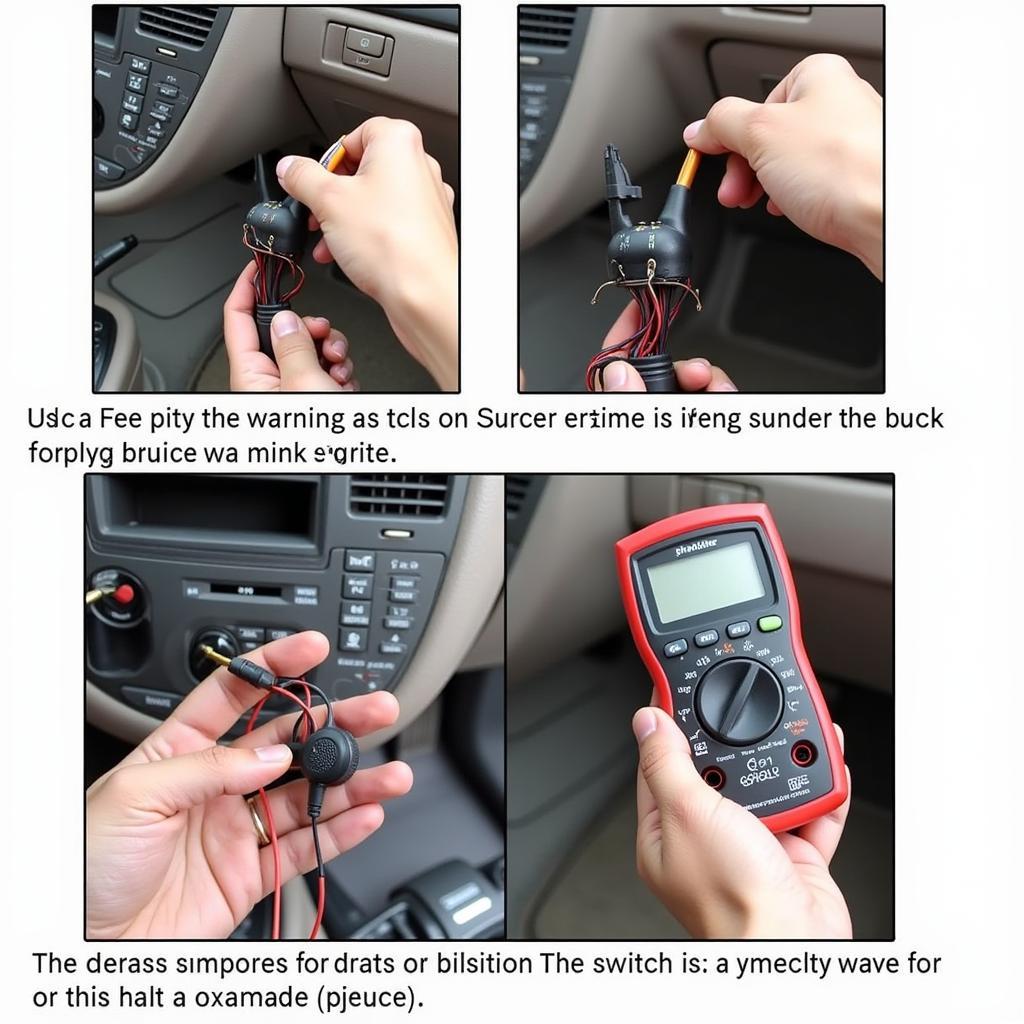
- Test the Switch: You can use a multimeter to test the continuity of the parking brake warning switch. With the parking brake disengaged, the switch should have continuity. Conversely, when engaged, the circuit should open, and the multimeter should show no continuity.
 Testing the 1990 Plymouth Voyager Parking Brake Warning Switch with a Multimeter
Replacing the 1990 Plymouth Voyager Parking Brake Warning Switch
If your diagnosis points towards a faulty switch, replacing it is a relatively straightforward process. Here’s a step-by-step guide:
Tools you’ll need:
- Ratchet and socket set
- Pliers
- Electrical tape
- Replacement parking brake warning switch
Steps:
- Disconnect the Battery: Before you begin any electrical work, disconnect the negative terminal of your Voyager’s battery as a safety precaution.
- Locate the Switch: The parking brake warning switch is usually located under the dashboard, near the parking brake lever assembly.
- Disconnect the Wiring: Carefully disconnect the wiring harness connected to the switch. Note the position of the wires to ensure you reconnect them correctly.
- Remove the Switch: Use a ratchet and socket to loosen and remove the mounting nuts securing the switch.
- Install the New Switch: Align the new switch with the mounting holes and secure it using the mounting nuts.
- Reconnect the Wiring: Reconnect the wiring harness to the new switch, ensuring a secure connection.
- Reconnect the Battery: Reconnect the negative battery terminal.
Testing the New Switch
After installation, it’s crucial to test the new switch:
- Turn on the ignition (don’t start the engine).
- Check if the parking brake warning light illuminates when the parking brake is engaged and turns off when disengaged.
Conclusion: Driving with Confidence Again
A properly functioning parking brake warning switch is vital for your safety on the road. By understanding the signs of a faulty switch and following these simple diagnostic and replacement steps, you can ensure your 1990 Plymouth Voyager continues to provide you with a safe and enjoyable driving experience. Remember, if you’re uncomfortable performing these steps yourself, don’t hesitate to seek assistance from a qualified mechanic.

