Wiring a car radio can seem daunting, but with the right knowledge and approach, it can be a manageable DIY project. This guide provides a comprehensive overview of wiring car radios, covering everything from understanding the wiring diagram to troubleshooting common problems.
 Car Radio Wiring Diagram Explained
Understanding Car Radio Wiring Basics
Before diving into the wiring process, it’s crucial to understand the basic components involved. Every car radio wiring harness includes wires for power, ground, speakers, and the antenna. Identifying these wires correctly is the first step to a successful installation. The power wire typically connects to the car’s battery, while the ground wire provides a return path for the electrical current. Speaker wires transmit audio signals, and the antenna wire receives radio signals. Knowing the function of each wire is essential for avoiding damage to your radio and car’s electrical system. Remember, a poorly wired radio can lead to blown fuses or even electrical shorts.
Decoding the Wiring Diagram
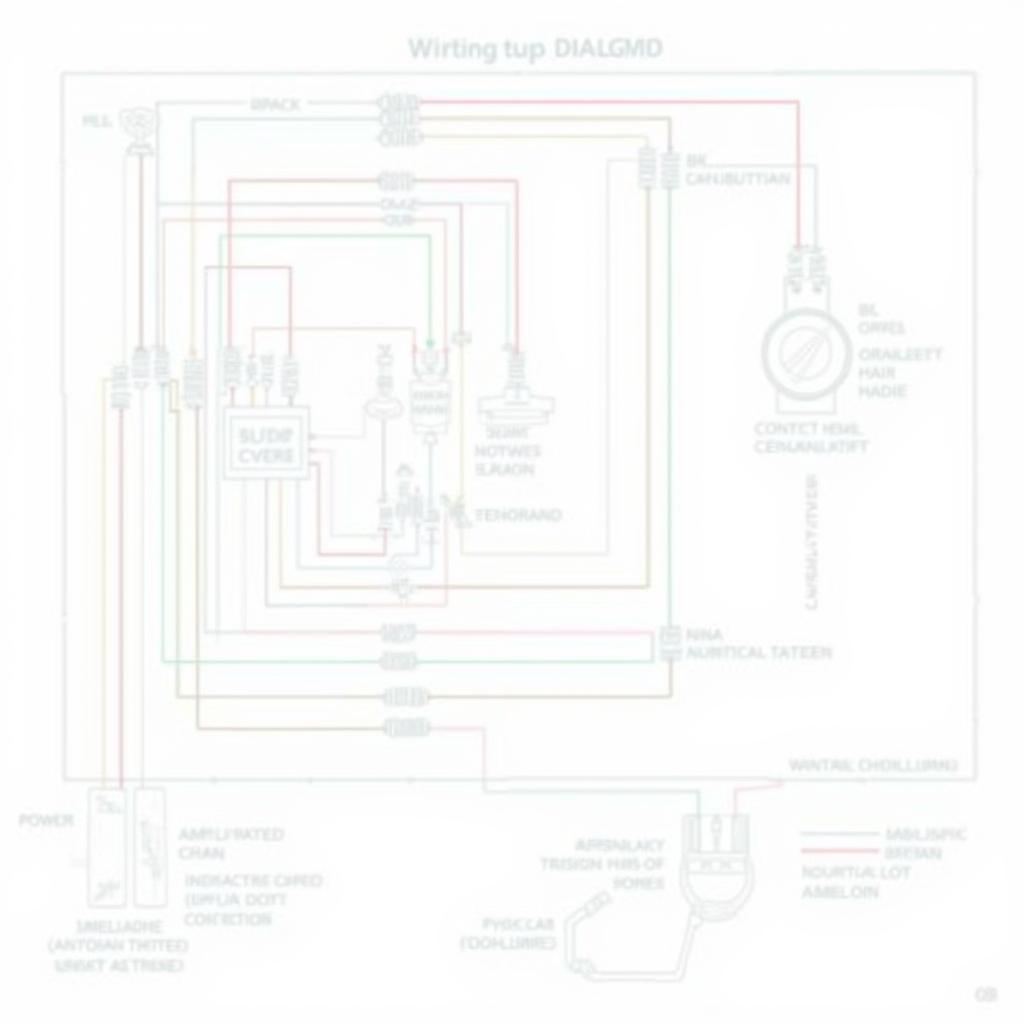
A wiring diagram is your roadmap to a successful car radio installation. It illustrates the connections between the radio and the car’s electrical system. Most car stereo manuals include a wiring diagram specific to the model. If you can’t find it in your manual, you can often find diagrams online. It’s like reading a map – once you understand the symbols and abbreviations, it will guide you through each connection. For example, a red wire usually indicates the power connection, while a black wire signifies ground. Don’t be afraid to refer to the battery symbol on dashboard if you are unsure about your car’s electrical system.
Step-by-Step Wiring Instructions
- Disconnect the negative battery terminal: This is a critical safety precaution to prevent electrical shocks and damage to your car’s electrical system.
- Remove the old radio: Carefully detach the trim panels and unscrew the old radio from the dashboard.
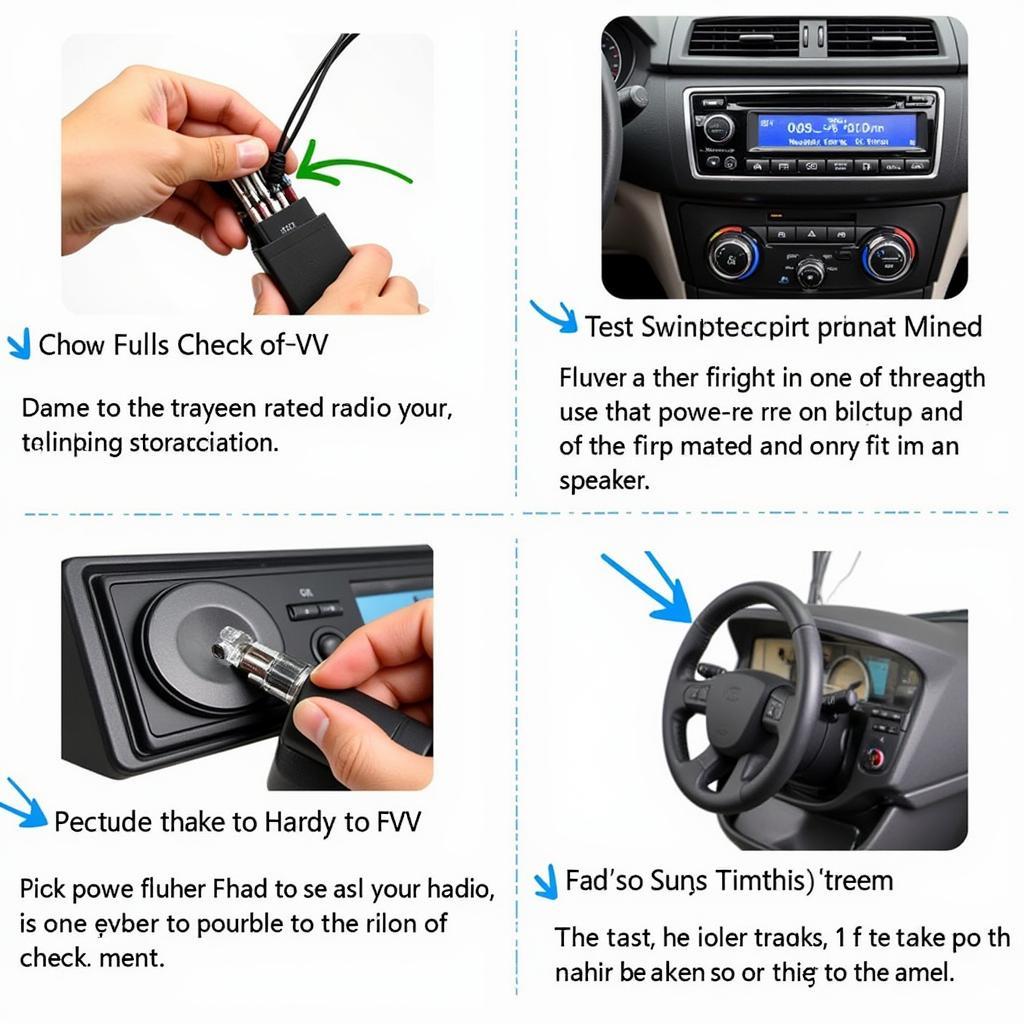
- Identify the wires: Using the wiring diagram, match the wires from the new radio to the corresponding wires in your car’s wiring harness. Color codes are usually consistent, but it’s always best to double-check.
- Connect the wires: Use crimp connectors or soldering to create secure connections. Ensure each connection is tight and insulated to prevent shorts. You might find information about brake warning lights, such as the 1988 corvette brake pressure warning switch or what can turn on the red brake warning light helpful during this process, especially if you encounter any issues with your car’s electrical system while working on the radio installation.
- Test the connections: Before fully installing the radio, reconnect the negative battery terminal and test the radio’s functionality. Make sure the power, speakers, and antenna are working correctly.
- Install the radio: If everything works correctly, secure the radio in the dashboard and reattach the trim panels.
Troubleshooting Common Wiring Issues
Sometimes, even with careful planning, wiring issues can arise. Common problems include no power, blown fuses, or no sound from the speakers. If you encounter any problems, double-check all connections and consult the wiring diagram. Don’t hesitate to seek professional help if you’re unsure about anything. Some issues, such as the mercedes active brake assist warning light or antilock brake warning, might require specialized diagnostic tools and expertise.
 Troubleshooting Car Radio Wiring Problems
Quote from John Smith, Certified Automotive Electrician: “Always double-check your wiring diagram and connections. A few minutes of careful checking can save you hours of troubleshooting.”
Quote from Jane Doe, Car Audio Specialist: “Don’t be afraid to ask for help. Wiring a car radio can be complex, and there’s no shame in seeking professional advice if you’re stuck.”
Conclusion
Wiring a car radio is a rewarding project that can enhance your driving experience. By following these steps and taking your time, you can successfully install your new radio. Remember, understanding the wiring diagram is key, and ensuring secure connections is crucial for avoiding problems down the road. With a little patience and the right information, wiring your car radio can be a satisfying DIY accomplishment.
FAQ
- What do I do if my car radio has no power? Check the fuse for the radio circuit. Also, double-check the power wire connection to the battery.
- Why is there no sound coming from my speakers? Ensure the speaker wires are correctly connected to the corresponding terminals on the radio.
- Where can I find a wiring diagram for my car radio? Check the radio’s manual or search online for diagrams specific to your car and radio model.
- What tools do I need for wiring a car radio? Basic tools include a screwdriver, wire strippers, crimp connectors or soldering iron, and electrical tape.
- Is it safe to wire my own car radio? Yes, as long as you follow safety precautions, such as disconnecting the negative battery terminal.
- What if I’m not comfortable wiring my own car radio? Seek professional help from a qualified car audio installer.
- Can a poorly wired radio damage my car? Yes, improper wiring can lead to blown fuses, electrical shorts, and even damage to the radio itself.


