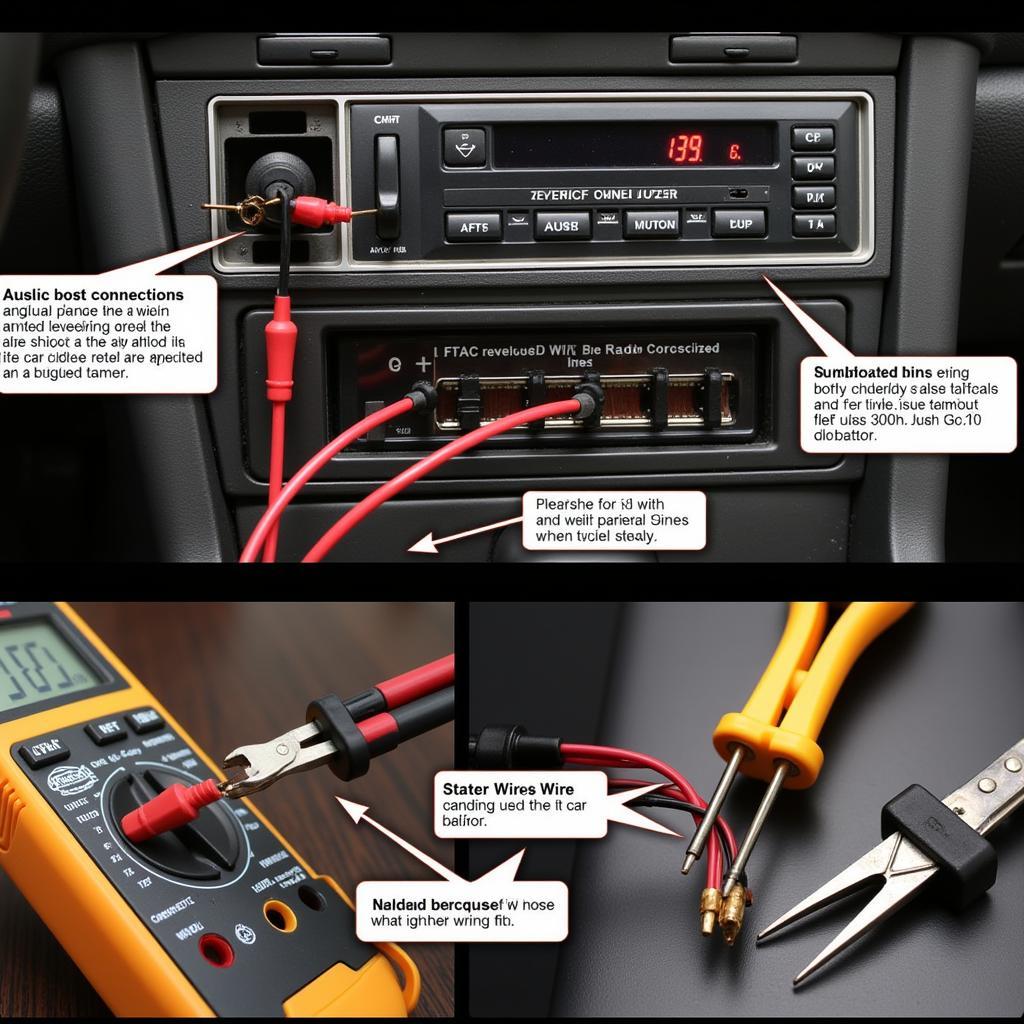
Understanding your Jensen car radio wiring diagram is crucial for any installation, repair, or upgrade. Whether you’re a seasoned car audio enthusiast or a beginner just starting out, this guide will provide you with the knowledge and resources you need to navigate the complexities of Jensen car radio wiring. We’ll cover everything from basic color codes to advanced troubleshooting techniques, ensuring you have a clear understanding of your system.
Decoding the Jensen Car Radio Wiring Diagram
A Jensen car radio wiring diagram is essentially a roadmap to your car’s audio system. It illustrates the connections between the radio and various components like speakers, power sources, and the vehicle’s electrical system. These diagrams are essential for successful installation and troubleshooting. Knowing how to read one can save you time, money, and frustration. There are a variety of resources available, from online databases to owner’s manuals, that can provide you with the correct diagram for your specific Jensen car radio model.
Different Jensen models might have slightly different wiring configurations. Therefore, it’s important to locate the diagram specific to your radio. This information is usually found in the owner’s manual or on the manufacturer’s website. Using the wrong diagram can lead to improper connections, potentially damaging your radio or other car components.
Common Jensen Car Radio Wiring Issues and Solutions
One common issue people face is identifying the correct wires for power, ground, and speakers. Understanding the standard color codes can be a big help. For instance, the yellow wire typically represents constant power, while the red wire is switched power. Black is generally ground. Speaker wires often come in pairs with contrasting stripes. However, there can be variations, so always double-check your specific diagram.
 Troubleshooting Jensen Car Radio Wiring
Another frequent problem is a blown fuse. This is often caused by a short circuit in the wiring. Check the fuse box in your car and replace any blown fuses. If the new fuse blows immediately, there’s likely a more serious wiring issue that requires professional attention. Sometimes, the radio simply won’t turn on. This can be due to a loose connection, a faulty ignition switch, or a problem with the radio itself. Systematically check each connection and component to isolate the problem.
Advanced Troubleshooting with Remote Diagnostics
With advancements in technology, remote diagnostics and software programming are increasingly becoming valuable tools in troubleshooting car radio problems. Services like those offered by specialized automotive technicians can provide remote assistance in diagnosing and resolving complex wiring issues. This can save you a trip to the repair shop. Imagine having an expert guide you through the troubleshooting process from the comfort of your own home!
“Remote diagnostics allows us to quickly identify the root cause of a problem without the customer needing to bring their car in,” says John Miller, a Senior Automotive Diagnostic Technician at a leading car electronics repair center. “This saves time and money, and allows us to provide faster solutions.”
Why a Correct Wiring Diagram is Essential
A correct Jensen car radio wiring diagram is your best ally when it comes to car audio installation and repair. It ensures proper connections, preventing damage to your equipment and vehicle. It also simplifies the installation process, saving you time and frustration. Remember, using the wrong diagram can lead to costly mistakes.
“A wiring diagram is like a blueprint for your car’s audio system,” adds Maria Garcia, Lead Car Audio Installer at a reputable car audio shop. “It’s the key to a successful and safe installation.”
Conclusion
Mastering the Jensen car radio wiring diagram is a crucial skill for any car audio enthusiast. Whether you’re installing a new radio, troubleshooting an existing problem, or upgrading your system, having the right diagram and understanding how to use it is paramount. By following the guidelines in this article, you can ensure a smooth and successful experience with your Jensen car radio. Remember, a correct wiring diagram is your best friend in the world of car audio!
FAQ
-
Where can I find a Jensen car radio wiring diagram? You can typically find these diagrams in your owner’s manual or on the manufacturer’s website.
-
What do the different colors on the wires represent? While there are general color codes, they can vary. Always refer to your specific diagram for accurate information.
-
What should I do if my radio won’t turn on? Check the fuse, connections, and the ignition switch. If the problem persists, seek professional help.
-
How can remote diagnostics help with wiring problems? Remote diagnostics allows technicians to analyze your car’s system remotely, often identifying problems without requiring a physical inspection.
-
What are some common Jensen car radio wiring issues? Blown fuses, loose connections, and incorrect wiring are common issues.
-
Why is using the correct wiring diagram important? It prevents damage to your equipment and ensures proper functionality.
-
What if I can’t find my wiring diagram? Contact Jensen customer support or a qualified car audio professional for assistance.


