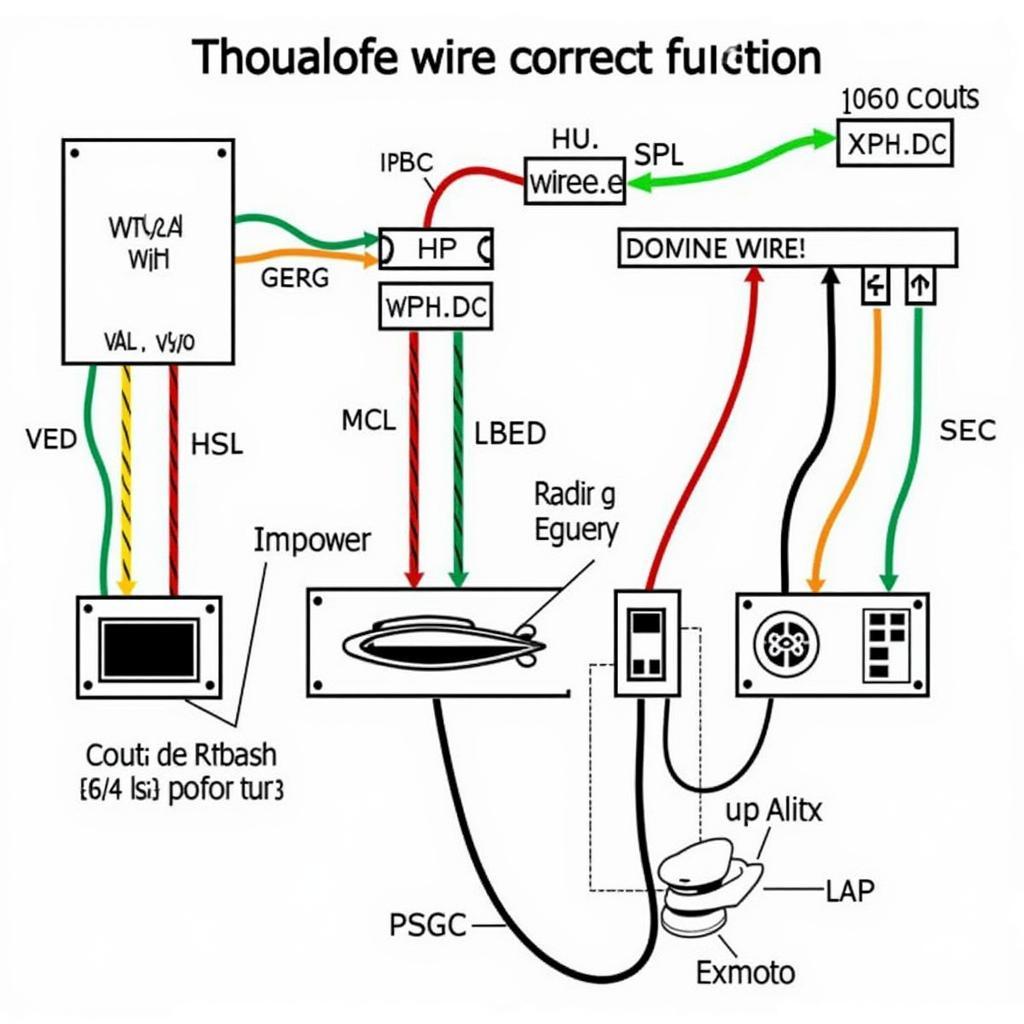
Understanding an aftermarket car radio wiring diagram is crucial for a successful installation. Whether you’re upgrading your sound system or replacing a faulty unit, this guide will walk you through everything you need to know about aftermarket car radio wiring diagrams, from basic color codes to advanced troubleshooting techniques.
 Aftermarket Car Radio Wiring Diagram Basics
Car stereos have become an integral part of the driving experience. They provide entertainment, navigation, and even hands-free calling. However, installing a new car stereo can be daunting, especially when faced with a complex wiring diagram. This article aims to simplify the process, offering clear explanations and practical advice.
Decoding the Aftermarket Car Radio Wiring Diagram
An aftermarket car radio wiring diagram is essentially a roadmap that shows you how to connect your new radio to your car’s electrical system. It identifies the function of each wire, typically using color codes and labels.
Understanding the Basic Color Codes
Most car radio wiring diagrams follow a standard color code, although there can be variations between car manufacturers. Some common color codes include:
- Yellow: Constant 12V power (battery)
- Red: Switched 12V power (ignition)
- Black: Ground
- Blue: Power antenna or amplifier remote turn-on
- Orange: Illumination
- Green, Purple, Gray, White: Speaker wires (positive and negative)
Understanding these basic color codes is the first step in successfully installing your new car stereo.
Using a Wiring Harness Adapter
A wiring harness adapter can significantly simplify the installation process. This adapter connects the aftermarket radio to the car’s factory wiring without requiring any cutting or splicing of wires. It translates the color codes of the aftermarket radio to those of your specific car model, minimizing the risk of errors. You can find these adapters at most car audio retailers. They’re a small investment that can save you a lot of time and potential headaches.
Troubleshooting Common Wiring Issues
Even with a wiring diagram and a harness adapter, you might encounter some issues during installation. Here are some common problems and how to troubleshoot them:
- No Power: Check the fuse for the radio circuit. Also, ensure the yellow and red wires are correctly connected to the constant and switched 12V power sources, respectively.
- No Sound: Verify the speaker wires are connected correctly, observing polarity (positive and negative). Also, check the speaker impedance compatibility with the radio.
- Radio Turns Off with Ignition: The red wire (switched 12V power) might be connected to the wrong source. Make sure it’s connected to a source that only receives power when the ignition is on.
“A good multimeter is essential for diagnosing car audio problems,” says John Smith, Senior Automotive Electrical Technician at AutoTech Solutions. “It allows you to quickly pinpoint voltage drops, shorts, and open circuits.”
Advanced Wiring Techniques
For those looking to add amplifiers, subwoofers, or other advanced audio components, a more in-depth understanding of wiring is required. Consult your car stereo and amplifier manuals for specific wiring instructions.
Amplifier Integration
Integrating an amplifier requires connecting the amplifier’s power wire to the battery, the ground wire to a clean metal surface on the car chassis, and the remote turn-on wire to the blue wire on the radio. You’ll also need to run RCA cables from the radio’s preamp outputs to the amplifier’s inputs and speaker wires from the amplifier’s outputs to the speakers.
“Proper grounding is vital for optimal audio performance,” advises Maria Garcia, Lead Car Audio Installer at Sound Solutions Inc. “A poor ground can lead to noise and distortion.”
Conclusion
Installing an aftermarket car radio can be a rewarding experience, upgrading your driving enjoyment significantly. With a clear understanding of the aftermarket car radio wiring diagram, a wiring harness adapter, and some basic troubleshooting skills, you can confidently tackle this project yourself. Remember to always consult your car’s specific wiring diagram and the radio’s manual for precise instructions.
Remember, working with car electrical systems can be complex. If you’re unsure about any aspect of the installation, it’s always best to consult a qualified car audio professional.
FAQ
- Where can I find a wiring diagram for my specific car model? You can often find wiring diagrams in your car’s owner’s manual, online forums, or specialized websites.
- What gauge wire should I use for the power and ground connections? The recommended wire gauge depends on the power requirements of your radio and amplifier. Consult the manufacturer’s specifications for guidance.
- Can I install an aftermarket radio myself? Yes, many people successfully install their own car radios. However, if you’re not comfortable working with electrical systems, it’s best to seek professional help.
- What is a double DIN car stereo? A double DIN car stereo is twice the height of a standard (single DIN) stereo, allowing for larger screens and more features.
- What should I do if my new radio doesn’t turn on? Check the fuse, power connections (yellow and red wires), and the ground connection.
- How can I prevent noise and interference in my car audio system? Ensure proper grounding and use high-quality wiring and connectors.
- What is an amplified antenna? An amplified antenna boosts the radio signal, improving reception in areas with weak signals.


