“Music to my ears” shouldn’t be a phrase reserved for when your car stereo finally works after hours of deciphering wires. Installing an aftermarket car stereo can seem like a daunting task, especially when faced with a jumble of wires in your car’s dashboard. But don’t hit the panic button just yet! Understanding your car stereo wiring diagram and the color codes of your aftermarket radio wiring harness is the key to a smooth and successful installation.
Decoding the Maze: Car Stereo Wiring Basics
Before we dive into the colorful world of wiring, let’s take a quick look at the components involved. Your car stereo system typically comprises the head unit (the brain), speakers (the voice), an amplifier (the muscle, if you’re serious about sound), and the wiring harness (the nervous system connecting it all).
Common Car Stereo Wiring Problems
Even the most seasoned DIY enthusiast can run into trouble with car stereo wiring. Here are some common culprits:
- No Power: The most frustrating issue – your stereo is as silent as a mime. This often points to a problem with the power or ground wires.
- Sound Issues: Think muffled audio, static, or only one speaker working. This could indicate incorrectly connected speaker wires or a faulty amplifier connection.
- Erratic Behavior: Is your stereo possessed? Features randomly turning on and off could signify a short circuit or a wiring harness issue.
Why Wiring Harnesses are Your New Best Friend
An aftermarket radio wiring harness is designed to simplify your life. It acts as an interpreter between your new stereo and your car’s electrical system. Instead of splicing into your factory wiring (and risking permanent damage), you connect the matching wires from the harness to your new stereo. Easy peasy!
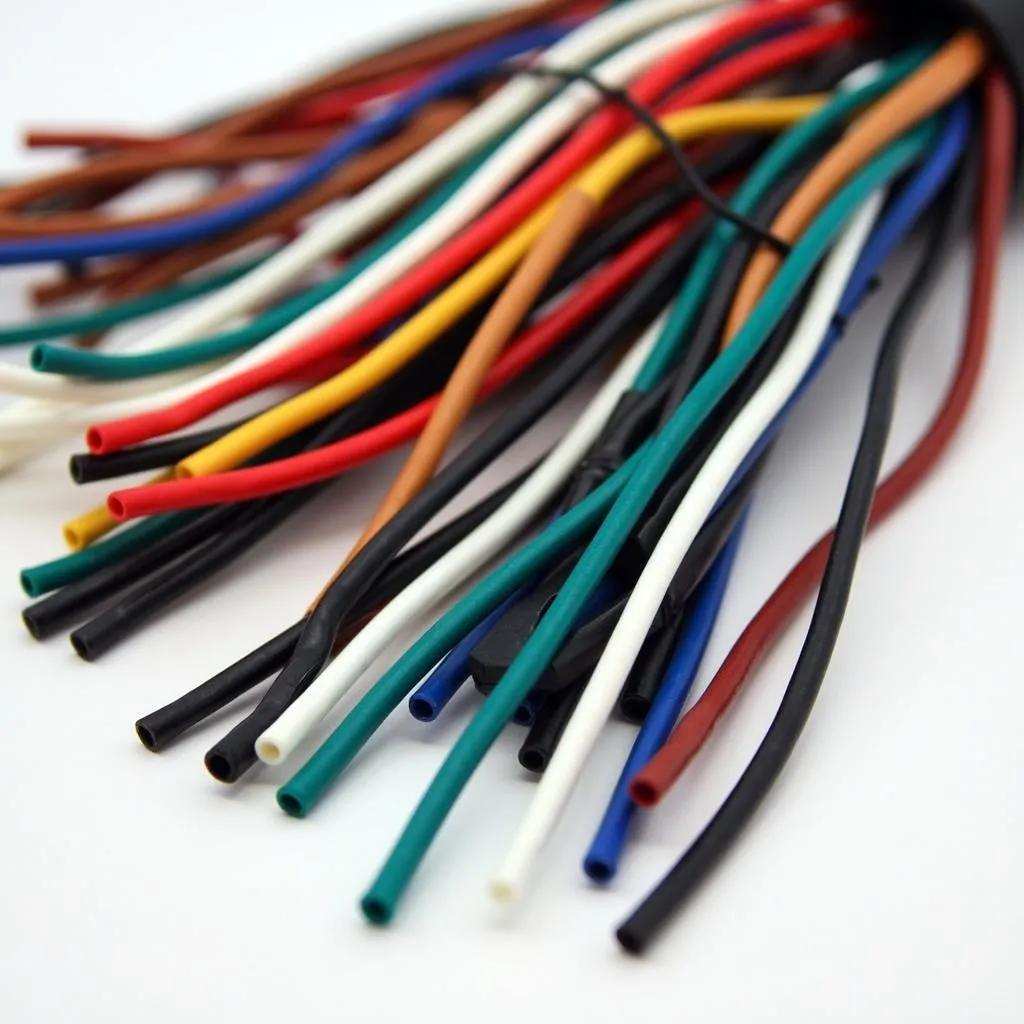 Aftermarket radio wiring harness with color coded wires
Cracking the Color Code: Aftermarket Radio Wiring Harness
This is where the detective work begins. While there are general color code guidelines, remember that each car manufacturer may have slight variations. Always refer to your car’s specific wiring diagram (usually found in the owner’s manual or online) and the instructions that come with your new stereo and harness.
Common Aftermarket Radio Wiring Harness Color Codes:
- Yellow: Constant 12V Power (Battery)
- Red: Switched 12V Power (Accessory)
- Black: Ground
- Blue: Power Antenna or Amplifier Remote Turn-on
- Orange: Dash Light Dimmer
- White: Front Left Speaker (+)
- White/Black Stripe: Front Left Speaker (-)
- Gray: Front Right Speaker (+)
- Gray/Black Stripe: Front Right Speaker (-)
- Green: Rear Left Speaker (+)
- Green/Black Stripe: Rear Left Speaker (-)
- Purple: Rear Right Speaker (+)
- Purple/Black Stripe: Rear Right Speaker (-)
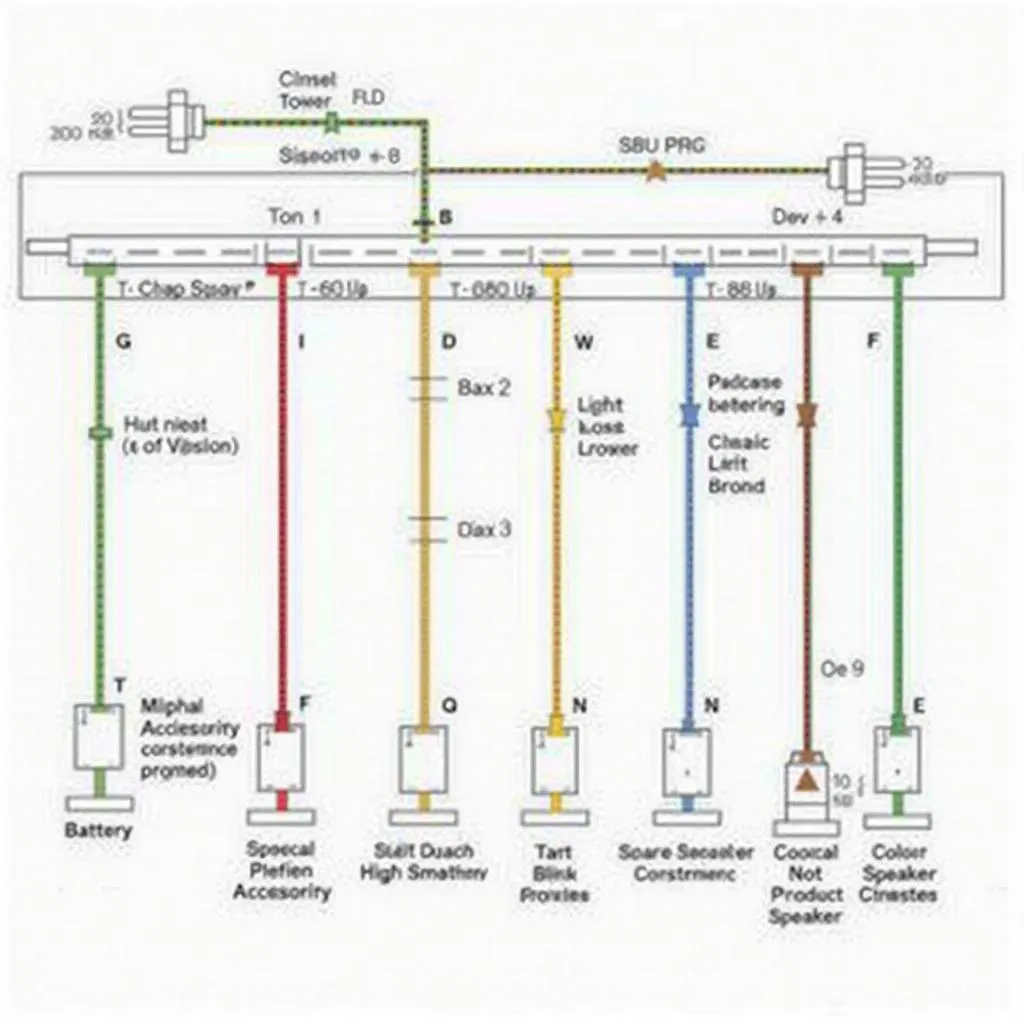 Car stereo wiring diagram with color codes for different wires
Troubleshooting Time: Identifying and Fixing Common Wiring Issues
Before grabbing your toolbox, always disconnect the negative battery terminal to avoid any electrical mishaps.
- No Power? Check the yellow (constant power) and red (switched power) wire connections. Use a multimeter to test for voltage. A blown fuse is another possibility.
- Sound Only From One Side? Double-check the speaker wire connections on both the harness and the stereo. Ensure the positive (+) and negative (-) wires are correctly matched.
- Static or Distortion? Make sure your ground wire (black) has a solid connection to a metal part of the vehicle’s chassis.
Essential Tools for the Job
- Wire Strippers/Crimpers: For stripping insulation and attaching connectors.
- Electrical Tape: For insulating wire connections.
- Multimeter: For testing voltage and continuity.
- Panel Removal Tools: For safely removing your car’s dashboard trim.
- Patience: Your most valuable tool!
FAQs: Your Burning Car Stereo Wiring Questions Answered
Q: Can I install a new car stereo myself?
A: Absolutely! With a bit of patience, the right tools, and a good understanding of your car’s wiring, it’s a manageable DIY project.
Q: My new stereo has more wires than my car harness. What do I do?
A: Some stereos have additional features (like steering wheel controls or Bluetooth) that require extra connections. Consult your stereo’s manual and look for adapter harnesses if needed.
Q: My car’s wiring colors don’t match the standard codes. Help!
A: This is where your car’s specific wiring diagram becomes crucial. Refer to your owner’s manual or search online using your car’s make, model, and year.
Q: Can I use a wiring harness from a different car model?
A: It’s not recommended. Using the incorrect harness can lead to compatibility issues, improper connections, and potential damage to your car’s electrical system.
Cardiagtech: Your Partner in Automotive Diagnostics and Repair
Understanding your car’s electrical system is essential for proper maintenance and repairs. At CARDIAGTECH, we offer a range of advanced automotive diagnostic tools and software to help you troubleshoot and resolve any issue with confidence. Visit our website to explore our range of products, including OBD2 scanners, diagnostic software, and more.
Hit the Road with Confidence: Connecting Your Car Audio System
While this guide provides a general overview, always remember that every car is unique. Refer to your specific car stereo wiring diagram and instructions. And if you’re unsure about any aspect of the installation, don’t hesitate to consult a qualified automotive electrician. With a little know-how and the right tools, you’ll be enjoying your favorite tunes on the open road in no time!