Understanding your Audiovox car radio wiring diagram is crucial for a successful installation or troubleshooting process. Whether you’re upgrading your car stereo, fixing a malfunctioning system, or simply adding new components, a clear wiring diagram can save you hours of frustration and potential damage. This guide provides comprehensive information about Audiovox car radio wiring diagrams, covering everything from basic principles to advanced troubleshooting techniques.
Decoding the Audiovox Car Radio Wiring Diagram
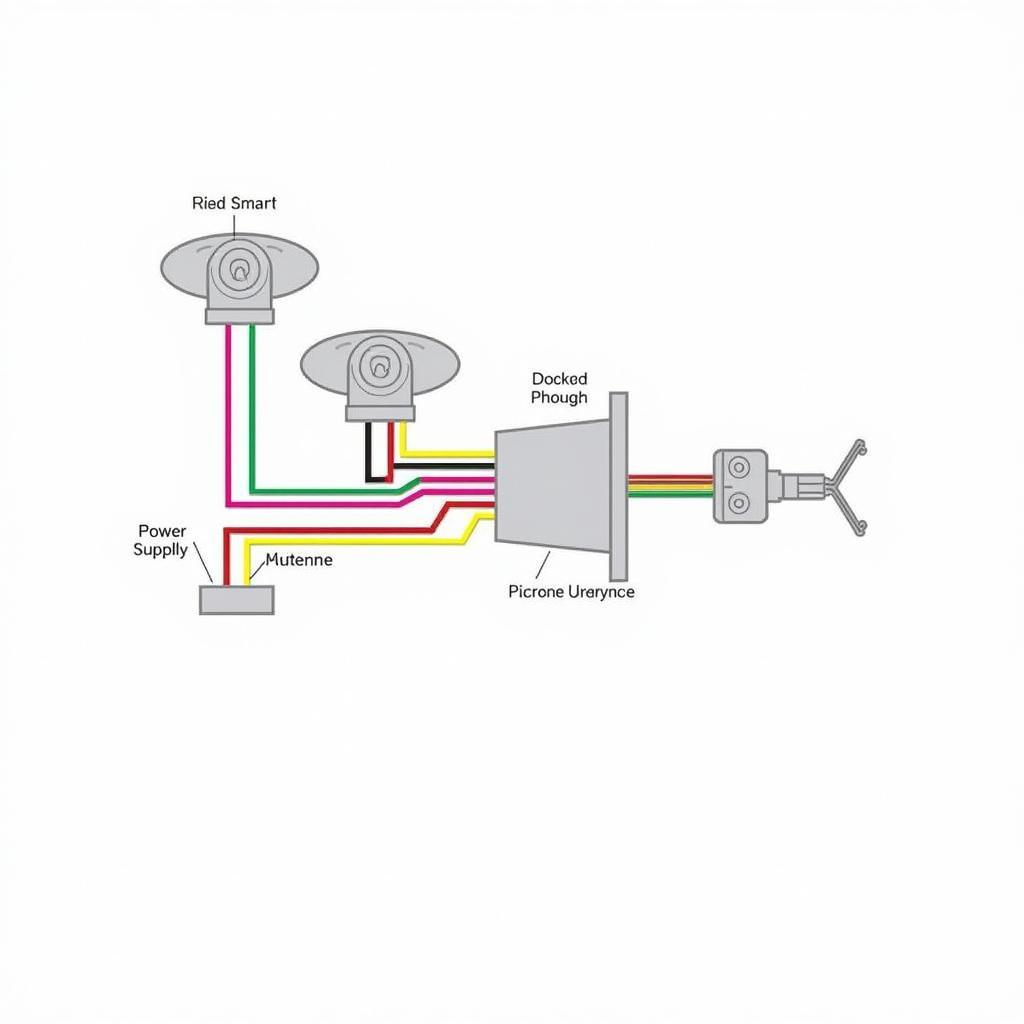
An Audiovox car radio wiring diagram is essentially a roadmap of your car’s audio system. It shows the connections between the radio and various components, including speakers, amplifiers, and the car’s power supply. These diagrams use standardized color codes and symbols to represent different wires and connections, making it easier to identify each component’s function.
Why is the Wiring Diagram Important?
A wiring diagram is indispensable for several reasons. Firstly, it ensures correct installation. Connecting wires incorrectly can lead to blown fuses, damaged components, and even fire hazards. Secondly, it’s essential for troubleshooting. If your audio system isn’t working correctly, the wiring diagram can help you pinpoint the source of the problem. Finally, it’s vital for adding new components, such as amplifiers or subwoofers, ensuring seamless integration with your existing system.
 Example of an Audiovox Car Radio Wiring Diagram
Common Color Codes and Symbols
Understanding the standard color codes and symbols used in car audio wiring diagrams is essential. Common colors include:
- Yellow: Constant 12V power
- Red: Accessory 12V power (switched)
- Black: Ground
- Blue: Power antenna or amplifier remote turn-on
- Green: Left front speaker (+)
- Green/Black: Left front speaker (-)
- White: Left rear speaker (+)
- White/Black: Left rear speaker (-)
- Gray: Right front speaker (+)
- Gray/Black: Right front speaker (-)
- Purple: Right rear speaker (+)
- Purple/Black: Right rear speaker (-)
These are just some examples, and variations may exist depending on the specific Audiovox model. Always refer to your car radio’s manual for the precise wiring diagram.
Troubleshooting with Your Audiovox Wiring Diagram
When your car audio system malfunctions, the wiring diagram becomes your primary diagnostic tool. Start by checking the fuses. A blown fuse is often the simplest explanation for a non-working system. Then, use a multimeter to test for continuity in the wiring, ensuring each wire is properly connected and not damaged.
How to Use a Multimeter
A multimeter can help identify broken wires or loose connections. Set the multimeter to the continuity setting and touch the probes to the two ends of the wire you’re testing. A beep indicates a good connection. No beep suggests a break in the wire.
“A common mistake people make is assuming a complex issue when it’s often a simple blown fuse,” says John Davis, a veteran car audio technician with over 20 years of experience. “Always check the basics first before diving into more complicated diagnostics.”
Finding Your Audiovox Wiring Diagram
Locating the correct wiring diagram for your Audiovox car radio is crucial. The best place to start is your car radio’s owner’s manual. If you don’t have the manual, you can often find it online on the Audiovox website or through various online resources. Make sure you have the correct model number for your radio to ensure you get the right diagram.
Online Resources for Audiovox Wiring Diagrams
Numerous online resources offer car audio wiring diagrams. Websites like Modified Life and The12volt often have extensive databases of wiring diagrams for various car makes and models.
“Don’t be afraid to consult online forums or communities dedicated to car audio,” advises Sarah Miller, a certified automotive electrician. “These communities are full of experienced individuals who can provide valuable advice and assistance.”
Conclusion
The Audiovox car radio wiring diagram is an essential tool for anyone working on their car audio system. Whether you’re installing a new radio, troubleshooting a problem, or adding new components, understanding the wiring diagram is crucial for success. By following the guidelines outlined in this guide and using the appropriate resources, you can confidently tackle your car audio projects and achieve optimal sound quality.
FAQ
-
Where can I find the wiring diagram for my specific Audiovox car radio? Check your owner’s manual first, then try the Audiovox website or online resources like Modified Life and The12volt.
-
What do the different color codes on the wiring diagram represent? Each color represents a specific function, like power, ground, or speaker connections. Refer to your manual for the exact color codes for your model.
-
What should I do if my car radio isn’t working? Start by checking the fuses. If the fuses are good, use a multimeter to check for continuity in the wiring.
-
How can I tell if a wire is broken using a multimeter? Set the multimeter to continuity mode and touch the probes to the wire ends. A beep indicates a good connection; no beep suggests a break.
-
What are some common mistakes to avoid when working with car audio wiring? Connecting wires incorrectly is a major mistake. Always double-check your connections against the wiring diagram.
-
Where can I find help if I’m struggling to understand my Audiovox wiring diagram? Online car audio forums and communities are great resources for getting advice and assistance from experienced enthusiasts.
-
What tools do I need to work with car audio wiring? Essential tools include a multimeter, wire strippers/crimpers, electrical tape, and a wiring diagram.
