A car radio is more than just a source of entertainment; it’s often the central hub for navigation, hands-free calling, and even vehicle diagnostics. Understanding the basic car radio wiring diagram is crucial for any car enthusiast looking to upgrade, repair, or simply troubleshoot their car audio system. This guide provides a comprehensive overview of car radio wiring, empowering you to confidently tackle your car audio projects. A faulty wiring can lead to a battery faulty, so having a good understanding of your car’s electrical system is crucial.
Decoding the Wires: A Look at the Standard Car Radio Wiring Diagram
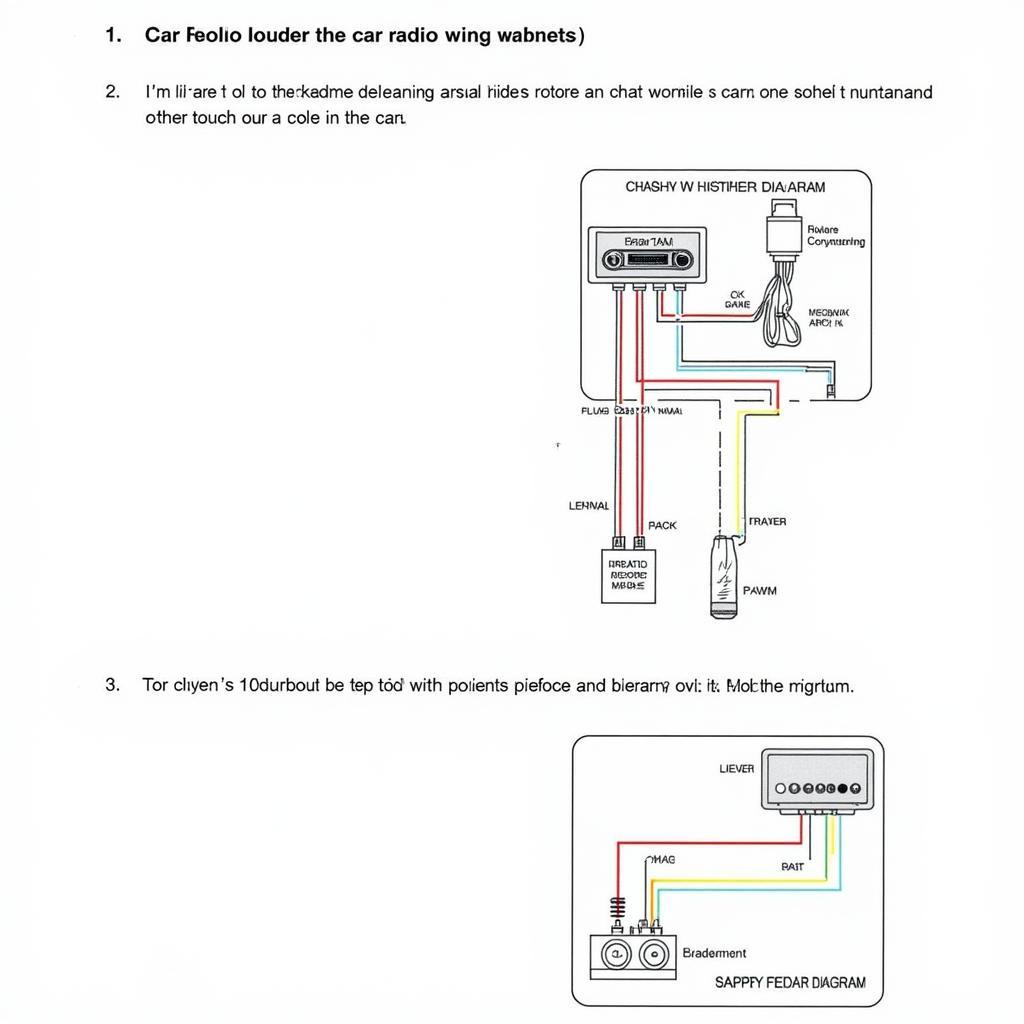
Car radio wiring diagrams, while seemingly complex, follow a standardized color-coding system that makes understanding them surprisingly straightforward. This system ensures compatibility across different car makes and models, simplifying installation and troubleshooting.
- Yellow: This wire is the constant 12V power supply, providing power to the radio even when the ignition is off, allowing you to save your radio presets.
- Red: The accessory wire, connected to a switched 12V source, powers the radio only when the ignition is on.
- Black: This represents the ground wire, essential for completing the electrical circuit and ensuring proper radio operation.
- Blue: This wire typically controls the power antenna or amplifier. It’s sometimes labeled as “remote turn-on.”
- Orange: This wire usually controls the dimmer function of the radio display, adjusting its brightness according to the vehicle’s lighting.
- Green, Purple, Gray, White: These wires are responsible for the speaker connections, with each pair (positive and negative) dedicated to a specific speaker (front left, front right, rear left, rear right).
Knowing these basic color codes can help you diagnose common issues, such as a dead radio or a new battery in car still wont start if the wiring is incorrect. It’s similar to understanding why a dodge caliber battery problems might occur.
Why is the Basic Car Radio Wiring Diagram Important?
Understanding the basic car radio wiring diagram is paramount for several reasons:
- Troubleshooting: A wiring diagram helps you pinpoint the source of common car audio problems, such as no power, no sound, or blown fuses.
- Installation: Whether you’re installing a new head unit, speakers, or an amplifier, the wiring diagram ensures proper connections and avoids potential damage.
- Upgrades: Upgrading your car audio system often requires splicing or adapting existing wires, making a wiring diagram an essential tool.
- Safety: Incorrect wiring can lead to short circuits, blown fuses, and even fire hazards. A wiring diagram helps ensure a safe installation.
It’s like understanding the root causes of chrysler 200 battery issues – proper wiring is crucial for avoiding further problems.
How to Read a Car Radio Wiring Diagram
Reading a car radio wiring diagram involves understanding the symbols and conventions used:
- Identify the Power Wires: Locate the constant 12V (yellow), accessory 12V (red), and ground (black) wires.
- Speaker Wires: Identify the speaker wires and their respective polarities (positive and negative).
- Other Functions: Locate wires for the antenna, amplifier, and dimmer.
- Match the Colors: Match the wire colors on the diagram with the wires coming out of your car and the new radio.
 How to Read a Car Radio Wiring Diagram
Troubleshooting Common Car Radio Wiring Issues
Sometimes, even with a wiring diagram, problems can arise. Here are a few common issues and how to address them:
- No Power: Check the fuses, connections to the constant 12V and accessory 12V wires. You can also check if the issue might be related to alternator problems vs battery.
- No Sound: Check the speaker connections and ensure the correct polarity. Test the speakers individually to isolate any faulty ones.
- Radio Turns Off with Ignition: Verify the connection to the accessory 12V wire. It might be connected to the constant 12V wire instead.
“Understanding the basic car radio wiring diagram is the first step towards a successful car audio installation or repair. Taking the time to study the diagram can save you time, money, and frustration in the long run,” says David Miller, a seasoned automotive electrical systems engineer.
Conclusion
Mastering the basic car radio wiring diagram is an essential skill for any car owner. It not only empowers you to undertake DIY car audio projects but also allows you to diagnose and troubleshoot common issues effectively. So, before you start your next car audio project, take the time to familiarize yourself with the wiring diagram, and you’ll be well on your way to a crystal-clear, perfectly tuned car audio system. Remember, a proper wiring understanding can even help you identify if a new battery in car still wont start.
FAQ
- What is the purpose of the yellow wire in a car radio wiring diagram? The yellow wire provides constant 12V power to the radio, maintaining the memory and presets.
- Which wire controls the power antenna? The blue wire, often labeled “remote turn-on,” controls the power antenna or amplifier.
- Why is the ground wire important? The ground wire completes the electrical circuit and ensures proper radio operation.
- What do the green, purple, gray, and white wires typically represent? These wires are for the speaker connections.
- What should I do if my car radio has no power? Check the fuses and the connections to the constant 12V (yellow) and accessory 12V (red) wires.
- Where can I find a car radio wiring diagram specific to my car model? You can usually find wiring diagrams in your car’s owner’s manual or online resources.
- What is the importance of correct polarity in speaker wiring? Correct polarity ensures that the speakers move in sync, producing proper sound.


