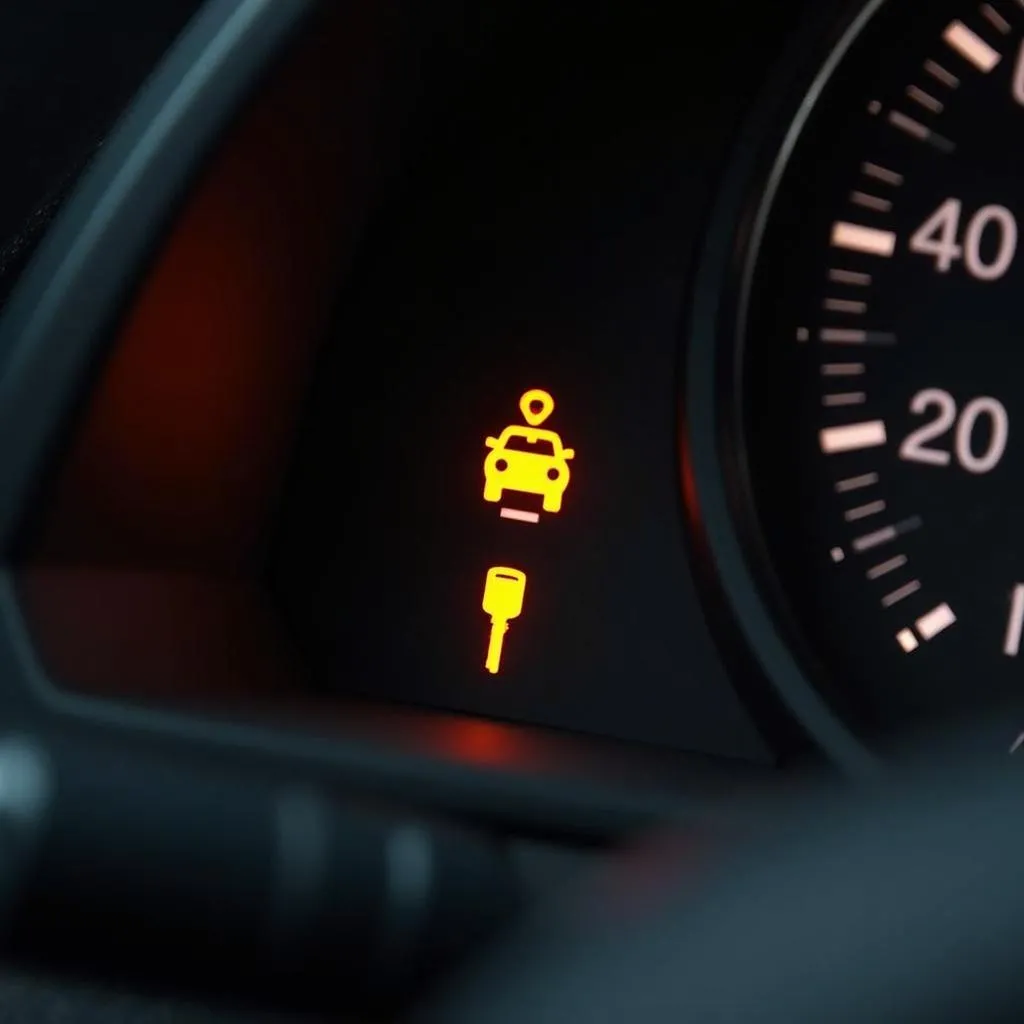
When your Honda Accord’s brake lamp warning light illuminates, it’s a signal that something is amiss with your braking system. This warning shouldn’t be ignored, as it could indicate a serious issue that needs immediate attention. This article will explore common causes of the brake lamp warning light on a Honda Accord and provide step-by-step solutions for addressing the problem.
Understanding the Brake Lamp Warning Light
The brake lamp warning light is a crucial safety indicator that alerts you to potential problems with your braking system. It can be triggered by a variety of factors, such as:
- Low brake fluid level: Brake fluid is essential for the proper function of your brake system. If the fluid level is low, the warning light will illuminate.
- Faulty brake switch: The brake switch, located on the brake pedal, sends a signal to the car’s computer when the brake pedal is pressed. A malfunctioning brake switch can prevent the signal from being sent, triggering the warning light.
- Burnt-out brake light bulb: A burnt-out brake light bulb can also trigger the warning light.
- Faulty brake pressure sensor: The brake pressure sensor monitors the hydraulic pressure in the braking system. A faulty sensor can trigger the warning light even if there is no actual problem with the system.
- Malfunctioning brake light relay: The brake light relay controls the flow of electricity to the brake lights. A defective relay can cause the lights to malfunction, leading to the warning light.
- Open circuit in the brake light wiring: A break in the wiring leading to the brake lights can also cause the warning light to turn on.
How to Troubleshoot the Brake Lamp Warning Light
Step 1: Check the Brake Fluid Level
Begin by checking the brake fluid level in the reservoir. It’s essential to have enough brake fluid for your brakes to work properly.
Step 2: Inspect the Brake Light Bulbs
Visually inspect all the brake light bulbs for signs of damage or burnout. Replace any faulty bulbs.
Step 3: Test the Brake Switch
To test the brake switch, you’ll need a multimeter. With the ignition on, press the brake pedal and check if the brake switch is closing the circuit. If not, the switch may need to be replaced.
Step 4: Check the Brake Pressure Sensor
Inspect the brake pressure sensor for damage or corrosion. If the sensor is faulty, you’ll need to replace it.
Step 5: Inspect the Brake Light Relay
Locate the brake light relay in the fuse box and visually inspect it for any signs of damage. If necessary, replace the relay.
Step 6: Inspect the Brake Light Wiring
Carefully check the brake light wiring for any signs of damage, corrosion, or loose connections. Repair or replace any damaged wiring.
Step 7: Consult a Mechanic
If you’re unable to diagnose the problem, it’s recommended to consult a qualified mechanic for a professional diagnosis and repair.
Expert Insights
“The brake lamp warning light is not something to take lightly,” advises automotive technician John Smith. “It’s crucial to identify and address the root cause of the issue as soon as possible to ensure the safety of you and your passengers.”
“Always remember to use the correct type of brake fluid and to ensure that the brake fluid level is topped up regularly,” emphasizes Sarah Jones, a seasoned automotive expert. “Regular maintenance is essential for the health and longevity of your braking system.”
Frequently Asked Questions (FAQ)
Q: How do I know if my brake light bulb is burnt out?
A: The easiest way to check is to turn on your brake lights and visually inspect them. A burnt-out bulb will appear dark or dim.
Q: Is it safe to drive with a brake lamp warning light on?
A: While it might be tempting to ignore the warning light, it’s never safe to drive with it illuminated. It signifies a potential problem with your brakes that could lead to dangerous situations.
Q: Can I reset the brake lamp warning light myself?
A: In some cases, you might be able to reset the warning light by simply topping up the brake fluid. However, if the light persists, you’ll need to diagnose the issue and address it accordingly.
Q: How often should I check my brake fluid level?
A: It’s a good practice to check your brake fluid level at least once a month, or more frequently if you notice any changes in the feel of your brakes.
Q: What are the potential consequences of ignoring a brake lamp warning light?
A: Ignoring the warning light can lead to serious consequences, such as brake failure, accidents, and potentially costly repairs. It’s always best to address the issue promptly.
By taking the necessary steps to troubleshoot and address the brake lamp warning light, you can ensure the safe operation of your Honda Accord and avoid potential problems down the road. Remember, your safety and the safety of others is paramount when it comes to your vehicle’s braking system.

