The brake lamp warning light on your Honda Pilot is a crucial indicator of potential issues with your braking system. It’s essential to address this warning promptly, as it could signal a serious problem.
This comprehensive guide will delve into the common causes behind the brake lamp warning light on your Honda Pilot, provide a clear diagnosis process, and equip you with practical solutions to fix the problem.
Common Causes of Brake Lamp Warning Light
Several factors can trigger the brake lamp warning light on your Honda Pilot. Understanding these causes is crucial for effective diagnosis and repair. Here’s a breakdown of the most common reasons:
1. Worn-Out Brake Pads or Shoes
“The brake pads are the first line of defense in your braking system, and when they wear down, the warning light will come on.” – John Smith, Certified Automotive Technician
One of the most frequent culprits is worn-out brake pads or shoes. As these components gradually wear down, the sensors embedded within them trigger the warning light to signal the need for replacement.
2. Brake Fluid Level Low
Maintaining the correct brake fluid level is crucial for proper braking operation. When the fluid level drops below the minimum threshold, the warning light will illuminate.
3. Faulty Brake Light Switch
The brake light switch is responsible for activating the brake lights when you press the brake pedal. A malfunctioning brake light switch can prevent the brake lights from illuminating, thereby triggering the warning light.
4. Electrical Issues
“Electrical malfunctions can be tricky to diagnose, but they can cause a range of problems, including a brake lamp warning light.” – Sarah Jones, Automotive Electronics Specialist
Electrical issues within the braking system, such as faulty wiring, blown fuses, or problems with the brake lamp control unit, can also activate the warning light.
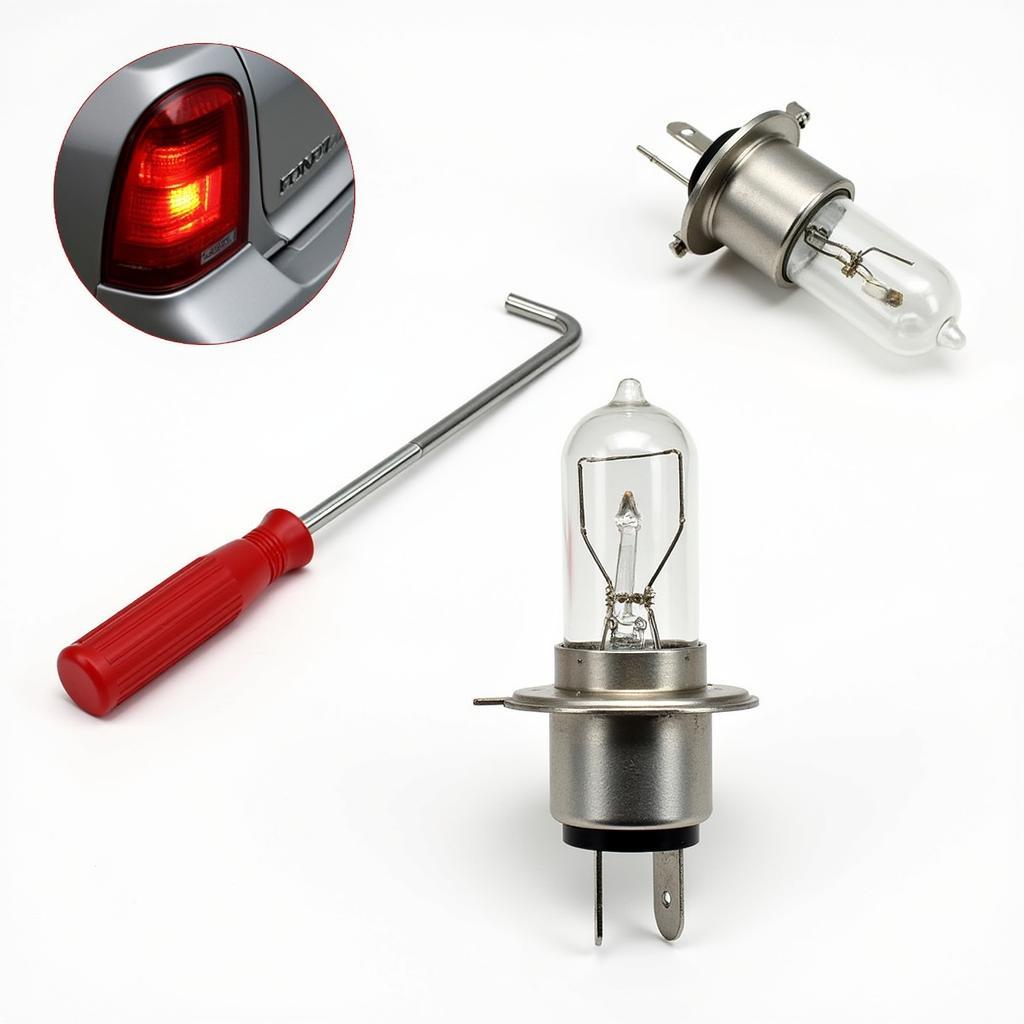
5. Faulty Brake Light Bulbs
While less common, faulty brake light bulbs can also trigger the warning light. If one or more brake light bulbs are burned out, the system may register a malfunction and illuminate the warning light.
Diagnosing the Brake Lamp Warning Light
The diagnosis process involves systematically identifying the root cause of the warning light. Here’s a step-by-step guide:
- Check Brake Fluid Level: Begin by inspecting the brake fluid reservoir, located under the hood. Ensure the fluid level is within the “Full” mark. If it’s low, replenish the fluid with the correct type.
- Inspect Brake Pads or Shoes: Visually inspect the brake pads or shoes. If they’re worn down to the wear indicators, replace them immediately.
- Test Brake Light Switch: With the brake pedal released, use a multimeter to check for continuity across the brake light switch. If there’s no continuity, the switch is faulty and needs replacement.
- Inspect Brake Light Bulbs: Check all brake light bulbs for signs of burn-out. If any are faulty, replace them with new bulbs of the correct wattage and type.
- Scan for Error Codes: Use a diagnostic scanner to scan for any error codes related to the brake system. The codes can pinpoint specific issues within the system.
Fixing the Brake Lamp Warning Light
Once you’ve identified the cause, you can proceed with the necessary repairs. Here are some common solutions:
1. Replace Worn-Out Brake Pads or Shoes
If the brake pads or shoes are worn, replace them with new components of the appropriate size and type.
2. Top Off Brake Fluid
If the brake fluid level is low, top it off with the correct type of brake fluid. Consult your owner’s manual for the recommended fluid type.
3. Replace Faulty Brake Light Switch
If the brake light switch is faulty, replace it with a new one.
4. Repair Electrical Issues
If electrical problems are causing the warning light, troubleshoot the wiring, fuses, and brake lamp control unit.
5. Replace Faulty Brake Light Bulbs
If a brake light bulb is burned out, replace it with a new bulb of the correct type and wattage.
FAQ
Q1: What are the signs of worn-out brake pads?
A: Worn-out brake pads often produce a high-pitched squealing sound when braking, especially at low speeds. You may also notice a vibration in the brake pedal.
Q2: How often should I check my brake fluid?
A: It’s recommended to check your brake fluid level at least once a month, or more frequently if you frequently drive in demanding conditions.
Q3: Is it safe to drive with the brake lamp warning light on?
A: It’s generally not safe to drive with the brake lamp warning light on, as it indicates a potential problem with your braking system.
Q4: Can I reset the brake lamp warning light myself?
A: In some cases, you can reset the warning light by simply topping off the brake fluid level or replacing a faulty brake light bulb. However, if the warning light persists, it’s best to have your vehicle diagnosed by a qualified mechanic.
Q5: What are the costs associated with fixing a brake lamp warning light?
A: The cost of repairs can vary depending on the underlying issue. Replacing brake pads or shoes can range from $50 to $200 per axle, while replacing the brake light switch or repairing electrical problems can cost more.
Conclusion
The brake lamp warning light on your Honda Pilot is a crucial indicator of potential problems within your braking system. By understanding the common causes, employing a thorough diagnosis process, and addressing the issue promptly, you can maintain the safety and functionality of your vehicle. Remember to always consult a qualified mechanic if you’re unsure about the root cause or repair process.