Owning a classic 1992 Harley Davidson FLHTC is a point of pride for many motorcycle enthusiasts. However, like any vehicle of that age, certain parts may require attention over time, and the brake light warning unit is no exception. This comprehensive guide delves into the common issues associated with the brake light warning unit on your 1992 Harley Davidson FLHTC and provides practical solutions to get you back on the road safely.
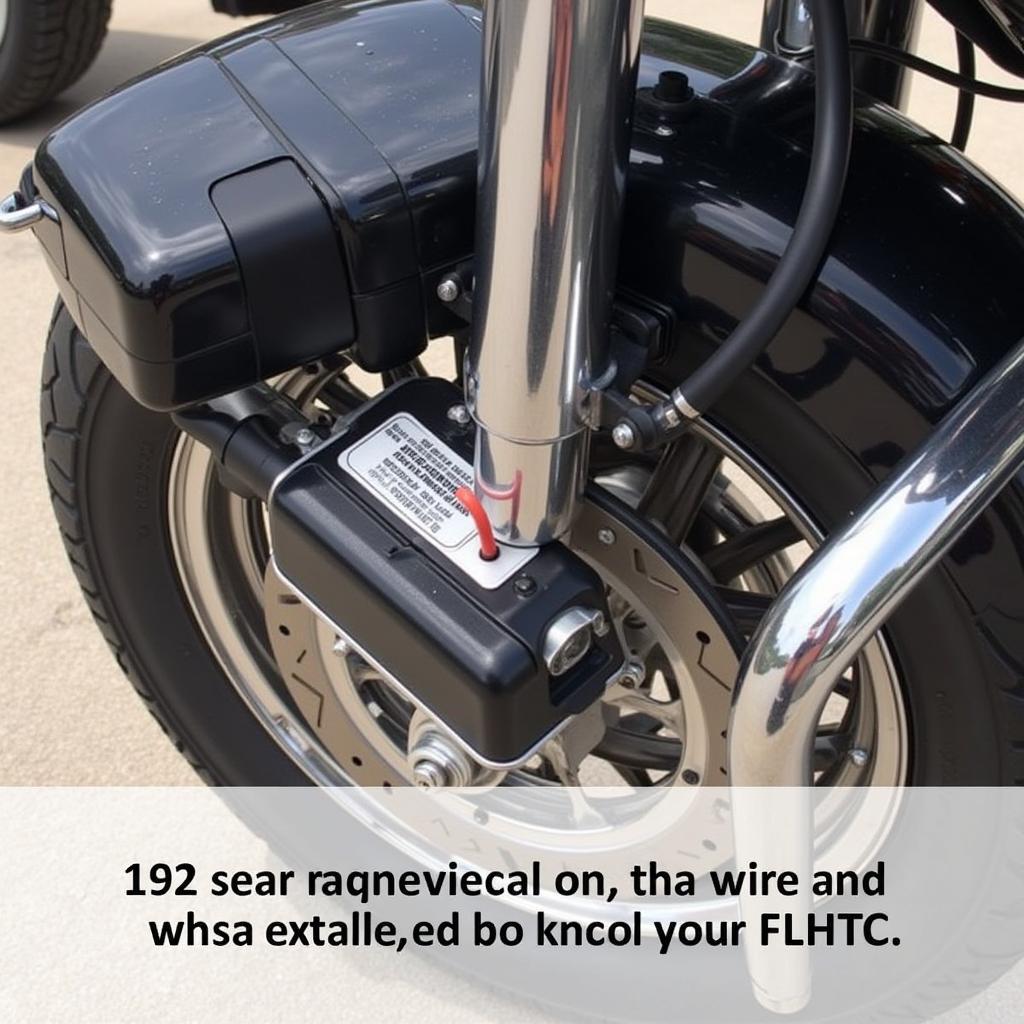 1992 Harley Davidson FLHTC Brake Light Warning Unit
Understanding the Brake Light Warning Unit
Before diving into troubleshooting, it’s important to understand the function of the brake light warning unit. This unit plays a critical role in your motorcycle’s safety system. It monitors the brake light circuit and triggers a warning light on your dashboard if it detects a fault. This warning light is your signal that something within the brake light system needs attention.
Common Causes of Brake Light Warning Unit Issues
Several factors can lead to problems with your brake light warning unit. These range from simple issues like a blown fuse to more complex problems requiring specialized knowledge:
- Blown Fuse: The brake light circuit is protected by a fuse. If this fuse blows, the brake lights, and consequently, the warning unit, won’t function correctly.
- Faulty Brake Light Switch: This switch is responsible for activating the brake lights when you apply the brakes. A malfunctioning switch can disrupt the signal to the warning unit.
- Damaged Wiring: Over time, the wiring in the brake light circuit can become damaged due to wear and tear, corrosion, or improper installation. This can interrupt the signal flow and trigger the warning light.
- Malfunctioning Warning Unit: While less common, the brake light warning unit itself can fail. This might occur due to internal component failure or exposure to extreme conditions.
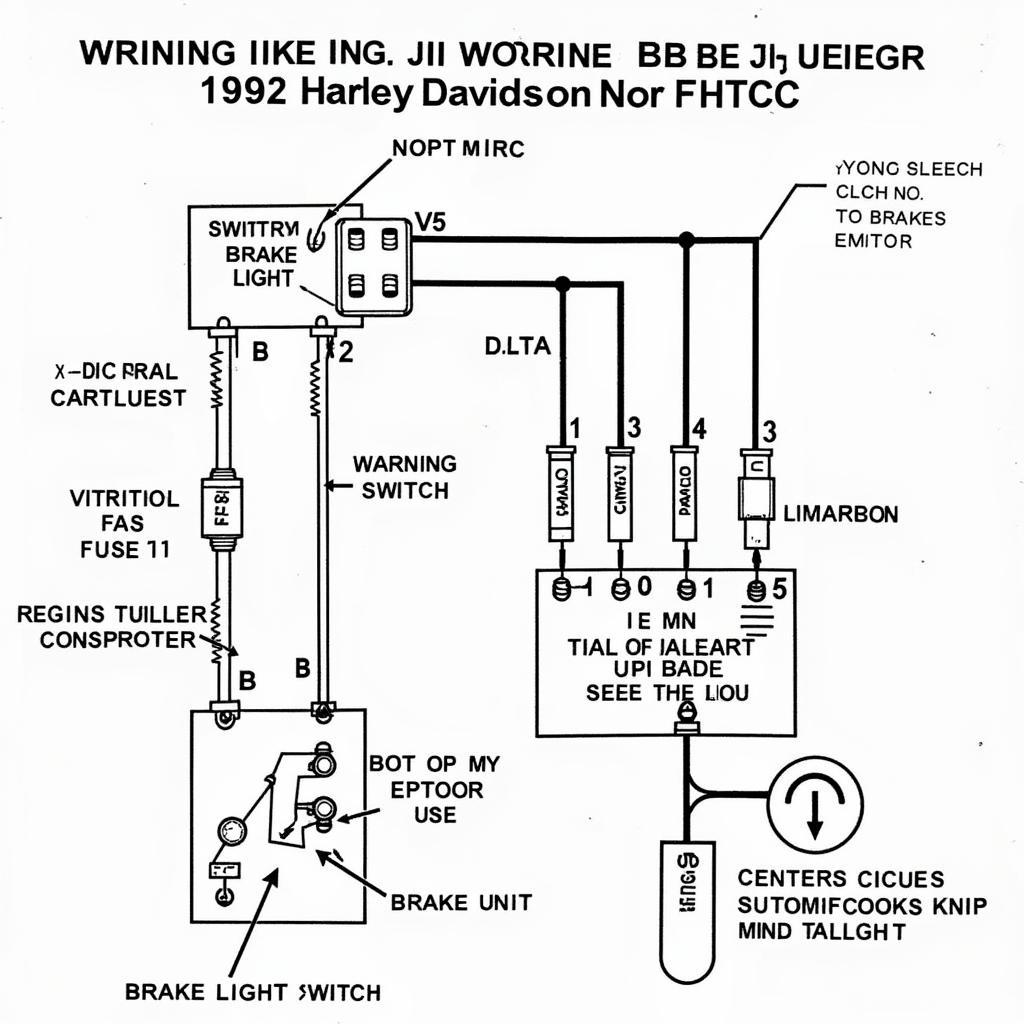 Wiring Diagram for 1992 Harley Davidson FLHTC Brake Light
Troubleshooting Steps
Before you start, remember to disconnect the negative terminal of your motorcycle’s battery as a safety precaution.
- Check the Fuse: Locate the fuse box on your FLHTC (refer to your owner’s manual if needed). Identify the fuse associated with the brake lights and inspect it for any signs of a break or burn. Replace the fuse if necessary.
- Inspect the Brake Light Switch: This switch is typically located near the brake pedal or handlebar lever. Examine the switch for any visible damage or loose connections. Test the switch for continuity using a multimeter. If the switch is faulty, it will need to be replaced.
- Examine the Wiring: Carefully inspect the wiring harness connected to the brake light switch, the warning unit, and the brake lights themselves. Look for any signs of damage, fraying, corrosion, or loose connections. Repair or replace any damaged wiring sections.
- Testing the Warning Unit: If the above steps don’t reveal the issue, the warning unit itself might be faulty. You can test the unit by applying a direct current to its input terminal and checking for the activation of the warning light. However, this step might require specialized tools and knowledge.
When to Consult a Professional
While the steps above can help troubleshoot basic issues, it’s essential to acknowledge when to seek professional help. If you’ve exhausted all basic troubleshooting steps and are still experiencing problems with your brake light warning unit, it’s best to consult a qualified motorcycle technician, especially one experienced with Harley Davidson motorcycles. They have the expertise and specialized equipment to diagnose and repair more complex electrical issues accurately.
Conclusion
A properly functioning brake light warning unit is vital for your safety on the road. By understanding the common issues associated with this unit on your 1992 Harley Davidson FLHTC and following the troubleshooting steps outlined in this guide, you can often resolve simple issues independently. However, don’t hesitate to seek professional assistance when needed. Remember, maintaining your motorcycle in excellent condition ensures not only its longevity but also your safety and the safety of others on the road.