The dreaded brake pad warning light on your VW Golf can be a source of anxiety. This guide provides comprehensive information on diagnosing, troubleshooting, and resolving brake pad warning light issues on your Volkswagen Golf.
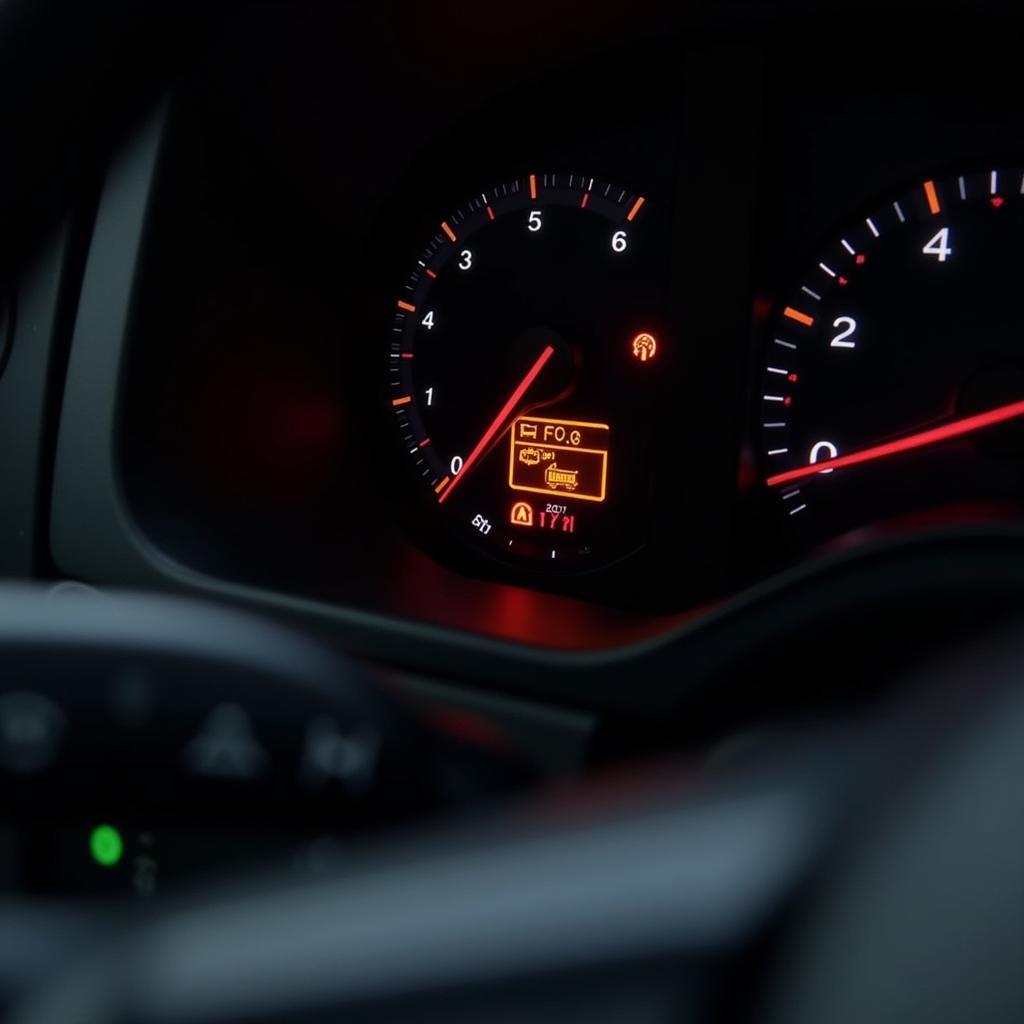
 VW Golf Brake Pad Warning Light Illuminated on Dashboard
Understanding why the brake pad warning light illuminates is crucial for maintaining your vehicle’s safety and performance. This light is triggered by a sensor that monitors the thickness of your brake pads. When the pads wear down to a certain point, the sensor activates the warning light, signaling it’s time for a brake pad replacement.
Why is My VW Golf Brake Pad Warning Light On?
Several factors can cause the brake pad warning light to come on in your VW Golf. The most common cause is, of course, worn brake pads. However, a faulty brake pad wear sensor, damaged wiring, or even low brake fluid can also trigger the light. Ignoring this warning light can lead to costly repairs and compromise your safety.
vw golf mk4 brake pad warning light
Diagnosing the Brake Pad Warning Light
Diagnosing the issue begins with a visual inspection of your brake pads. If they appear thin, they likely need replacing. However, if the pads seem fine, the issue may lie with the sensor or wiring. A qualified mechanic can diagnose the problem using diagnostic tools to pinpoint the cause.
“Regular brake inspections are essential,” says automotive expert John Miller. “Ignoring the warning light can lead to rotor damage, increasing repair costs.”
Replacing Brake Pads on a VW Golf
Replacing brake pads is a relatively straightforward procedure for experienced DIYers. However, if you’re not comfortable working on your brakes, it’s always best to consult a qualified mechanic.
Step-by-Step Brake Pad Replacement Guide
- Gather your tools and materials: New brake pads, jack, jack stands, lug wrench, and appropriate wrenches for caliper bolts.
- Secure the vehicle: Park on a level surface, engage the parking brake, and chock the wheels.
- Remove the wheel: Loosen the lug nuts, jack up the car, and remove the wheel.
- Retract the caliper piston: Use a C-clamp or specialized tool to compress the caliper piston.
- Remove the old brake pads: Carefully remove the old brake pads and retaining clips.
- Install the new brake pads: Install the new brake pads and retaining clips.
- Reassemble the caliper: Reinstall the caliper and tighten the bolts to the manufacturer’s specifications.
- Reinstall the wheel: Reinstall the wheel and tighten the lug nuts.
- Lower the vehicle: Lower the vehicle to the ground and torque the lug nuts to the correct specification.
- Test the brakes: Carefully test the brakes at low speed to ensure they are functioning correctly.
vw golf mk5 brake pad warning light
“Remember to properly bed in your new brake pads after installation for optimal performance,” advises Miller. “This involves a series of controlled stops to mate the pads and rotors.”
What if the Light Stays On After Replacing the Pads?
Sometimes, the brake pad warning light might remain illuminated even after replacing the brake pads. This could indicate a faulty sensor, wiring issue, or the need for a brake pad warning light reset. vw golf mk6 brake pad warning light reset If the light persists, it’s crucial to have a professional diagnose the problem.
brake pad warning light vw golf mk5
vw golf mk6 brake pad warning light
Conclusion
Addressing the brake pad warning light on your VW Golf is crucial for safety and preventing further damage. Regular maintenance and prompt attention to warning lights can save you time and money in the long run. Remember, if you’re unsure about any aspect of brake repair, consult a qualified mechanic.

