If you’re experiencing brake problems with your trusty 1988 Dodge B350, specifically a lit-up brake pressure warning light, you’re in the right place. This guide will walk you through the common culprits behind a faulty brake pressure warning switch on your van and how to address them.
A brake pressure warning switch is a critical safety component that alerts you to a potential loss of brake fluid pressure. When this switch malfunctions, it can trigger the brake warning light on your dashboard even if there’s no actual problem with your brakes. This can be frustrating and potentially dangerous if ignored.
Understanding the Brake Pressure Warning Switch
The brake pressure warning switch is typically located on the brake master cylinder. Its primary function is to monitor the hydraulic pressure within the braking system. When you press the brake pedal, the pressure in the system increases, and the switch remains closed. If a leak occurs or the pressure drops below a certain threshold, the switch opens, completing a circuit that illuminates the brake warning light on your dashboard.
Common Causes of a Faulty Brake Pressure Warning Switch
Several factors can lead to a malfunctioning brake pressure warning switch on your 1988 Dodge B350:
- Low Brake Fluid: This is the most common cause. If the brake fluid level is low, there might not be enough pressure in the system to keep the switch closed.
- Faulty Switch: Like any electrical component, the brake pressure warning switch itself can wear out or fail over time.
- Wiring Issues: Corrosion, damage, or loose connections in the wiring harness connected to the switch can cause erratic behavior.
- Hydraulic Problems: While less common, issues within the brake master cylinder or other hydraulic components can impact pressure and trigger the switch.
Diagnosing the Problem
Before you start replacing parts, it’s essential to diagnose the issue accurately. Here’s a step-by-step guide:
-
Check the Brake Fluid Level: Open the hood and locate the brake master cylinder. Check the fluid level through the reservoir’s translucent side. If it’s low, add the appropriate brake fluid until it reaches the “Full” line.
-
Inspect the Switch and Wiring: Visually examine the brake pressure warning switch and its wiring harness for any visible damage, corrosion, or loose connections.
-
Test the Switch:
- Method 1: Pressure Test: Using a pressure gauge connected to the brake master cylinder, monitor the pressure while someone presses the brake pedal. If the pressure drops significantly and the warning light comes on, the switch is likely functioning correctly.
- Method 2: Jumper Wire Test: With the ignition off, disconnect the electrical connector from the switch. Use a jumper wire to connect the two terminals on the switch’s connector. If the brake warning light illuminates on the dashboard, the switch is faulty and needs replacement.
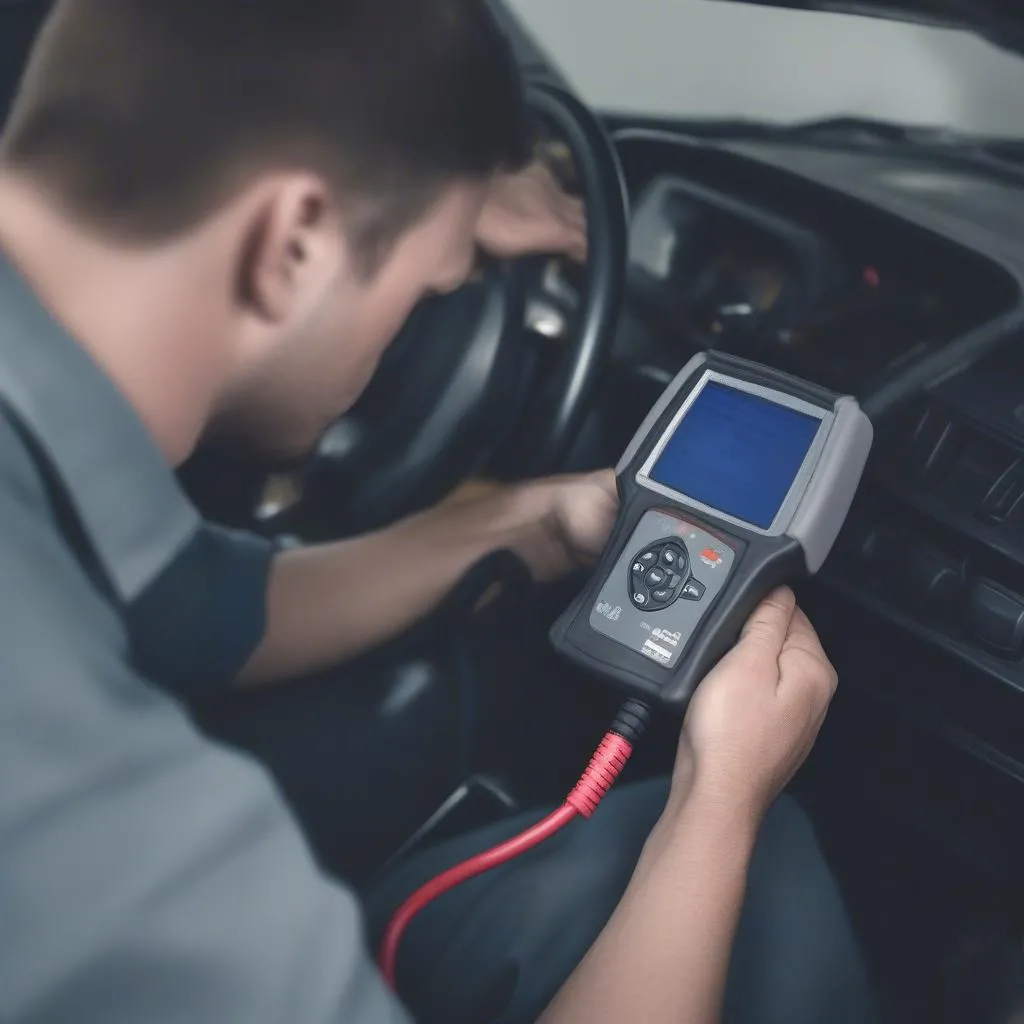
 Testing the Brake Pressure Switch
 -
Seek Professional Help: If you’re unsure about any step or the diagnosis points to a more complex issue within the braking system, it’s best to consult a qualified mechanic specializing in Dodge vehicles.
Replacing the Brake Pressure Warning Switch
Replacing the brake pressure warning switch is a relatively straightforward procedure if you’re comfortable working on your vehicle. However, it involves working with the brake system, so proceed with caution.
Important: Before starting, disconnect the negative battery cable to prevent electrical mishaps.
- Gather Necessary Tools: You’ll need basic hand tools like wrenches, pliers, and a container for the old brake fluid.
- Locate and Remove the Switch: Identify the switch on the brake master cylinder. Disconnect the electrical connector and use a wrench to unscrew the switch.
- Install the New Switch: Apply a small amount of thread sealant to the threads of the new switch. Carefully thread it into the master cylinder and tighten it securely. Avoid overtightening.
- Reconnect and Refill: Reconnect the electrical connector and refill the brake master cylinder with fresh brake fluid to the appropriate level.
- Bleed the Brakes: Air might have entered the system during the process, so bleeding the brakes is crucial to restore proper hydraulic pressure. If you’re unsure about this step, consult a mechanic.
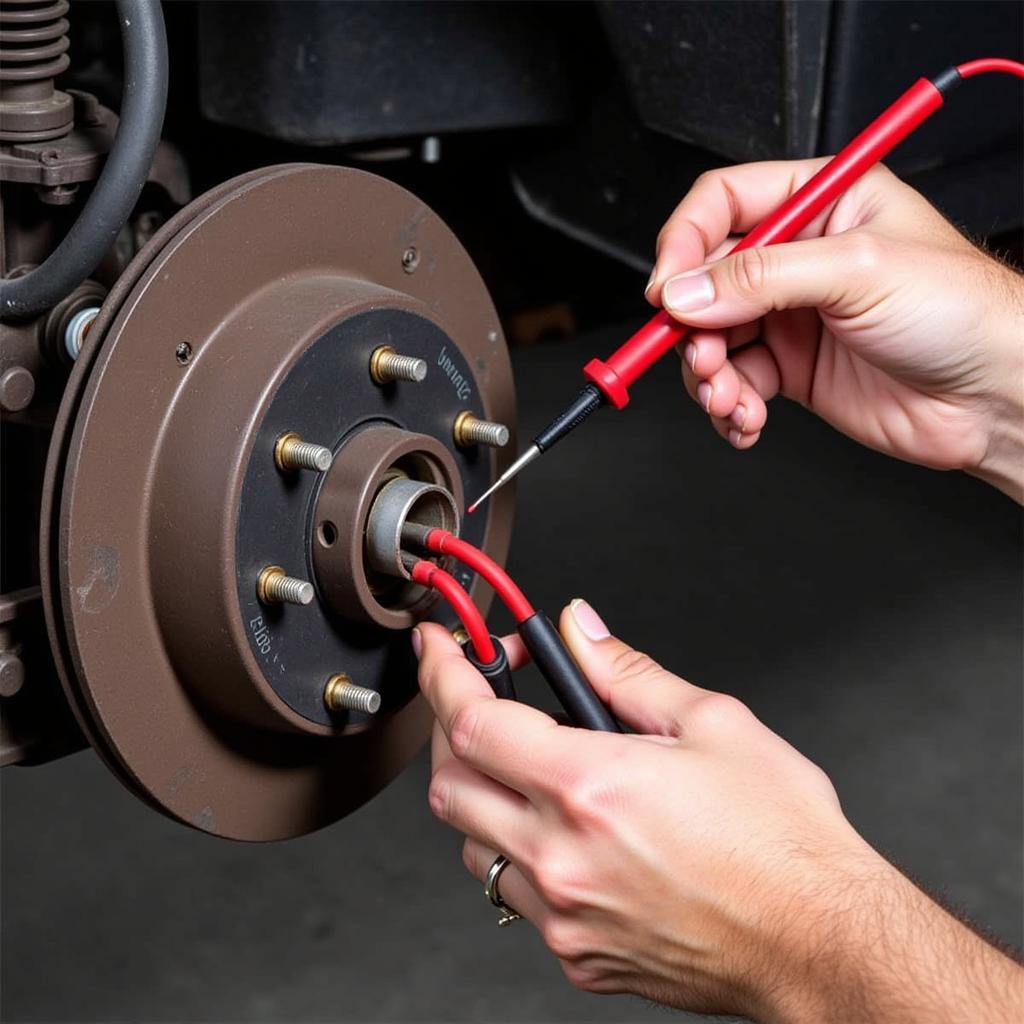
Installing a New Brake Pressure Warning Switch
Conclusion
Addressing a brake pressure warning light on your 1988 Dodge B350 starts with understanding the critical role of the brake pressure warning switch. By following the steps outlined in this guide, you can diagnose the problem and potentially fix it yourself. However, always remember that your brakes are critical for your safety and the safety of others on the road. If you’re ever in doubt, don’t hesitate to seek help from a qualified mechanic.