A lit brake warning lamp on your 7.3L diesel engine is a clear sign that something isn’t right with your braking system. While several culprits could be at play, a ground short is a common issue that often throws people off. This comprehensive guide will walk you through diagnosing and fixing a brake warning lamp ground short on a 7.3L engine, helping you get back on the road safely.
Understanding the Brake Warning Lamp
The brake warning lamp is your vehicle’s way of telling you there’s a problem within the braking system that needs your attention. It could indicate anything from low brake fluid to a serious issue with your brake lines or ABS system. A ground short, specifically, means that the electrical circuit responsible for turning on the warning lamp is finding an unintended path to ground.
Common Causes of a Brake Warning Lamp Ground Short on a 7.3
Several factors can lead to a ground short in the brake warning lamp circuit of your 7.3L engine. Here are some of the usual suspects:
- Worn-out or Damaged Wiring: Over time, the wiring in your vehicle can become brittle, cracked, or frayed, especially in areas exposed to heat and vibration. This damage can cause the wire’s insulation to wear away, leading to a short to ground.
- Loose or Corroded Connections: A loose or corroded connection at the brake warning lamp switch, the instrument cluster, or any other point in the circuit can create enough resistance to cause a voltage drop, mimicking a ground short.
- Faulty Brake Warning Lamp Switch: The brake warning lamp switch is a vital component responsible for completing the circuit and illuminating the warning lamp when you press the brake pedal. If this switch malfunctions or becomes faulty, it can cause the lamp to stay on, even if there’s no actual problem with your brakes.
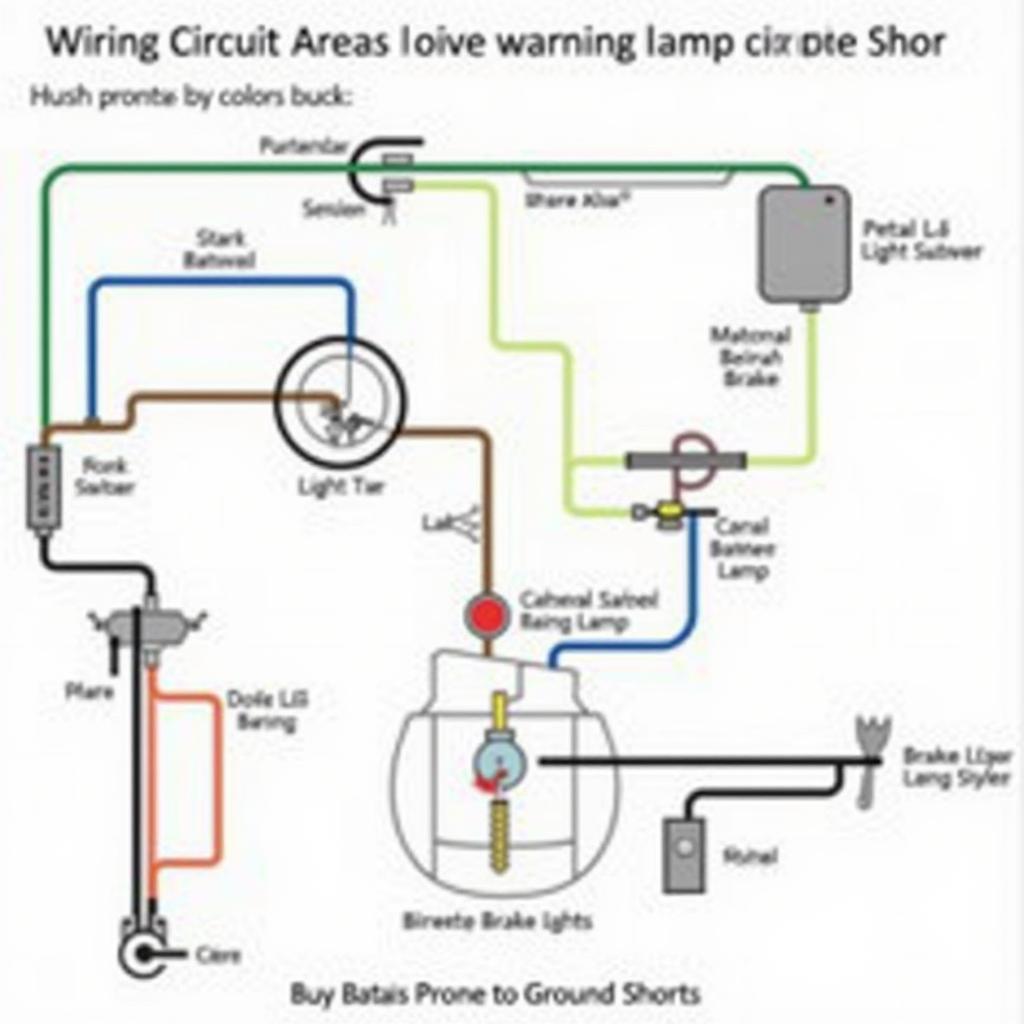 Brake Warning Lamp Circuit Diagram
Diagnosing a Ground Short
Before you start tearing into the wiring harness, it’s crucial to confirm that a ground short is the culprit behind your lit brake warning lamp. Here’s a step-by-step guide to help you diagnose the issue:
- Check Your Brake Fluid Level: This may seem obvious, but low brake fluid is one of the most common reasons for the brake warning lamp to illuminate. Park your vehicle on a level surface and check the brake fluid reservoir. If it’s low, add the recommended brake fluid until it reaches the “Full” line.
- Inspect the Brake Warning Lamp Switch: Locate the brake warning lamp switch, usually mounted on the brake pedal arm. With the ignition off, disconnect the electrical connector from the switch. Turn on the ignition and check if the warning lamp is off. If it is, the switch is likely the problem.
- Test for Continuity: With the ignition off and the brake warning lamp switch disconnected, use a multimeter to test for continuity between the switch’s electrical connector and a good ground point on the vehicle’s chassis. If there’s continuity, it confirms a ground short in the circuit.
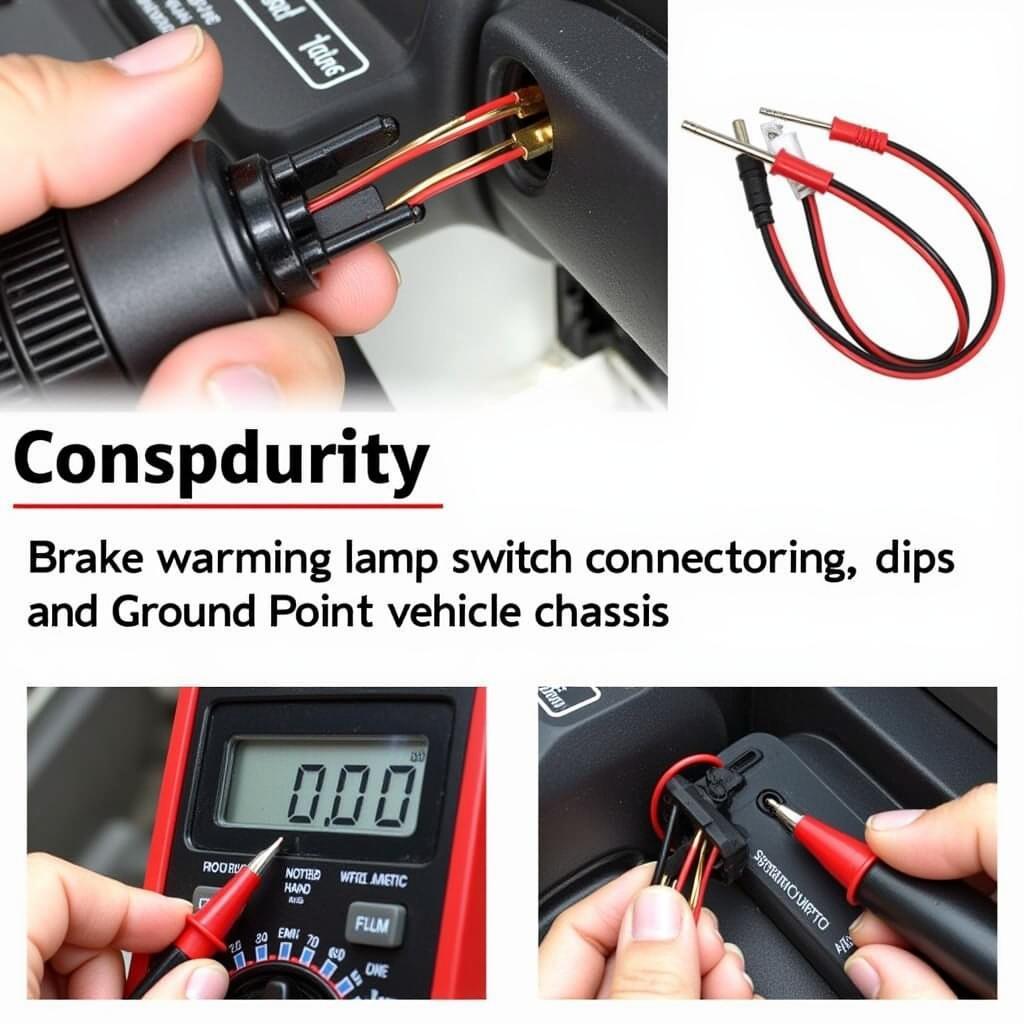 Testing the Brake Warning Lamp Switch for Continuity
Fixing a Brake Warning Lamp Ground Short
Once you’ve confirmed a ground short is causing your brake warning lamp to illuminate, you can proceed with the repair. Here’s how to fix the most common causes:
- Repairing or Replacing Damaged Wiring: Carefully inspect the wiring harness, focusing on areas near the brake warning lamp switch, instrument cluster, and any other potential points of contact with the chassis. If you find any damaged, cracked, or frayed wires, repair them using heat shrink tubing or replace the affected section of the wiring harness.
- Tightening or Cleaning Connections: Check all electrical connectors related to the brake warning lamp circuit for looseness or corrosion. Unplug each connector, inspect the terminals, and clean them with electrical contact cleaner if necessary. Apply dielectric grease to the terminals before reconnecting to prevent future corrosion.
- Replacing the Brake Warning Lamp Switch: If testing confirms the brake warning lamp switch is faulty, replace it with a new one. Installation is usually straightforward, often involving just unplugging the old switch and plugging in the new one.
“Remember,” says John Miller, a seasoned automotive electrician with over 20 years of experience, “always use high-quality replacement parts and follow the manufacturer’s recommended procedures when working on your vehicle’s electrical system.”
Conclusion
A brake warning lamp ground short on a 7.3L engine, while potentially frustrating, is a solvable problem. By understanding the common causes, following the diagnostic steps, and implementing the appropriate repairs, you can get your brake warning lamp functioning correctly and, most importantly, ensure your vehicle’s braking system operates safely. If you’re uncomfortable working on your vehicle’s electrical system, it’s always best to consult a qualified mechanic for assistance.