The brake warning light on your dashboard is a critical safety feature, illuminating when your vehicle’s computer detects a potential issue within the braking system. While this system is generally reliable, a faulty brake warning light connector can trigger false alarms or prevent the light from illuminating when there’s a genuine problem. This article delves into the common causes of brake warning light connector issues, guides you through troubleshooting steps, and offers potential solutions.
Understanding the Brake Warning Light Connector
The brake warning light connector acts as a bridge, transmitting electrical signals between the brake system components and the dashboard warning light. Typically located near the brake master cylinder or within the brake fluid reservoir, this connector is exposed to harsh conditions, including heat, moisture, and vibrations. Over time, these factors can lead to corrosion, damage, or a loose connection, disrupting the signal flow and causing brake warning light malfunctions.
Common Causes of Brake Warning Light Connector Issues
Several factors can contribute to brake warning light connector problems, ranging from simple wear and tear to more complex electrical faults. Identifying the root cause is crucial for effective troubleshooting and repair. Here are some common culprits:
- Corrosion: Exposure to moisture and brake fluid can corrode the connector’s metal parts, hindering electrical conductivity and causing intermittent or complete signal loss.
- Damage: Physical damage to the connector, such as bent pins, cracks, or broken wires, can disrupt the electrical circuit, leading to malfunctions.
- Loose Connection: Vibrations from driving can cause the connector to loosen over time, resulting in a poor electrical connection and intermittent warning light illumination.
- Worn-out Connector: Normal wear and tear can eventually degrade the connector’s materials, leading to a loose fit and poor electrical contact.
Troubleshooting Brake Warning Light Connector Problems
Before assuming the worst, it’s essential to rule out other potential causes for the brake warning light illumination. Start by checking the brake fluid level. If it’s low, top it up to the recommended level. Additionally, inspect the brake pads and rotors for wear and tear. If these components are in good condition, then focus your attention on the brake warning light connector.
Here’s a step-by-step guide to troubleshoot brake warning light connector issues:
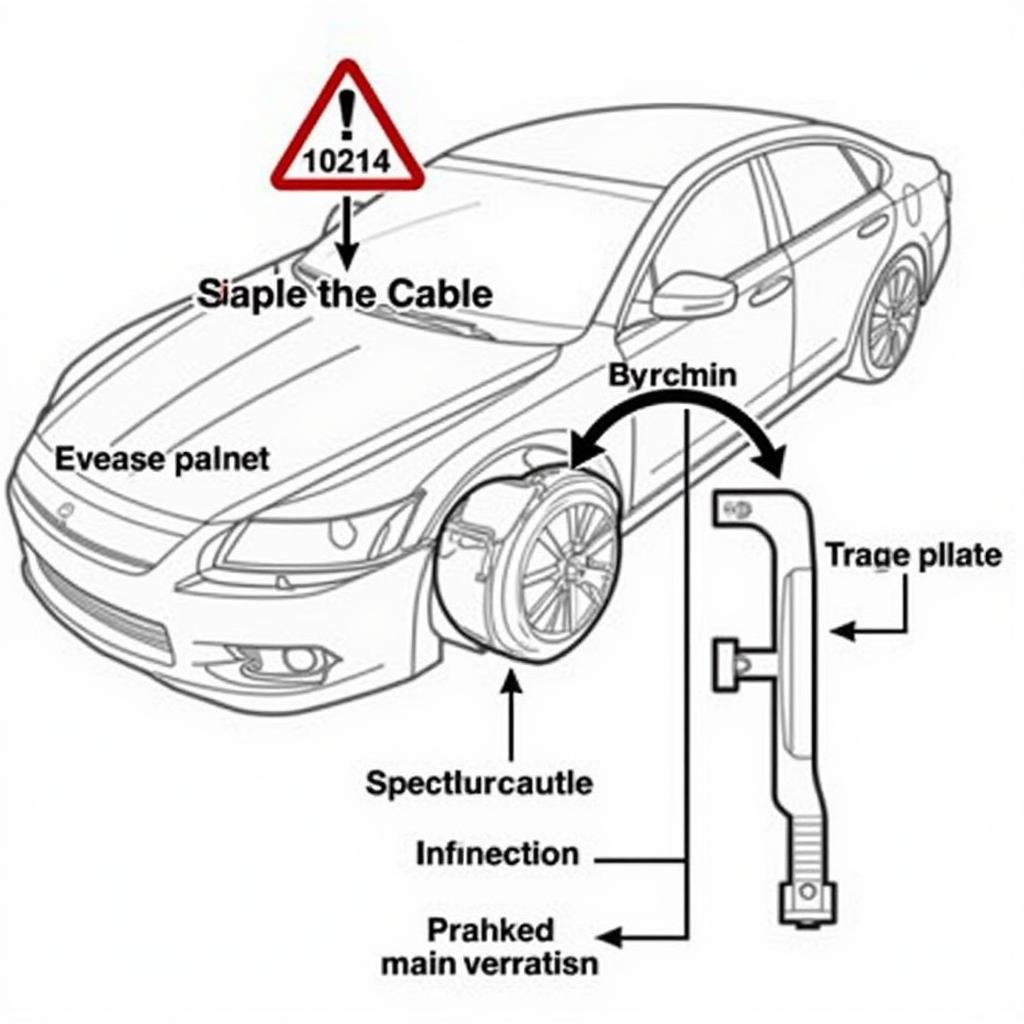
- Locate the Connector: Consult your vehicle’s repair manual or search online for the location of the brake warning light connector specific to your make and model.
- Inspect the Connector: Visually examine the connector for any signs of corrosion, damage, or looseness. Look for white, green, or brown powdery deposits, indicating corrosion. Check for bent pins, cracks, or broken wires.
- Disconnect and Clean: Carefully disconnect the connector. If corrosion is present, use a specialized electrical contact cleaner and a small brush to clean the connector’s terminals and housing.
- Reconnect and Secure: Reconnect the connector, ensuring it snaps securely into place. If the connector appears loose or damaged, consider replacing it with a new one.
gm brake warning light connector
When to Seek Professional Help
While troubleshooting the brake warning light connector is often straightforward, some situations warrant professional assistance. If you encounter any of the following, it’s best to consult a qualified mechanic or automotive electrician:
- You’re uncomfortable working with electrical components.
- The problem persists after cleaning and reconnecting the connector.
- You suspect a more complex electrical issue within the brake system.
Brake Warning Light Connector: Importance of Regular Checks
Regular inspection and maintenance of the brake warning light connector can prevent potential issues and ensure the proper functioning of your vehicle’s braking system. Incorporate the following practices into your routine vehicle maintenance schedule:
- Visual Inspection: Regularly inspect the connector for signs of corrosion, damage, or looseness, especially during routine maintenance checks like oil changes.
- Cleaning: Clean the connector’s terminals and housing with an electrical contact cleaner to prevent corrosion buildup, especially in humid climates or areas with harsh weather conditions.
- Secure Connection: Ensure the connector is properly secured and fully engaged to prevent intermittent connections caused by vibrations.
Conclusion
The brake warning light connector plays a vital role in ensuring the functionality of your vehicle’s braking system. Understanding the common causes of connector issues, following proper troubleshooting steps, and adhering to regular maintenance practices can prevent potential hazards and keep your brakes working reliably. Remember, a well-maintained brake system is crucial for your safety and the safety of others on the road.