Want to upgrade your car stereo or troubleshoot a faulty radio in your Mercedes ML320? It’s actually a much simpler job than you might think, especially with the right tools. Before you drive to a mechanic, this guide will show you how to easily remove your ML320 radio yourself with just two essential tools.
Why Remove Your Mercedes ML320 Radio?
There are several reasons why you might want to remove your car radio:
- Upgrading to a Modern System: Aftermarket stereos offer features like Bluetooth connectivity, Apple CarPlay, and Android Auto, which your older ML320 might lack.
- Troubleshooting Radio Issues: If your radio is experiencing problems like static, power issues, or CD player malfunctions, removing it is often the first step to diagnosis and repair.
- Replacing a Faulty Unit: Sometimes, a radio simply wears out and needs to be replaced entirely.
The Two Essential Tools
Mercedes, like many European automakers, uses a unique radio mounting system that prevents standard radio removal tools from working. To safely remove your ML320’s radio, you’ll need these two tools:
1. Mercedes Radio Removal Keys: These metal keys, often sold as a pair, are specifically designed to release the locking mechanisms holding your ML320’s radio in place. They are available at most auto parts stores and online.
2. Panel Removal Tool Set: While the radio keys release the main locking mechanism, you’ll need a set of plastic panel removal tools to carefully pry away the trim panels surrounding the radio without causing damage.
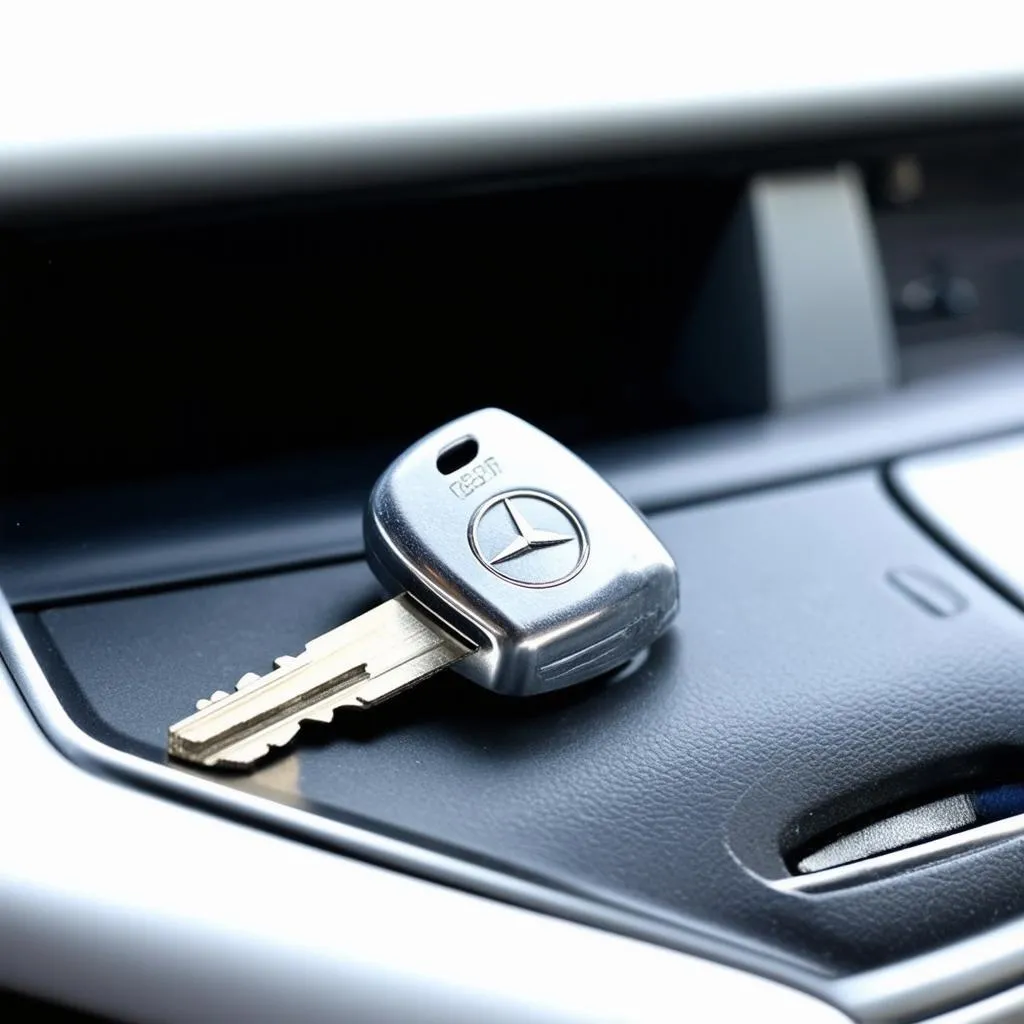 Mercedes Radio Removal Keys
How to Remove Your Mercedes ML320 Radio
Here’s a step-by-step guide to removing your car radio:
-
Disconnect the Negative Battery Terminal: This crucial safety step prevents electrical shorts. Locate the negative (-) terminal on your car battery and disconnect the cable.
-
Locate the Radio Removal Key Slots: On the faceplate of your ML320’s radio, you’ll find small slots (usually two or four) located at the corners or along the sides.
-
Insert the Removal Keys: Carefully insert the radio removal keys into the corresponding slots. You might feel a slight click as the keys engage with the release mechanism.
-
Gently Pull the Radio Forward: While applying slight outward pressure on both keys, gently pull the radio forward. It should slide out a few inches, allowing you to access the wiring harness.
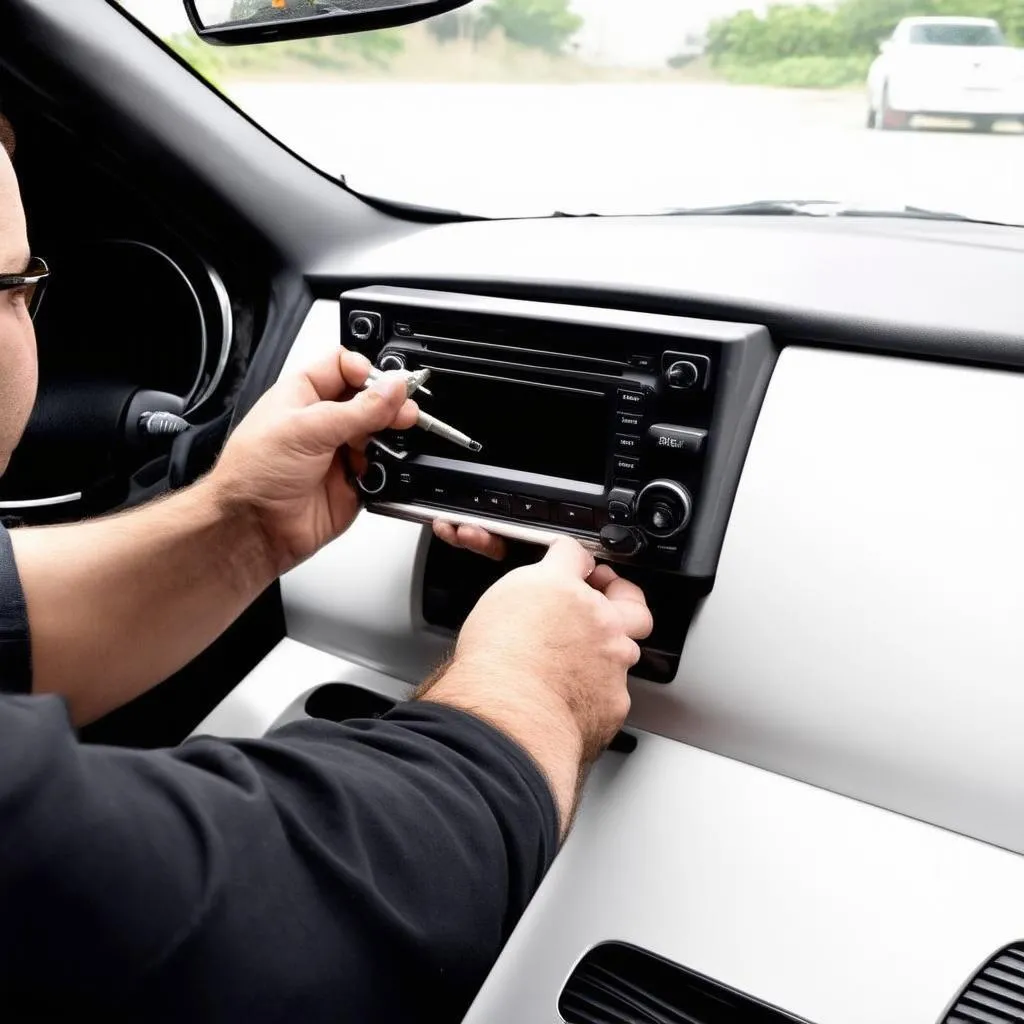 Removing ML320 Radio
-
Disconnect the Wiring Harness: Carefully disconnect the wiring harness connected to the back of the radio. Depending on your model, there might be multiple connections.
-
Remove the Radio: With the wiring harness disconnected, you can now fully remove the radio from the dashboard.
Important Tips
- Consult Your Owner’s Manual: Your ML320’s owner’s manual might have specific instructions or diagrams for radio removal.
- Be Gentle: Avoid using excessive force when removing the radio or trim panels. Work patiently and carefully to avoid damage.
- Organize Your Parts: Keep track of screws, clips, and connectors to ensure proper reinstallation.
FAQs
Q: Can I use generic radio removal tools?
A: No, generic tools are not compatible with Mercedes radios. Using the wrong tools can damage your dashboard.
Q: Where can I buy the correct removal keys?
A: Radio removal keys for Mercedes vehicles are readily available at auto parts stores, online retailers, and even some electronics stores.
Need More Help?
Removing your Mercedes ML320 radio is a manageable DIY project with the right tools and information. For more complex repairs or if you’re uncomfortable working on your vehicle’s electrical system, consult a qualified mechanic. And for all your automotive diagnostic needs, consider the professional-grade tools offered by Cardiagtech.
Contact CARDIAGTECH today to learn more about our range of diagnostic solutions for Mercedes-Benz and other vehicle makes.