A Can-Am brake warning message illuminating on your dashboard can be a jarring experience. This signal, often accompanied by an audible chime, is your vehicle’s way of saying something might be amiss with your braking system. While it can be concerning, understanding the potential causes and knowing how to troubleshoot the issue can save you time, money, and potentially keep you safe on the trails.
Common Causes of a Can-Am Brake Warning Message
Before diving into troubleshooting, it’s essential to understand what triggers this warning message. Here are some of the most common culprits:
- Low Brake Fluid: Just like any hydraulic system, your Can-Am’s brakes rely on brake fluid to function correctly. If the fluid level drops below a certain point, the warning light will activate.
- Worn Brake Pads: Brake pads wear down over time. As they thin, the brake caliper pistons need to extend further to engage the brakes, potentially triggering the warning light.
- Faulty Brake Light Switch: The brake light switch is responsible for activating your brake lights when you press the brake pedal. A malfunctioning switch can sometimes trigger the brake warning light as well.
- Issues with the Electronic Brake System: Many modern Can-Am models feature electronic braking systems. Problems within this system, such as a faulty sensor or control module, can activate the warning message.
- Wiring Problems: Loose connections, corroded wires, or damaged wiring harnesses in the braking system can interrupt signals and trigger warning lights.
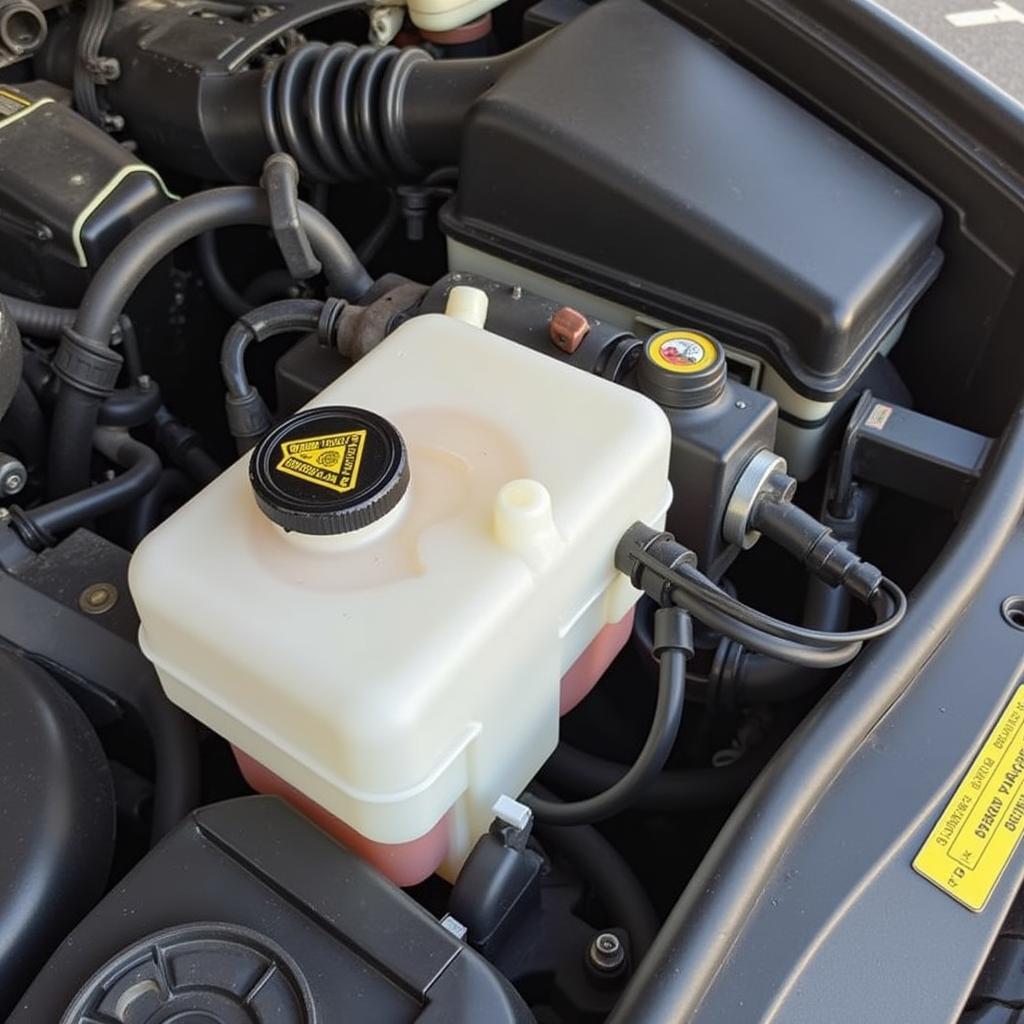
 Can-Am Brake Fluid Reservoir
Troubleshooting Steps for Can-Am Brake Warning Messages
While it’s always recommended to consult a qualified technician for brake-related issues, here’s a step-by-step guide to help you troubleshoot the problem:
- Check the Brake Fluid Level: Locate the brake fluid reservoir (refer to your owner’s manual). The reservoir will have “MIN” and “MAX” markings. If the fluid level is below the “MIN” line, add the recommended brake fluid type (DOT 3 or DOT 4, as specified in your manual).
- Inspect the Brake Pads: If the brake fluid level is fine, the next step is to inspect the brake pads. Worn brake pads are a common culprit. If you are comfortable with basic mechanical tasks, you can remove the wheel to get a clear view of the pads. However, if you’re unsure, it’s best to leave this step to a professional.
- Inspect the Brake Lines: Carefully examine the brake lines that run from the master cylinder to each wheel. Look for signs of leaks, cracks, or damage. If you notice any issues, it’s crucial to address them immediately.
- Check the Electrical Connections: Inspect the electrical connections related to your brake system, including the brake light switch and any connectors near the brake calipers. Look for loose connections, corrosion, or damage. Disconnect, clean, and reconnect any suspicious connections.
When to Seek Professional Help
If the basic troubleshooting steps don’t resolve the issue, it’s crucial to seek professional help. Here are instances where it’s essential to consult a qualified technician:
- You are not comfortable with mechanical work: Brake systems are critical for safety, and attempting repairs beyond your skill level can be dangerous.
- You suspect a problem with the electronic brake system: Issues with electronic components require specialized diagnostic equipment and knowledge.
- You have performed basic troubleshooting, but the warning message persists: This could indicate a more complex problem that requires professional diagnosis and repair.
“Ignoring a brake warning message can have serious consequences,” says veteran Can-Am mechanic, John Miller. “It’s always better to err on the side of caution and have a professional inspect your vehicle.”
Advanced Diagnostics and Remote Software Solutions
In recent years, the automotive industry has seen a surge in advanced diagnostics and remote software solutions. For Can-Am owners, this means quicker and more efficient troubleshooting, especially for complex electronic braking systems.
2007 can am brake warning message site www.can-amforum.com
Specialized diagnostic tools can now communicate with the vehicle’s onboard computer, retrieving valuable data and fault codes that pinpoint the exact issue. Moreover, in some cases, software updates or recalibrations can be performed remotely to address specific problems.
Maintaining Your Can-Am’s Braking System
Prevention is always better than cure. To avoid encountering a Can-Am brake warning message in the first place, consider these maintenance tips:
- Regularly check and top up your brake fluid: Refer to your owner’s manual for the recommended brake fluid type and service intervals.
- Inspect your brake pads during routine maintenance: Replace worn brake pads before they reach the minimum thickness level.
- Clean and lubricate brake calipers and moving parts: This helps prevent sticking and ensures smooth brake operation.
- Pay attention to any unusual noises or sensations when braking: Squeaking, grinding, or a spongy brake pedal feel can indicate a problem that needs attention.
By understanding the common causes of a Can-Am brake warning message, following the troubleshooting steps, and prioritizing preventative maintenance, you can ensure your vehicle’s braking system remains in optimal condition, keeping you safe and confident on every ride.