Few things are as frustrating as a car stereo that doesn’t work. Whether you’re dealing with a complete lack of power or intermittent sound issues, a faulty car radio ISO connector wiring can be the culprit. Let’s dive into the world of car audio and learn how to diagnose and fix these pesky wiring problems.
Understanding the Basics: Your Car Radio ISO Connector
Your car radio ISO connector is the bridge between your vehicle’s electrical system and your aftermarket stereo. It’s a standardized connector with two rows of pins, each serving a specific function:
- Power Connector: This connector supplies power to your car stereo, typically with pins for permanent power, switched power (activated by your ignition), and ground.
- Speaker Connector: This connector transmits the audio signals from your car stereo to your speakers, with individual pins for each speaker (front left, front right, rear left, and rear right).
Common Car Radio ISO Connector Wiring Problems
A variety of issues can crop up with your car radio ISO connector wiring:
- No Power: This is often caused by a blown fuse, a disconnected power wire, or a faulty ignition switch.
- Intermittent Sound: Loose connections, damaged wires, or corroded pins can lead to intermittent audio dropouts.
- Speakers Not Working: Incorrect wiring, a blown speaker fuse, or damaged speakers can cause one or more speakers to stop working.
- Incorrect Speaker Output: If your speakers are wired incorrectly, you might experience reversed stereo channels or weak sound from certain speakers.
Diagnosing the Issue: Is it the Wiring?
Before you start rewiring your car stereo, it’s essential to rule out other potential problems. Here’s a step-by-step guide:
- Check the Fuse: Locate the fuse for your car stereo (usually in the fuse box under the dashboard or in the engine bay) and inspect it for any signs of damage.
- Inspect the Head Unit: Ensure your car stereo is properly connected to the ISO connector and that there are no loose or damaged wires.
- Examine the Speakers: Visually inspect your speakers for any visible damage and gently press on the cones to check for rattling or rubbing sounds, which can indicate a blown speaker.
Tools and Materials for Fixing Your Wiring
If you’ve determined that the issue lies with your car radio ISO connector wiring, gather the following tools and materials:
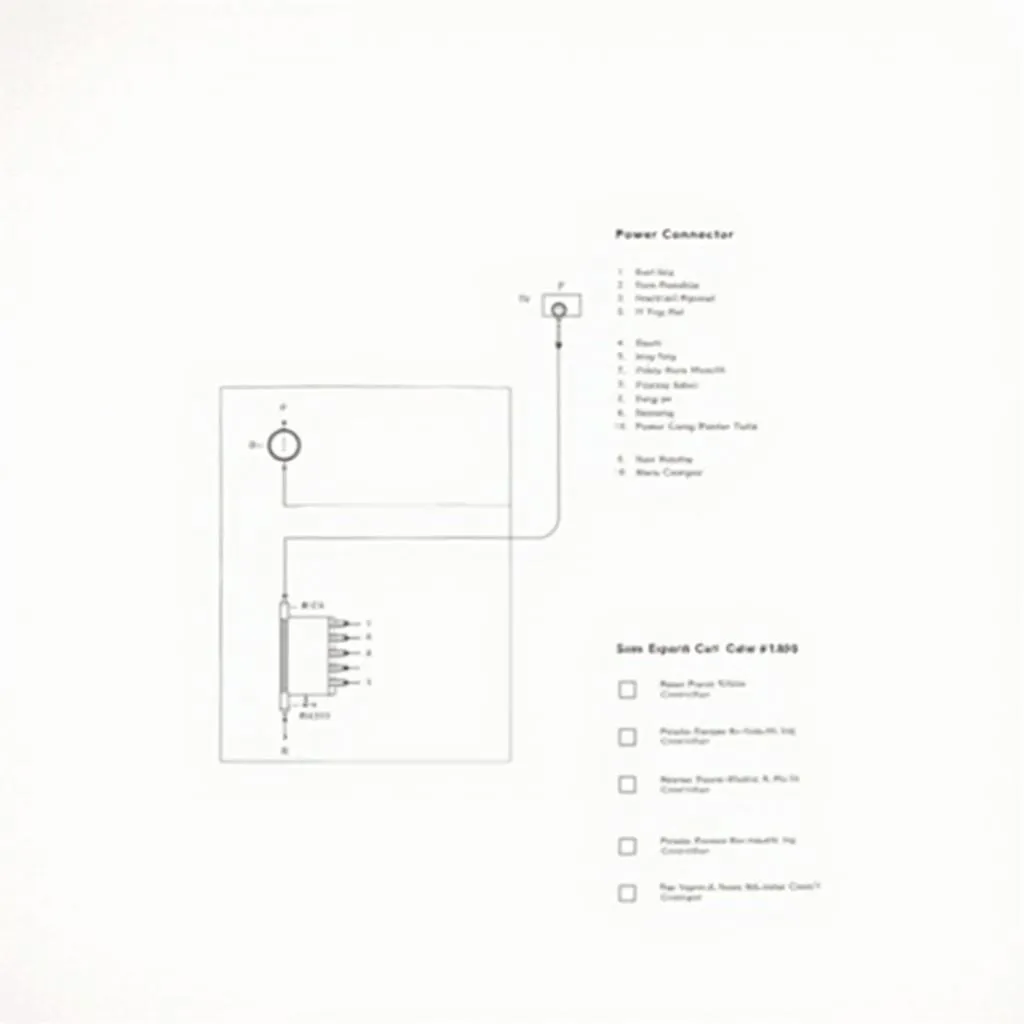
- Wiring Diagram: Consult your car stereo and vehicle manuals or search online for a wiring diagram specific to your make and model.
- Multimeter: This tool is essential for testing continuity, voltage, and resistance in your wiring.
- Wire Strippers/Cutters: Used for stripping insulation from wires and making clean cuts.
- Electrical Tape: Secure and insulate wire connections.
- Soldering Iron and Solder (Optional): For more permanent and reliable wire connections.
Step-by-Step Guide to Fixing Your ISO Connector Wiring
Follow these steps to repair common car radio ISO connector wiring problems:
- Disconnect the Battery: Before working on any electrical components, disconnect the negative terminal of your car battery to prevent shorts or shocks.
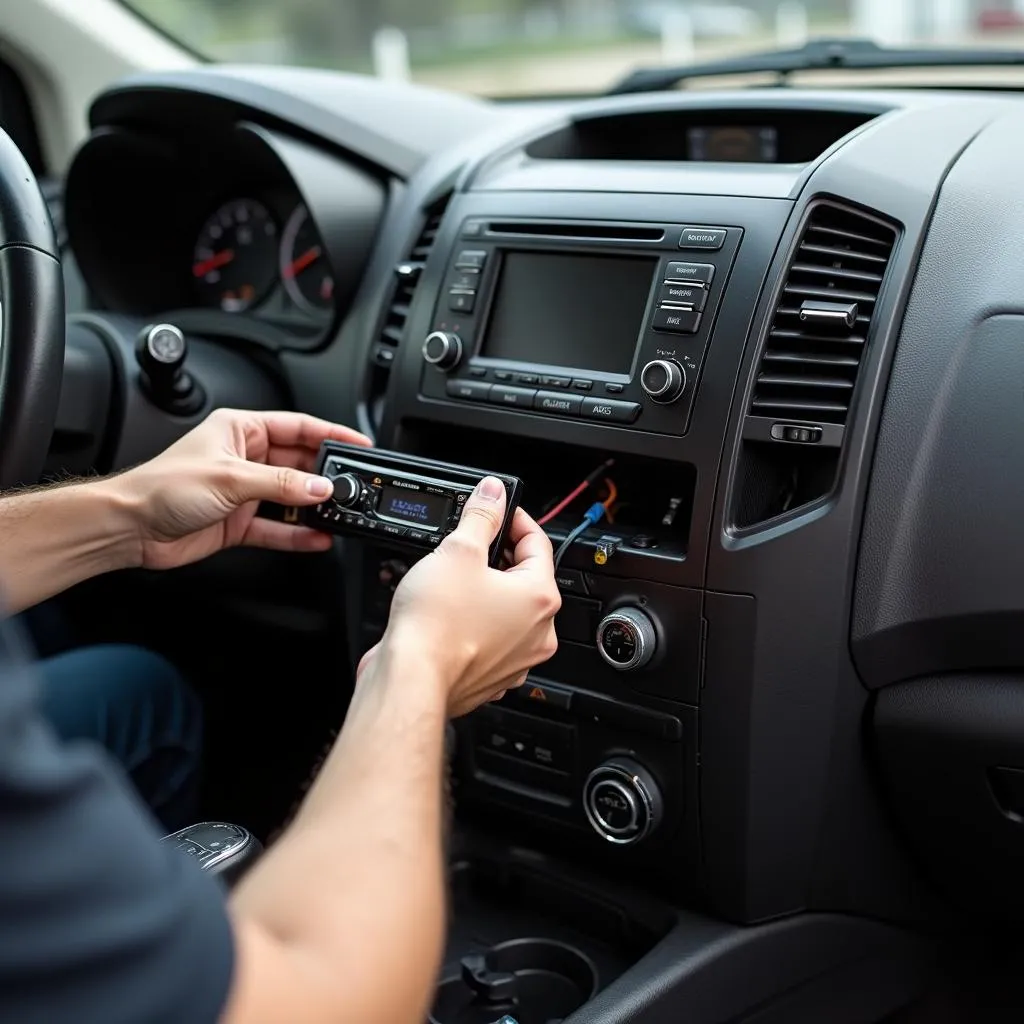
- Locate the ISO Connector: The ISO connector is usually located behind the car stereo in the dashboard.
- Identify the Problem: Using your wiring diagram and multimeter, carefully inspect each wire and pin for damage, loose connections, or incorrect wiring.
- Repair or Replace: Depending on the issue, you may need to rewire connections, replace damaged wires, or clean corroded pins.
- Reconnect and Test: Once you’ve addressed the wiring issue, reconnect the car battery and test your car stereo to ensure everything is working correctly.
Common Car Audio FAQs
Q: Can I install an aftermarket stereo myself?
A: Yes, many car owners successfully install their car stereos. However, it requires a basic understanding of car electrical systems and wiring. If you’re not comfortable with the process, it’s best to consult a professional.
Q: How do I know which wires are which?
A: Refer to your car stereo and vehicle wiring diagrams. These diagrams will indicate the function of each wire and pin on the ISO connector.
Q: My speakers still don’t work after checking the wiring. What else could be wrong?
A: The problem could lie with the head unit itself, the amplifier (if applicable), or even the speakers themselves. Further diagnostics may be necessary.
 Car radio ISO connector wiring diagram
Cardiagtech: Your Partner in Automotive Diagnostics
While this guide provides a starting point for troubleshooting car radio ISO connector wiring, some issues require advanced diagnostic tools and expertise. This is where Cardiagtech comes in. We offer a range of professional automotive diagnostic solutions, including remote programming, software installation, and expert support to help you get your car stereo up and running smoothly. Contact us today to learn more about our services.
 Installing a car stereo
Conclusion: Keep the Music Playing
Troubleshooting car radio ISO connector wiring issues might seem daunting at first, but with a little patience, the right tools, and this guide, you can overcome these common car audio problems. And remember, if you encounter persistent issues or need expert assistance, CARDIAGTECH is here to help you get back on the road with your favorite tunes playing loud and clear.

