“The radio stopped working in my car!” This phrase is a common cry for help from car owners everywhere. While modern car radios are more technologically advanced, the basics of car radio wiring haven’t changed much. Whether you’re an experienced mechanic or a car enthusiast willing to tackle DIY projects, understanding car radio wiring is essential for diagnosing and fixing those frustrating audio system issues. Let’s dive into the world of car radio wiring and equip you with the knowledge to get your music pumping again.
Understanding Your Car Radio’s Nervous System
Just like our bodies rely on a complex network of nerves to function, your car’s audio system depends on a web of wires to transmit signals and power. These wires, color-coded for easy identification, carry the electrical currents that breathe life into your speakers, allowing you to enjoy your favorite tunes on the road.
Common Car Radio Wiring Issues
A silent car radio can be a major annoyance. Before you start tearing your hair out, let’s look at some of the most common culprits behind car radio wiring problems:
- Blown Fuses: Fuses are the safety guards of your car’s electrical system. A sudden surge in electrical current can cause a fuse to blow, interrupting the flow of electricity to your car radio.
- Loose or Disconnected Wires: Vibrations, accidental tugs, or improper installation can loosen or disconnect wires, leading to a frustrating silence from your speakers.
- Damaged Wires: Over time, wires can become brittle, cracked, or frayed, especially in older vehicles. This damage disrupts the electrical circuit, rendering your car radio useless.
- Incorrect Wiring: Whether it’s a DIY installation gone wrong or a previous repair job that wasn’t up to par, incorrect wiring can lead to a host of issues, from a non-functional radio to more serious electrical problems.
Identifying the Silent Culprit: Diagnosing Your Car Radio Woes
Knowing how to pinpoint the source of the problem is half the battle won. Here’s a step-by-step guide to help you diagnose car radio wiring issues:
1. Check the Obvious:
- Is the radio turned on? It might seem obvious, but sometimes the simplest solution is the right one. Make sure the radio is powered on and the volume is turned up.
- Is the radio properly connected? If your car radio has a detachable faceplate, ensure it’s securely in place. Check the antenna connection as well, as a loose or disconnected antenna can also cause reception problems.
2. Inspect the Fuses:
- Locate your car’s fuse box. Refer to your owner’s manual if you need help finding it.
- Identify the fuse associated with your car radio. Again, your owner’s manual will come in handy here.
- Carefully remove the fuse and inspect it. A blown fuse will have a broken wire or a dark, discolored appearance.
- If you find a blown fuse, replace it with a new one of the same amperage.
3. Examine the Wiring:
- Visually inspect the wiring harness at the back of the radio for any loose, disconnected, or damaged wires. Pay close attention to the wiring near the connectors, as these areas are more prone to wear and tear.
- If you have a multimeter, you can use it to test for continuity in the wiring. This will help you determine if there are any breaks in the circuit.
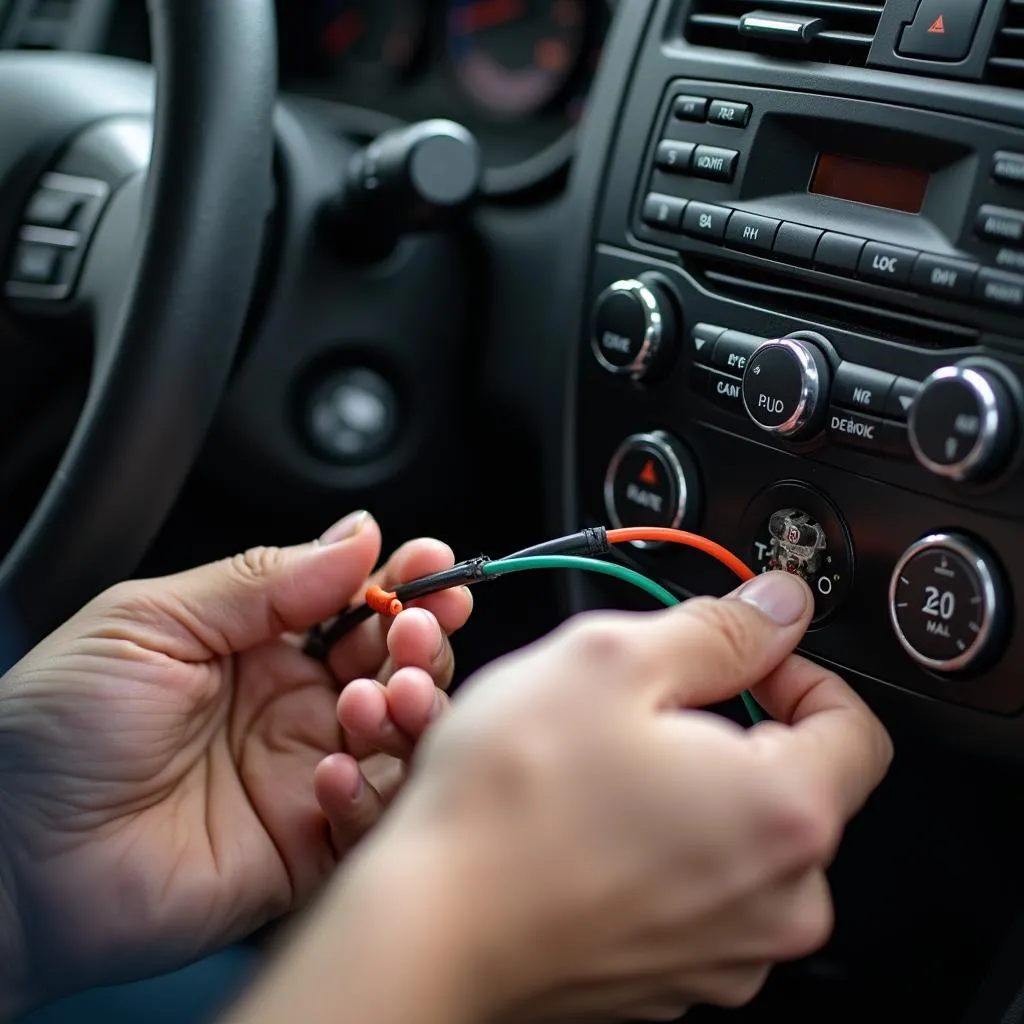 Inspecting the car radio wiring harness for damage
Gearing Up: Essential Tools for Car Radio Wiring Repair
Before you roll up your sleeves and dive into the repair process, gather the necessary tools to ensure a smooth and successful fix:
- Wiring Diagram: This is your roadmap to your car’s audio system. A wiring diagram provides a visual representation of the wires, connectors, and components of your car radio, making it much easier to trace wires and identify potential problems. You can usually find a wiring diagram in your car’s service manual or online.
- Multimeter: This handy tool helps you test for voltage, continuity, and resistance in electrical circuits. It’s invaluable for diagnosing wiring issues, as it allows you to pinpoint breaks in circuits and identify faulty components.
- Wire Strippers/Cutters: These tools are essential for stripping insulation from wires and making clean cuts when repairing or replacing damaged sections of wiring.
- Electrical Tape: Use electrical tape to insulate and secure wire connections.
- Soldering Iron and Solder (optional): For a more permanent and reliable repair, consider soldering wire connections.
Reconnecting the Symphony: Car Radio Wiring Repair
Once you’ve identified the source of the problem and gathered your tools, it’s time to get your hands dirty and bring your car radio back to life. Here’s a general guide to car radio wiring repair:
1. Disconnect the Battery: Before you begin any electrical work on your vehicle, always disconnect the negative battery cable. This will help prevent accidental shorts and potential damage to your car’s electrical system.
2. Access the Radio: Depending on your car model, you may need to remove trim panels, air vents, or even the entire dashboard to access the back of the radio. Refer to your car’s service manual for specific instructions.
3. Repair or Replace Damaged Wiring: If you find any damaged wires, you can either repair the damaged section or replace the entire wire. When repairing, use wire strippers to carefully remove the damaged insulation, then use electrical tape or heat shrink tubing to insulate the repaired section. If replacing the entire wire, make sure to use a wire with the same gauge (thickness) and color coding as the original wire.
4. Secure Loose Connections: Push any loose wires firmly back into their connectors. If the connectors are damaged, you may need to replace them.
5. Test the Radio: Once you’ve made the necessary repairs, reconnect the battery and turn on the radio to test your handiwork.
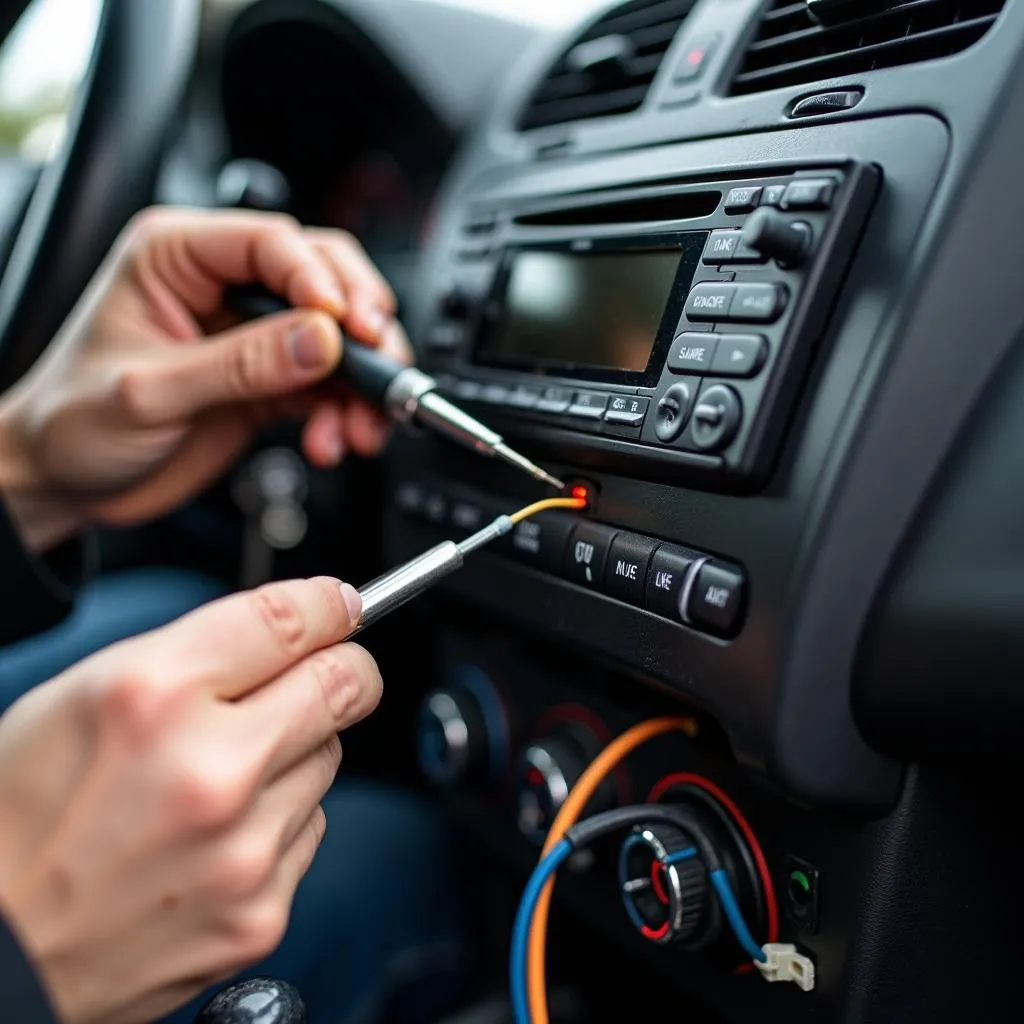 Repairing damaged car radio wiring
Car Radio Wiring FAQs: Answering Your Burning Questions
Q: My car radio only works intermittently. What could be wrong?
A: Intermittent problems are often caused by loose connections or damaged wires. Vibrations from driving can cause connections to loosen over time, and wires can become brittle or frayed. Start by checking the wiring harness behind the radio for any loose or damaged wires, and inspect the fuse as well.
Q: I just installed a new car radio, but it’s not working. What did I do wrong?
A: Car radio installations, while seemingly straightforward, can be tricky. Double-check your wiring connections against the wiring diagram to make sure you’ve connected everything correctly.
“Always prioritize safety when working with car electrical systems. If you’re uncomfortable working on your car’s wiring, don’t hesitate to seek help from a qualified mechanic.” – John Miller, Automotive Electrician, Miller’s Auto Electric
Q: Can I use any wiring harness for my car radio?
A: Using the correct wiring harness for your specific car model is crucial. Using the wrong harness can lead to incorrect connections, potentially damaging your radio or other electrical components.
Cardiagtech: Your Partner in Automotive Diagnostics
Cardiagtech provides state-of-the-art diagnostic and programming solutions for modern vehicles. For expert assistance with complex automotive issues, including intricate electrical system problems, don’t hesitate to reach out to us. Our team of skilled technicians is here to help you get your vehicle back on the road and sounding its best.
Contact Cardiagtech:
Phone: +1 (641) 206-8880
Email: CARDIAGTECH[email protected]
Office: 276 Reock St, City of Orange, NJ 07050, United States
We hope this guide has equipped you with the knowledge to tackle your car radio wiring problems. For more in-depth information on car audio systems and other automotive topics, check out our other articles on Toyota car radio wiring, Subaru Forester car radio wiring, Panasonic car radio wiring diagrams, Dual car radio wiring harnesses, and general radio wiring in cars. Remember, a little troubleshooting can go a long way in restoring the soundtrack to your drive!