“The radio stopped working after I installed a new amp!” Sound familiar? You’re not alone. Many car owners experience frustration with their car radio wiring, often after installing new equipment or dealing with electrical issues. This comprehensive guide dives into the intricate world of car radio wiring, providing you with the knowledge to understand, diagnose, and potentially solve those frustrating audio hiccups.
Understanding Your Car Radio’s Nervous System
Before we troubleshoot, let’s break down the basics. Your car radio system isn’t just a bunch of wires haphazardly thrown together. It’s a complex network, much like a nervous system, transmitting signals and power throughout your vehicle to deliver your favorite tunes. Here’s a simplified look:
- Battery: The powerhouse, supplying the juice for everything.
- Fuse: Your safety net, preventing electrical overloads.
- Ignition Switch: This is the key (literally!) that turns the system on.
- Head Unit: The brain, controlling functions and amplifying the audio signal.
- Speakers: The voice, converting signals into audible sound.
- Amplifier (Optional): The muscle, boosting the signal for louder, clearer sound.
Common Car Radio Wiring Issues and Their Causes
Car radio problems can manifest in many ways, from complete silence to static interference. Here are some common culprits:
1. No Power to the Radio: This often points to a blown fuse, a faulty ignition switch, or a wiring problem between the battery and the head unit.
2. Speakers Don’t Work: A blown speaker fuse, damaged wiring to the speakers, or a problem with the head unit’s amplifier could be the cause.
3. Poor Sound Quality: This might indicate a poor ground connection, damaged speaker cones, or incorrect wiring of the speakers.
4. Intermittent Cut Outs: Loose connections, damaged wires, or even interference from other electrical components can lead to annoying audio dropouts.
Identifying the Root of the Problem
Pinpointing the exact cause of your car radio woes often requires a bit of detective work.
1. Visual Inspection: Start by checking all visible wiring connections. Look for loose wires, corrosion, or any signs of damage.
2. Fuse Check: Locate your car’s fuse box (consult your owner’s manual) and check the radio and amplifier fuses. Replace any blown fuses.
3. Software Diagnostics: Advanced car diagnostic tools, like those offered by Cardiagtech, can help identify software-related issues within the car radio system.
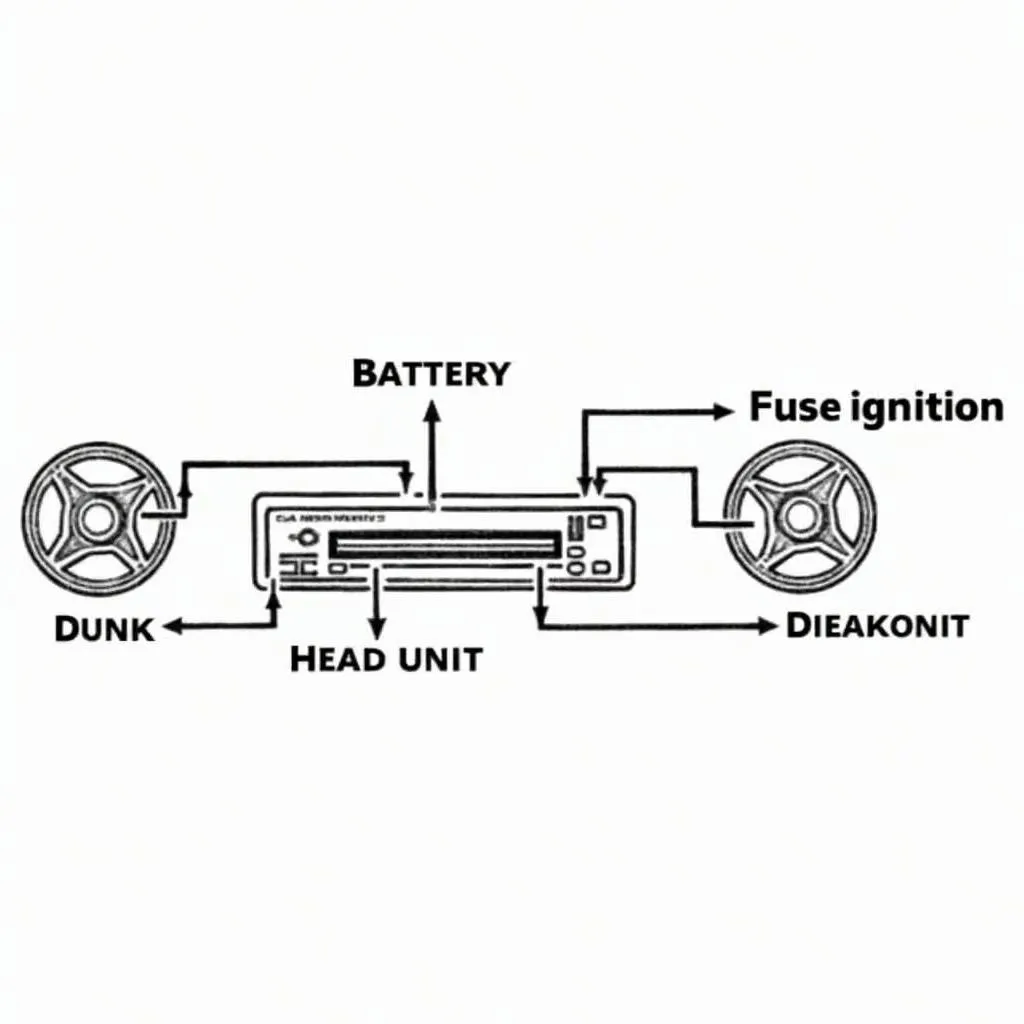 Car Radio Wiring Diagram
Gearing Up for Car Radio Repair
Before diving into repairs, gather the necessary tools and materials:
- Multimeter: An essential tool to test voltage, continuity, and resistance in your car’s electrical system.
- Wire Strippers/Cutters: For cutting and stripping wires to make new connections or replace damaged sections.
- Electrical Tape: Use this to insulate and secure electrical connections.
- Soldering Iron and Solder (Optional): For more permanent and reliable connections.
- Wiring Diagram: Your car’s specific wiring diagram will be your roadmap, detailing the color codes and paths of all the wires in your car audio system.
Troubleshooting and Repair: A Step-by-Step Approach
Remember, safety first! Disconnect the negative battery terminal before working on any electrical components in your car.
1. No Power: Start by checking the radio fuse. If it’s blown, replace it. If the new fuse blows immediately, you likely have a short circuit somewhere, requiring further investigation.
2. Speaker Issues: If you have a multimeter, check for continuity in the speaker wires and resistance across the speaker terminals. This will help you identify any breaks in the wiring or a faulty speaker.
3. Poor Sound Quality: Ensure a solid ground connection for both the head unit and the amplifier (if installed). A poor ground can introduce noise and distortion.
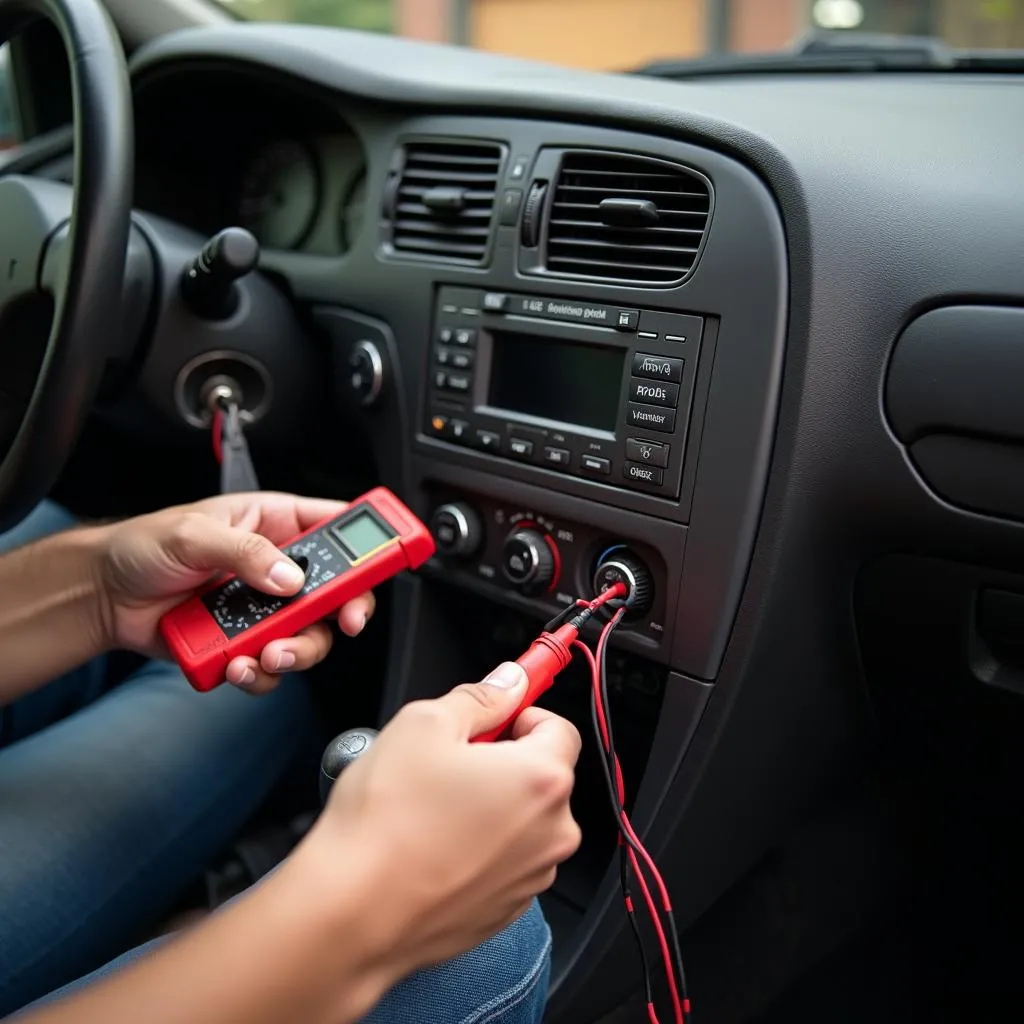 Testing Car Radio Wiring
4. Intermittent Problems: Focus on identifying and securing any loose connections. Gently wiggle wires and connectors while the system is on to see if the problem resurfaces.
FAQs: Unraveling Common Car Audio Queries
Q: Can I install a new car radio myself?
A: While possible, it requires a good understanding of car electrical systems and wiring. If unsure, it’s best to consult a professional.
Q: How do I identify the wires in my car radio harness?
A: Refer to your car’s wiring diagram. Each wire typically has a designated color code that corresponds to its function.
Q: My aftermarket radio won’t turn on. What could be wrong?
A: Check the wiring harness connections and ensure the radio is properly grounded. You might need a wiring harness adapter for your specific car model.
Need Expert Assistance?
CARDIAGTECH offers advanced car diagnostic tools and software solutions, empowering car owners and mechanics alike to diagnose and resolve even the most complex automotive issues. Visit our website or contact our team of experts for personalized support and guidance.
In Conclusion: Mastering Your Car’s Audio System
Understanding your car radio wiring is key to enjoying a clear, reliable sound experience. By following these steps and using the right tools, you can tackle common issues and keep your favorite tunes playing loud and clear. Remember, safety is paramount when working with car electrical systems. If you encounter persistent problems or are unsure about any aspect of the repair, don’t hesitate to seek professional help.