Understanding car radio wiring can seem daunting, but it doesn’t have to be. This guide will simplify the process, providing you with the essential knowledge to tackle your car audio installation or upgrade with confidence. Whether you’re a complete beginner or just need a refresher, we’ll cover everything from basic wiring diagrams to troubleshooting common issues.
Decoding the Wires: Your Car Radio Wiring Diagram
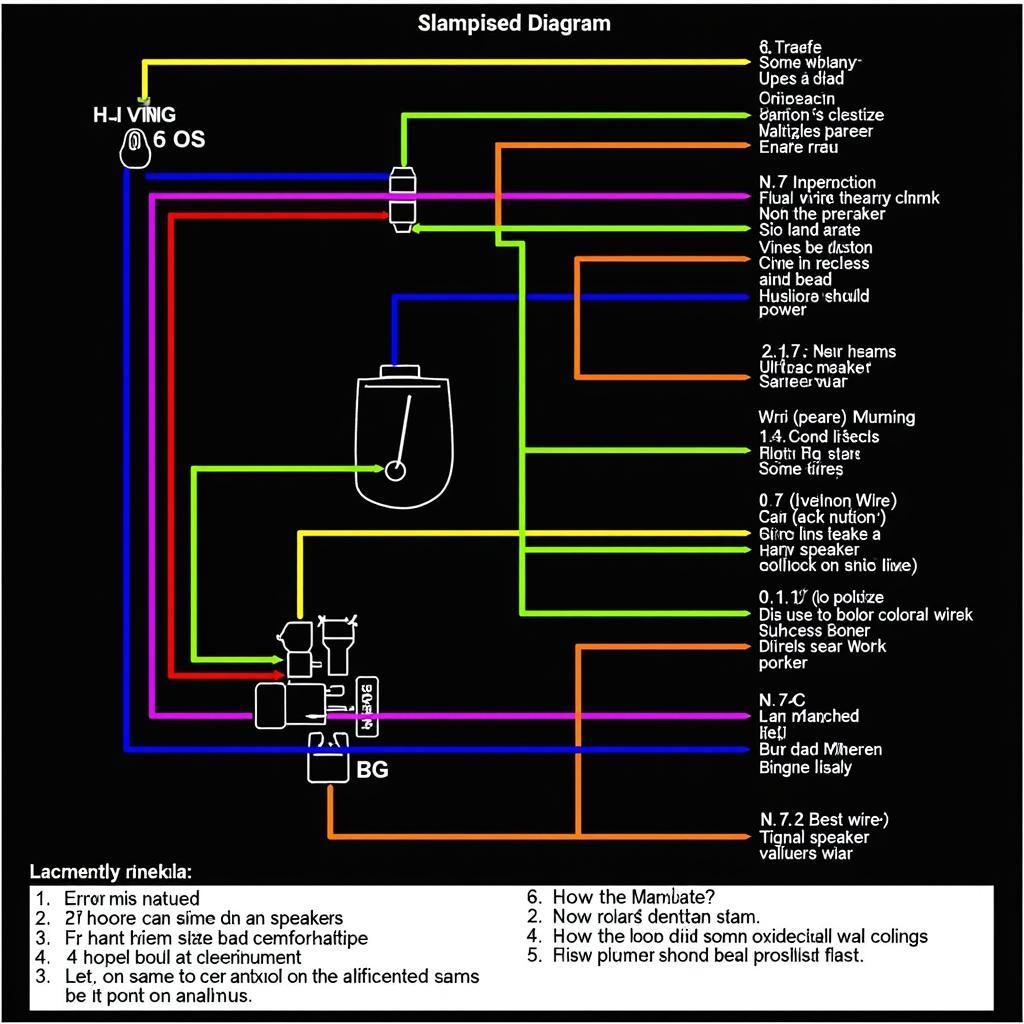
Before you even touch a wire, you need a wiring diagram. This is your roadmap to success, showing you which wire goes where. Your car’s owner’s manual might have it, or you can often find them online. Just search for your car’s make, model, and year. The diagram will identify each wire by its function and color, making the installation much smoother. Remember, a little preparation goes a long way!
 Car Radio Wiring Diagram Example
Power Up: Connecting the Constant and Switched Power
Two crucial wires are the constant 12V (usually yellow) and the switched 12V (usually red). The constant power keeps your radio’s memory and presets alive, while the switched power turns the radio on and off with your car’s ignition. Getting these right is essential. Mix them up, and you could end up with a dead battery or a radio that won’t turn off!
What if your car’s wiring colors don’t match the standard? Don’t panic! A multimeter can help you identify the correct wires by testing for voltage.
Ground Control: Ensuring a Solid Connection
The ground wire (usually black) is just as important as the power wires. It completes the electrical circuit and ensures your radio functions correctly. A poor ground connection can lead to static, noise, and even damage to your radio. Make sure it’s securely connected to a clean, metal surface on your car’s chassis.
“A solid ground is the foundation of any good car audio system,” says John Smith, a seasoned car audio technician with over 20 years of experience. “Don’t underestimate its importance!”
Speaking Volumes: Wiring Your Speakers
Connecting your speakers correctly is crucial for optimal sound quality. Each speaker wire is typically color-coded in pairs, with a solid color wire and a striped wire of the same color. The diagram will guide you on which wire goes to which speaker terminal. Pay attention to polarity to avoid phasing issues that can affect your sound.
What if My Radio Doesn’t Turn On?
If your radio doesn’t turn on after wiring, double-check all connections. Ensure the fuses are intact, both in the radio and your car’s fuse box. A blown fuse is a common culprit. Also, verify the ground connection and the power wires.
How Do I Deal with Aftermarket Wiring Harnesses?
Aftermarket wiring harnesses simplify the installation process, especially in older cars. These harnesses connect to your car’s existing wiring and provide standardized connectors for your new radio. They eliminate the need for cutting and splicing wires, making the job cleaner and easier to reverse.
Can I Install a Car Radio Myself?
Absolutely! With the right tools, a little patience, and this guide, you can install your car radio yourself. Just remember to take your time, consult your wiring diagram, and double-check your connections before powering everything up.
“Don’t be afraid to tackle car radio wiring,” encourages Maria Garcia, a certified automotive electrician. “It’s a rewarding experience, and you’ll save money by doing it yourself.”
Conclusion
Car radio wiring for dummies doesn’t have to be intimidating. With a clear understanding of the basic principles and a good wiring diagram, you can successfully install or upgrade your car’s audio system. Remember to double-check your connections and always consult your car’s manual for specific instructions. Now, go ahead and enjoy your favorite tunes on the road!

