Understanding your car radio wiring is crucial for any car audio enthusiast or DIY mechanic. Whether you’re upgrading your system, troubleshooting a malfunction, or simply replacing a blown fuse, this comprehensive guide will equip you with the knowledge you need to navigate the complexities of car radio wiring.
A car’s electrical system can seem daunting, but with a little patience and the right guidance, you can master the art of car radio wiring. This guide will cover everything from basic color codes to advanced troubleshooting techniques, empowering you to confidently tackle any car audio wiring project. We’ll break down the process step-by-step, ensuring you have a clear understanding of each component and connection. Now, let’s dive into the world of car radio wiring. replace jeep key fob battery
Understanding the Basics of Car Radio Wiring
Before we get into the specifics, it’s important to understand the basic principles of car radio wiring. Every wire serves a specific purpose, and knowing its function is essential for a successful installation. We’ll cover the standard color codes and their corresponding functions. This knowledge will form the foundation for your car audio wiring endeavors.
Decoding the Color Codes
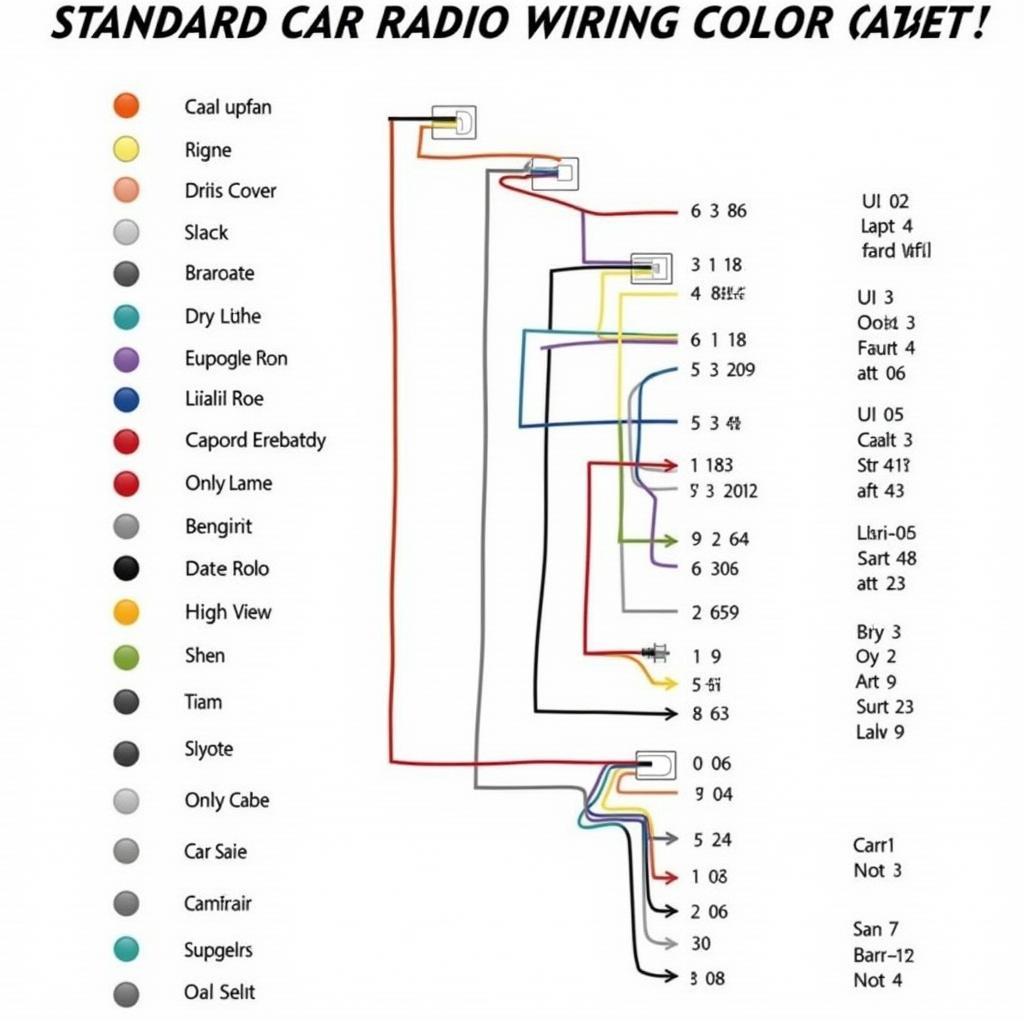
Car radio wiring typically follows a standardized color code, although variations may exist depending on the manufacturer and model year. Understanding these codes is crucial for proper installation and troubleshooting.
- Yellow: Constant 12V power supply, often referred to as the “memory” wire. This wire keeps your radio’s presets and clock settings stored.
- Red: Switched 12V power supply. This wire only provides power when the ignition is turned on.
- Black: Ground wire. This wire completes the electrical circuit and is essential for the proper functioning of the radio.
- Blue: Power antenna or amplifier turn-on. This wire sends a signal to activate the power antenna or amplifier when the radio is turned on.
- Green: Left front speaker positive (+)
- White: Left front speaker negative (-)
- Purple: Right front speaker positive (+)
- Gray: Right front speaker negative (-)
 Car Radio Wiring Color Codes Chart
Troubleshooting Common Car Radio Wiring Problems
Even with careful planning, wiring problems can occur. Knowing how to identify and fix these issues will save you time and frustration.
No Power to the Radio?
If your radio isn’t turning on at all, the first thing to check is the power supply. Use a multimeter to verify that both the constant 12V (yellow) and switched 12V (red) wires are receiving power.
“Always start with the basics,” advises John Smith, a seasoned automotive electrician with over 20 years of experience. “Checking the power supply is the first step in diagnosing any car radio wiring issue.”
Speakers Not Working?
If your radio turns on but you don’t hear any sound, the problem likely lies with the speaker wiring. Check the connections at both the radio and the speakers to ensure they are secure and properly connected. Also, check the speaker fuse.
Advanced Wiring Techniques
For those looking to take their car audio to the next level, understanding advanced wiring techniques can unlock a world of possibilities.
Adding an Amplifier
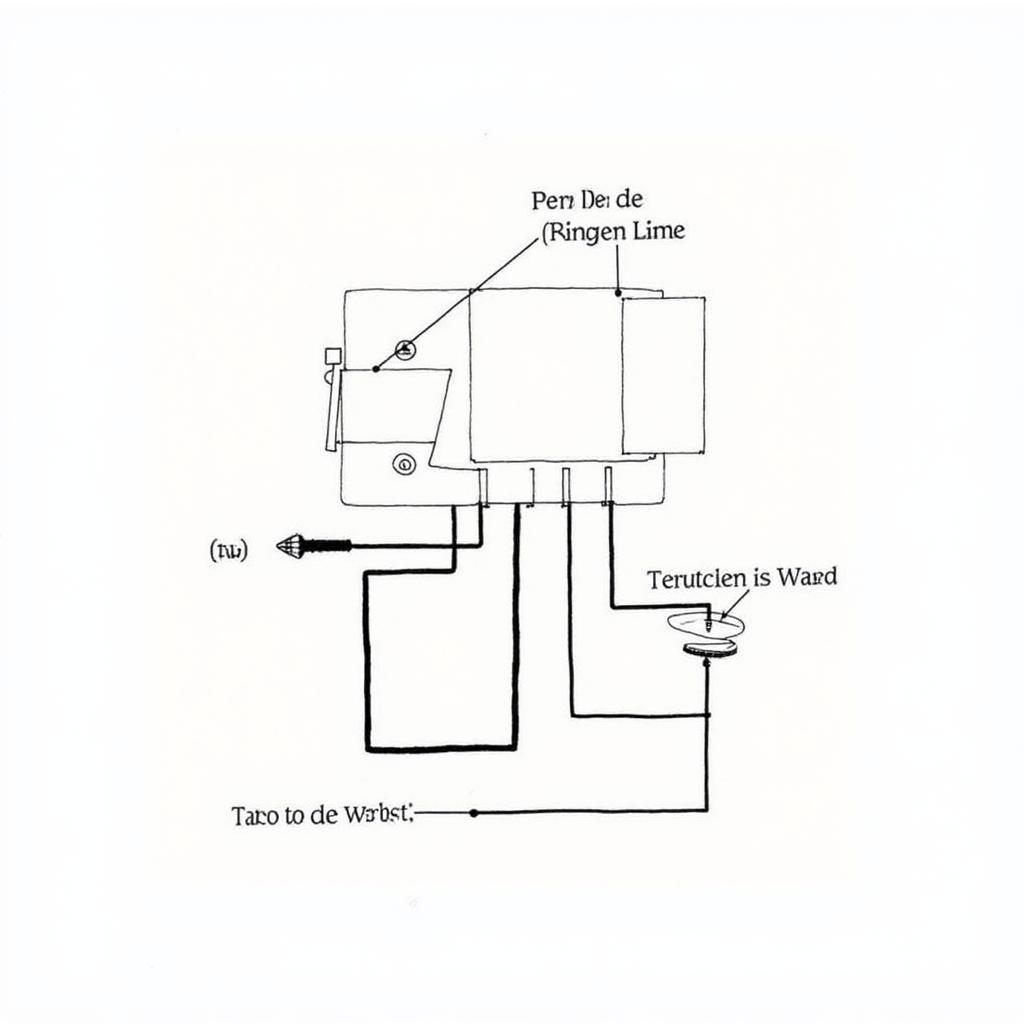
Adding an amplifier to your car audio system requires careful planning and execution. You’ll need to run power wires from the battery to the amplifier, as well as signal wires from the radio to the amplifier.
 Car Radio Amplifier Wiring Diagram
Installing a Subwoofer
Adding a subwoofer can significantly enhance the bass response of your car audio system. The wiring process involves connecting the subwoofer to the amplifier and running power wires as needed.
What gauge wire should I use for my car radio?
The appropriate gauge wire depends on the power requirements of your radio and amplifier. Generally, 18-gauge wire is suitable for most car radios, while thicker gauge wire (16-gauge or lower) is recommended for amplifiers and subwoofers.
How do I identify which wires are for the speakers?
Use a multimeter set to the ohms setting to test for continuity between the wires and the speakers.
“Using a multimeter is an essential skill for anyone working with car electronics,” adds Maria Garcia, a certified automotive technician. “It allows you to accurately diagnose and troubleshoot electrical problems.”
Conclusion
Mastering car radio wiring can empower you to take control of your car audio experience. By understanding the basic principles, troubleshooting techniques, and advanced wiring methods outlined in this car radio wiring guide, you’ll be well-equipped to tackle any car audio project with confidence. replace battery in jeep key fob
FAQ
- What tools do I need for car radio wiring?
- How do I remove the factory car radio?
- What is a wiring harness adapter?
- How do I test my car speakers?
- What is the difference between a single-DIN and double-DIN car radio?
- How do I connect my phone to my car radio via Bluetooth?
- How can I improve the sound quality of my car audio system?

