Understanding car radio wiring kits is crucial for anyone looking to upgrade their car audio system. Whether you’re a seasoned DIYer or a complete novice, choosing the right wiring kit and understanding the installation process can make all the difference between a crisp, clear sound and a frustrating mess of wires. This guide will take you through everything you need to know about car radio wiring kits, from choosing the right one to troubleshooting common problems. Let’s dive in!
Choosing the Right Car Radio Wiring Kit
Choosing the correct wiring kit is the first step towards a successful car radio installation. The right kit will ensure compatibility with your vehicle’s electrical system and the new head unit. Here are some key factors to consider:
- Vehicle Year, Make, and Model: Different vehicles have different wiring configurations. Ensure the wiring kit is specifically designed for your car. This information is crucial for maintaining the integrity of your car’s electronics.
- Head Unit Type: The type of head unit you’re installing (e.g., single DIN, double DIN) will also influence the wiring kit you need. A mismatch can lead to functionality issues or even damage to your new radio.
- Features: Some wiring kits offer additional features like steering wheel control retention or amplified system integration. Consider your needs and choose a kit that supports them.
- Quality: Opt for a reputable brand known for quality materials and construction. This will prevent future problems like short circuits or poor connections.
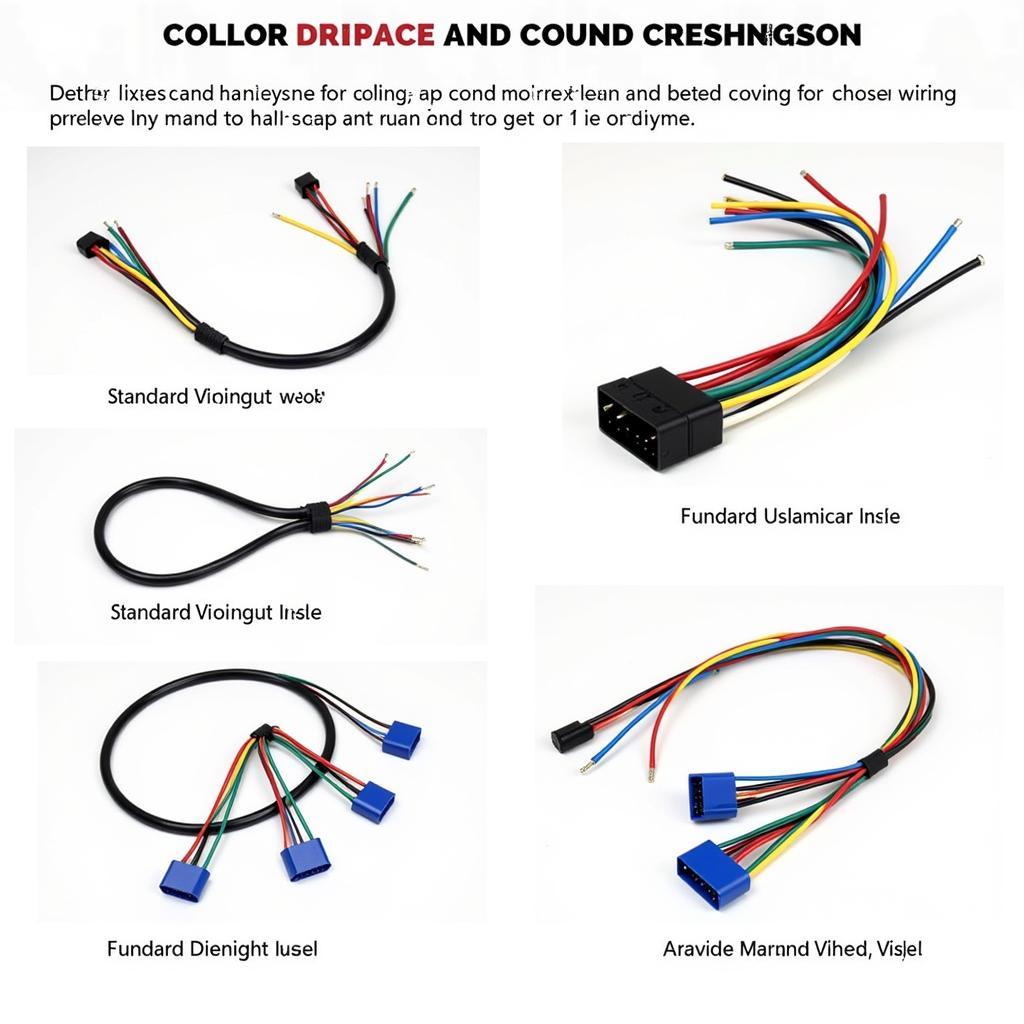
 Various Car Radio Wiring Harness Types
Understanding the Wiring Diagram
Once you have the correct kit, understanding the wiring diagram is essential. This diagram maps out which wires from the kit connect to the wires in your vehicle and the new head unit. Don’t let the colorful spaghetti of wires intimidate you. With a little patience, you’ll be able to master it.
- Color Codes: Each wire in the kit is color-coded and corresponds to a specific function (e.g., power, ground, speakers). The wiring diagram will explain these color codes. Double-checking these codes is crucial for avoiding mistakes.
- Matching Wires: Carefully match the wires from the kit to the corresponding wires in your car and the new head unit. Take your time and refer to the diagram frequently.
- Connectors: Most modern wiring kits use plug-and-play connectors, simplifying the process. However, some connections may require crimping or soldering. If you’re unsure, consult the smart car radio wiring guide for more details.
“A clear understanding of the wiring diagram is paramount,” says John Smith, a certified automotive electrician with over 20 years of experience. “A simple mistake can lead to a blown fuse or even damage to the car’s electrical system.”
Installing the Car Radio Wiring Kit
Now for the installation process itself. Here’s a step-by-step guide:
- Disconnect the Battery: Before starting any electrical work, disconnect the negative terminal of your car’s battery to prevent shocks and damage. Safety first!
- Remove the Old Radio: Carefully remove the old radio from the dash, following your car’s specific instructions. You might need special tools for this.
- Connect the Wiring Harness: Connect the wiring harness from the kit to your car’s factory wiring harness, matching the color-coded wires. Ensure a secure connection.
- Connect the Head Unit: Connect the other end of the wiring harness to the new head unit. Again, double-check all connections.
- Test the Connection: Reconnect the car battery and test the new head unit to ensure everything is working correctly. If you encountered any problems, the bluetooth internet radio car kit article might have helpful tips.
- Finalize the Installation: Secure the new head unit in the dash and reinstall any trim pieces.
Troubleshooting Common Problems
Sometimes, even with careful planning, issues can arise. Here are some common problems and solutions:
- No Power: Check the power and ground connections. Ensure the fuse for the radio circuit is not blown.
- No Sound: Verify the speaker connections are secure and correctly wired. Also, check the head unit’s settings. If you are looking for reviews of various Bluetooth car radios, check out our bluetooth car radio reviews.
- Poor Reception: Check the antenna connection. If you are installing a satellite radio, you can find a helpful guide on our website regarding sirius satellite radio car kit installation guide.
“Don’t hesitate to seek professional help if you’re uncomfortable working with car electronics,” advises Maria Garcia, a lead technician at a renowned car audio installation shop. “It’s better to be safe than sorry.”
Conclusion
Installing a new car radio with the right car radio wiring kit can significantly enhance your driving experience. By carefully choosing the right kit, understanding the wiring diagram, and following the installation steps, you can achieve a professional-looking and sounding installation. If you prefer professional installation, consider checking out car radio installation walmart.
FAQ
- What is a car radio wiring kit? A car radio wiring kit is a collection of wires and connectors designed to simplify the process of installing a new car stereo.
- Do I need a wiring kit for every car radio installation? Almost always, yes. It ensures compatibility and simplifies the wiring process.
- Where can I buy a car radio wiring kit? Car audio shops, electronics retailers, and online stores all sell wiring kits.
- How much does a car radio wiring kit cost? Prices vary depending on the features and quality, typically ranging from $10 to $50.
- Can I install a car radio wiring kit myself? Yes, with the right tools and a little patience, most people can install a wiring kit themselves.
- What if I encounter problems during installation? Refer to the troubleshooting section of this guide or seek professional help.
- How do I know which wiring kit is right for my car? Check the kit’s compatibility information, which should specify the vehicle year, make, and model.

