“Having a little trouble with the factory radio in my ’98 Camry. Anyone have a wiring diagram so I can try to figure this out? Thanks!” – Sound familiar? We’ve all been there. Trying to decipher the jumble of wires behind your car stereo can feel like trying to read hieroglyphics. But fear not, fellow Camry owner! This guide will walk you through the intricacies of your 1998 Toyota Camry car stereo wiring diagram, empowering you to tackle those audio woes head-on.
Understanding Your 1998 Toyota Camry Car Stereo System
Before we delve into the wiring labyrinth, let’s take a moment to appreciate the components that make up your Camry’s audio system. Like a well-rehearsed orchestra, each element plays a crucial role in delivering a symphony of sound.
Your car stereo system primarily consists of:
- Head Unit: This is the brain of your system, housing the radio receiver, CD player, and often, the amplifier.
- Speakers: These transform electrical signals into the sounds you enjoy. Your Camry likely has front and rear speakers, and maybe even tweeters for those high notes.
- Antenna: Responsible for capturing radio waves and delivering them to the head unit.
- Wiring Harness: This intricate network of wires acts as the nervous system, transmitting signals and power between all components.
Common Car Stereo Issues in a 1998 Toyota Camry
Time and again, certain issues tend to crop up in these classic Camry models. Recognizing the symptoms can be your first step in pinpointing the root of the problem.
- No Power to the Head Unit: This is often a telltale sign of a blown fuse or a problem with the ignition switch.
- Sound Cutting Out Intermittently: Loose or corroded wiring connections are frequently the culprits here.
- Speakers Not Working: This could indicate a problem with the speaker itself, the wiring to the speaker, or even a faulty amplifier if your system has one.
- Poor Radio Reception: A damaged antenna or poor grounding of the head unit are often to blame in this scenario.
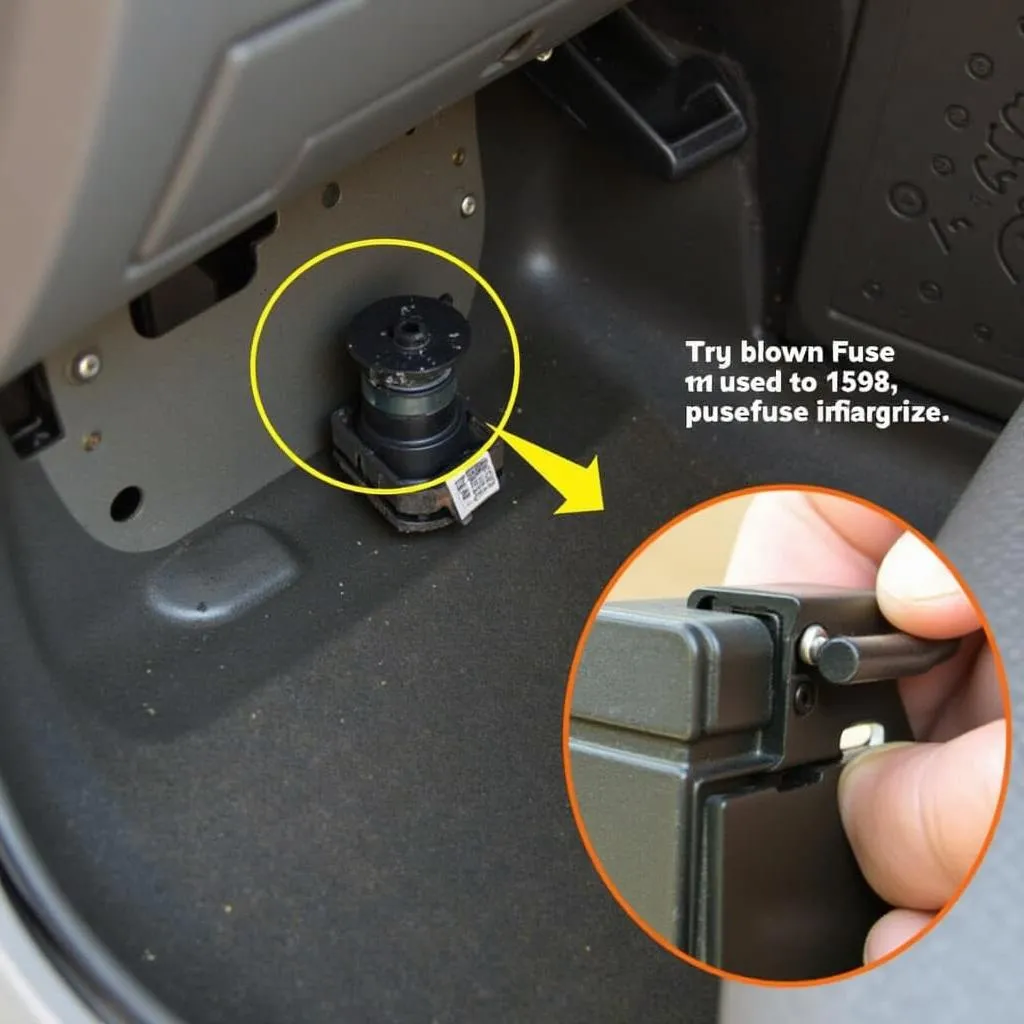 Blown fuse in a car
Delving into the Wiring Diagram
Now, let’s unravel the mystery of that 1998 Toyota Camry car stereo wiring diagram.
What You’ll Need:
- Wiring Diagram: You can often find a copy in your owner’s manual. Online resources and automotive forums specific to your Camry model year can also be treasure troves of information.
- Digital Multimeter: This invaluable tool helps you test for continuity and voltage, crucial for diagnosing wiring problems.
- Electrical Tape: For securing and insulating any wire repairs you make.
Reading the Diagram
The wiring diagram might appear daunting at first glance, but it’s like a roadmap once you understand the symbols and abbreviations.
- Colors: Each wire in the harness has a specific color, often corresponding to its function (e.g., red for battery power, black for ground).
- Abbreviations: The diagram uses abbreviations to identify components (e.g., HU for head unit, SP for speaker).
 Car stereo wiring diagram symbols and abbreviations
Troubleshooting Common Wiring Problems
With the wiring diagram as your guide, you can begin to systematically diagnose and address common wiring issues.
-
Check the Fuses: Locate the fuse box (usually under the dashboard or in the engine bay) and consult your owner’s manual to identify the fuse associated with the car stereo. A blown fuse will need to be replaced.
-
Inspect the Wiring Harness: Carefully examine the wiring harness behind the stereo and at each speaker location for any signs of damage, wear, or loose connections. Repair or re-secure any problematic areas.
-
Test for Continuity and Voltage: Using your multimeter, you can test for continuity in the wiring to ensure that signals are flowing properly. You can also test for voltage at various points in the circuit to identify power supply issues.
Seeking Expert Assistance
If you find yourself in over your head, don’t hesitate to call in the cavalry! Experienced car audio technicians or even a trusted mechanic can diagnose and resolve more complex wiring issues. They often have access to specialized diagnostic equipment and wiring diagrams that can save you time and headaches.
FAQs:
Q: Can I install a new aftermarket stereo using the existing wiring in my 1998 Camry?
A: Absolutely! However, it’s highly recommended to use a wiring harness adapter. This prevents you from having to cut or splice into your factory wiring, simplifying the installation process and preserving the integrity of your Camry’s electrical system.
Q: What is Cardiagtech and how can it help me with my car troubles?
A: Cardiagtech specializes in advanced car diagnostic tools and software. They offer a range of products that can help you identify and troubleshoot a wide array of car problems, including those related to your car stereo system. You can explore their range of products here.
 Car stereo wiring harness adapter for Toyota Camry
Get Your Camry’s Tunes Flowing!
Remember, while delving into your car’s electrical system can seem daunting, armed with the right knowledge and tools, you can successfully navigate the intricacies of your 1998 Toyota Camry car stereo wiring diagram. And if you ever need a helping hand, CARDIAGTECH is just a click away, offering the diagnostic prowess to get you back on the road and enjoying your favorite tunes in no time.