Understanding your Chrysler car radio wiring diagram is crucial for any car audio upgrade, repair, or troubleshooting. Whether you’re installing a new head unit, diagnosing a faulty connection, or simply want to understand the electrical flow behind your car’s entertainment system, this guide will provide you with the knowledge you need to navigate the complexities of Chrysler car radio wiring.
Decoding the Chrysler Car Radio Wiring Diagram
Chrysler vehicles, known for their sophisticated electronics, can present a challenge when it comes to car audio modifications. A clear understanding of the wiring diagram is paramount to avoid potential damage and ensure proper functionality. This section breaks down the typical components and connections found in a Chrysler car radio wiring diagram.
Key Components of a Chrysler Car Radio Wiring System
- Power Supply: The power supply wires are essential for providing the necessary voltage to operate the radio. These typically include a constant 12V wire (usually yellow), an accessory wire (typically red, powered when the ignition is on), and a ground wire (usually black).
- Speaker Wires: These wires carry the audio signals to the speakers. They are typically color-coded in pairs, with one wire for positive (+) and one for negative (-) for each speaker.
- Illumination Wire: This wire (usually orange or orange with a white stripe) dims the radio display lights along with the vehicle’s dashboard lights.
- Antenna Wire: This wire provides power to the power antenna or activates an amplifier for the antenna signal.
- Amplifier Turn-On Wire: If your system includes an external amplifier, this wire (typically blue or blue with a white stripe) sends a signal to turn the amplifier on and off with the radio.
- Data Bus Wires: Modern Chrysler vehicles utilize CAN (Controller Area Network) bus systems for communication between different modules. These data wires carry information related to vehicle speed, steering wheel controls, and other integrated functions.
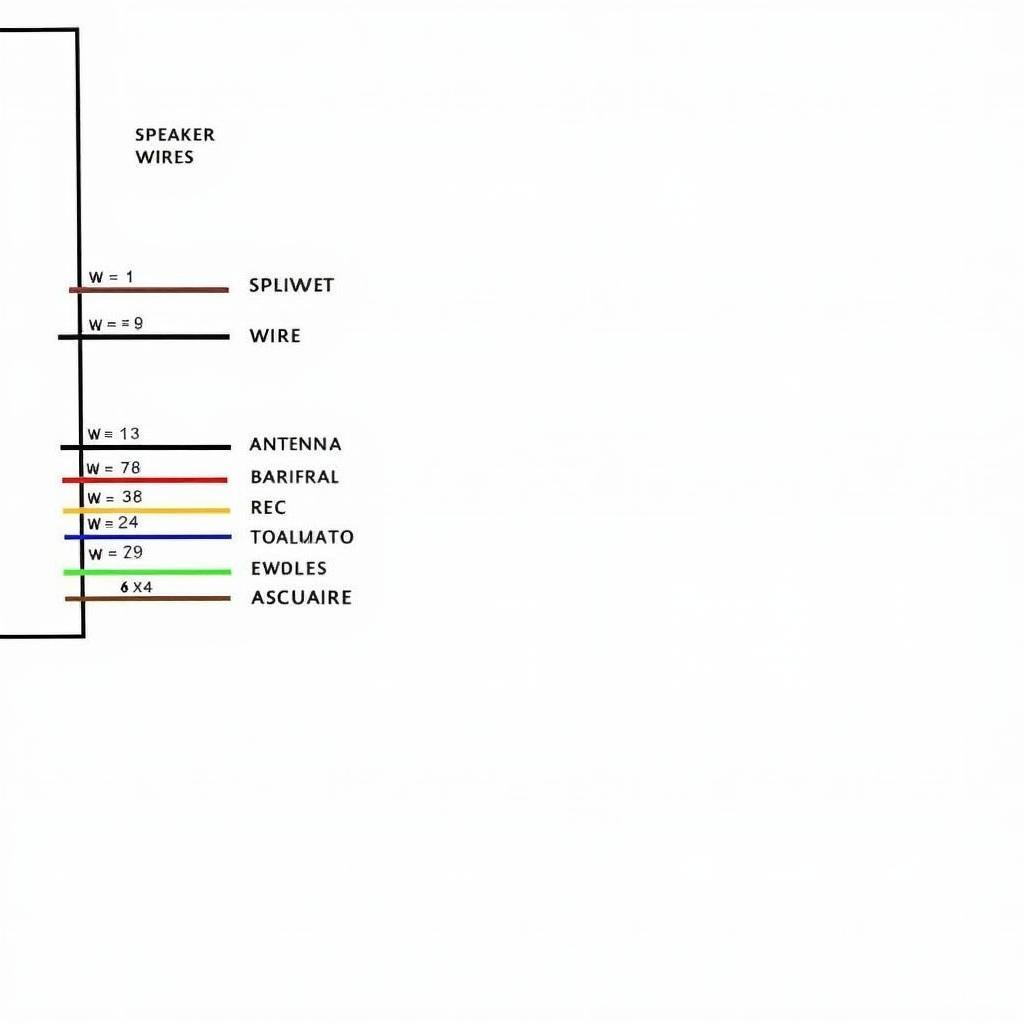 Chrysler Car Radio Wiring Diagram Overview
Utilizing a Wiring Diagram Effectively
Reading a Chrysler car radio wiring diagram can seem daunting at first, but with a systematic approach, you can quickly grasp the information it presents. Each wire is typically identified by its color and function. The diagram usually provides a schematic representation of the connections between the radio and other components. Referencing the diagram alongside the physical wires in your vehicle will help you identify each wire’s purpose and ensure correct connections.
Troubleshooting Common Wiring Issues
Understanding the wiring diagram allows you to troubleshoot common car audio problems. For example, if a speaker isn’t working, you can use the diagram to trace the corresponding wires and check for breaks, loose connections, or blown fuses. Similarly, if your radio isn’t receiving power, you can check the power supply wires using a multimeter.
Identifying and Fixing Wiring Problems
- No Power: Check the fuse for the radio circuit. Use a multimeter to test the constant 12V and accessory wires for voltage. Ensure the ground wire is securely connected to a clean metal surface.
- No Sound: Verify the speaker wire connections. Check for blown speakers using a multimeter. Ensure the fader and balance controls are set correctly.
- Dim or No Illumination: Check the illumination wire for voltage. Test the dimmer switch functionality.
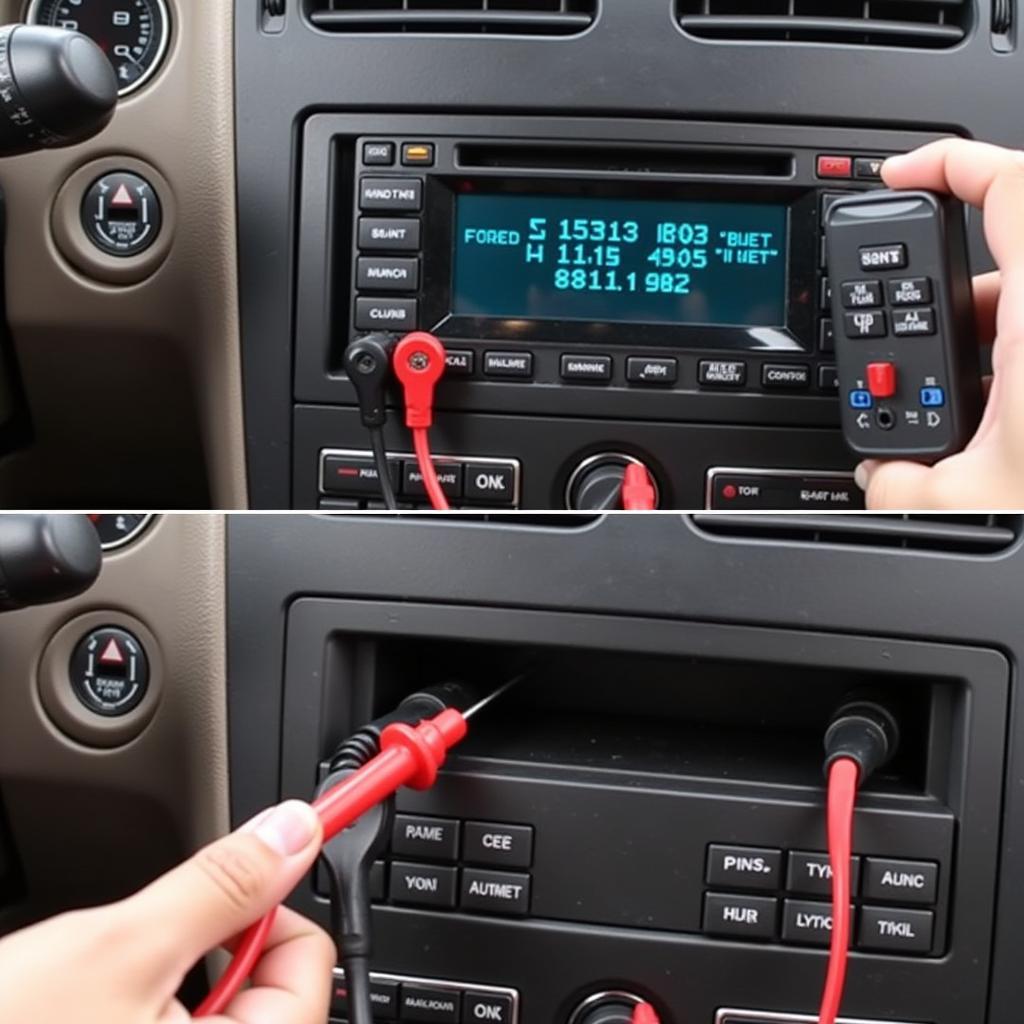 Troubleshooting Chrysler Car Radio Wiring
“When dealing with Chrysler car audio systems, always disconnect the negative battery terminal before working on any wiring,” advises Michael Stevens, a seasoned automotive electrical technician with over 20 years of experience. “This crucial step prevents accidental shorts and potential damage to sensitive electronic components.”
Installing a New Head Unit in Your Chrysler
Upgrading your car radio with a new head unit can greatly enhance your audio experience. However, it requires careful attention to the wiring diagram. Using a wiring harness adapter designed specifically for your Chrysler model can simplify the installation process and minimize the risk of damaging the factory wiring.
Steps to Install a New Head Unit
- Disconnect the negative battery terminal.
- Remove the factory radio using appropriate removal tools.
- Identify the wires on the factory wiring harness using the wiring diagram.
- Connect the wiring harness adapter to the factory wiring harness, matching the colors and functions of the wires.
- Connect the wiring harness adapter to the new head unit.
- Test the new head unit for proper functionality.
- Install the new head unit into the dash.
- Reconnect the negative battery terminal.
 Installing New Head Unit in a Chrysler
“Investing in a quality wiring harness adapter is essential for a seamless installation and preserving the integrity of your Chrysler’s electrical system,” adds Stevens. “This ensures compatibility and prevents potential issues down the road.”
Conclusion
Understanding the Chrysler car radio wiring diagram is essential for anyone working on their car’s audio system. Whether you are troubleshooting a problem, installing a new head unit, or simply want to learn more about how your car’s audio system works, this guide has provided you with the fundamental knowledge you need. By carefully studying the wiring diagram and taking the necessary precautions, you can confidently tackle any car audio project. Remember to always consult your vehicle’s specific wiring diagram and seek professional assistance if needed.

