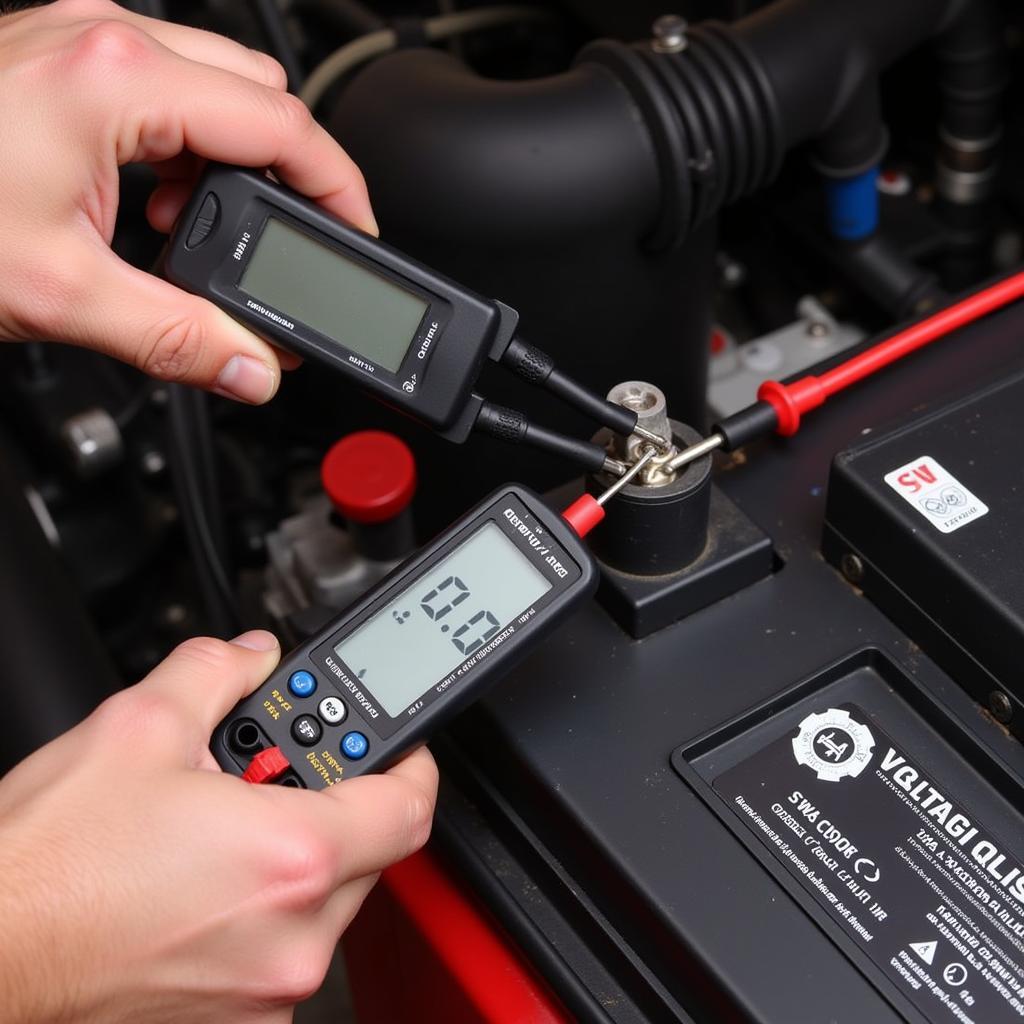
Car radio wiring can seem like a tangled mess, but with a little understanding of common car radio wiring, you can easily upgrade your car audio system, troubleshoot problems, or even install a new head unit. This guide will unravel the mystery behind those colorful wires and empower you to tackle your car audio projects with confidence.
Decoding the Color Codes: Your Guide to Common Car Radio Wiring
Understanding the function of each wire is crucial for a successful car audio installation. While there can be slight variations between car manufacturers, the following color codes are generally standard for common car radio wiring:
- Yellow: Constant 12V power supply (also known as the battery wire). This wire provides power to the radio even when the ignition is off, preserving your radio presets and settings.
- Red: Switched 12V power supply (also known as the accessory wire). This wire provides power to the radio only when the ignition is on.
- Black: Ground wire. This wire completes the electrical circuit and is essential for the radio to function properly. A poor ground connection can lead to various issues, including static and poor sound quality.
- Blue: Power antenna wire. This wire activates the power antenna when the radio is turned on. In some vehicles, it may also control an amplifier’s remote turn-on.
- Orange: Illumination wire. This wire dims the radio display when the vehicle’s headlights are turned on.
- Green: Left front speaker positive (+)
- Green with black stripe: Left front speaker negative (-)
- White: Left rear speaker positive (+)
- White with black stripe: Left rear speaker negative (-)
- Gray: Right front speaker positive (+)
- Gray with black stripe: Right front speaker negative (-)
- Purple: Right rear speaker positive (+)
- Purple with black stripe: Right rear speaker negative (-)
Common Car Radio Wiring Problems and Solutions
Even with a clear understanding of common car radio wiring, problems can still arise. Here are a few common issues and how to troubleshoot them:
- Radio Won’t Turn On: First, check the fuse for the radio. If the fuse is blown, replace it with a fuse of the same amperage. If the fuse continues to blow, there may be a short circuit in the wiring. Next, verify that the yellow (constant 12V) and red (switched 12V) wires are correctly connected.
- Poor Sound Quality: Check the speaker connections for loose or corroded wires. Also, ensure that the ground wire is securely connected to a clean metal surface on the vehicle’s chassis.
- Radio Loses Presets: This usually indicates a problem with the yellow (constant 12V) wire connection. Verify that the wire is properly connected and providing constant power to the radio.
What are the different types of car radio wiring harnesses?
There are several types of car radio wiring harnesses, each designed for specific vehicle makes and models. These harnesses simplify the installation process by providing pre-wired connectors that match the car’s factory wiring. Some common types include:
- Universal Harnesses: Designed for basic installations, these harnesses often require some wire splicing and connection modifications.
- Vehicle-Specific Harnesses: These harnesses are tailored to specific car models, making installation a plug-and-play experience, eliminating the need for cutting or splicing wires.
- Amplified Harnesses: Designed for vehicles with factory amplified sound systems, these harnesses retain the factory amplifier’s functionality when upgrading the head unit.
Why is understanding car radio wiring important?
Understanding car radio wiring is crucial for anyone working on their car’s audio system. It ensures proper installation, helps troubleshoot issues, and prevents damage to the radio and vehicle’s electrical system. It allows for a smooth transition when upgrading to a new head unit, maintaining the integrity of the vehicle’s existing wiring.
Conclusion
Mastering common car radio wiring empowers you to take control of your car audio experience. By understanding the color codes and troubleshooting techniques, you can confidently upgrade your system, fix problems, and enjoy crystal-clear sound on the road. Remember to consult your vehicle’s specific wiring diagram for accurate information and always disconnect the negative battery terminal before working on any electrical components in your car.
FAQ
-
What gauge wire should I use for car radio speakers? 16-gauge or 18-gauge wire is typically recommended for car speaker wiring.
-
Can I install a car radio myself? Yes, with a basic understanding of wiring and the proper tools, many car radios can be installed at home.
-
What is a wiring diagram, and where can I find one for my car? A wiring diagram is a visual representation of a vehicle’s electrical system, including the radio wiring. You can often find them in your car’s owner’s manual or online resources.
-
What should I do if my car radio doesn’t have a wiring harness? You can either purchase a universal harness and adapt it to your car’s wiring or manually connect the wires following a wiring diagram.
-
Why is my car radio making a popping sound? Popping sounds can indicate a poor ground connection, loose wiring, or a problem with the speakers themselves.
-
What does a blown car radio fuse look like? A blown fuse will have a broken filament visible through the clear plastic of the fuse.
-
How do I remove a car radio? Most car radios require special removal tools that can be purchased online or at auto parts stores. These tools are inserted into slots on the sides of the radio to release the locking mechanism.

