The discovery sport brake pad warning light is a crucial safety feature that alerts you to potential issues with your braking system. Ignoring this warning can lead to costly repairs and compromise your safety on the road. This guide will explore everything you need to know about the Discovery Sport brake pad warning light, from its causes and troubleshooting to solutions and preventive measures.
Understanding the Discovery Sport Brake Pad Warning Light
The brake pad warning light illuminates when the brake pads wear down to a certain thickness. This is typically indicated by a sensor embedded within the brake pad itself. When the pad wears down enough, the sensor contacts the rotor, completing a circuit and triggering the warning light on your dashboard. This light can also be triggered by low brake fluid, a malfunctioning sensor, or issues with the braking system’s wiring.
Troubleshooting the Brake Pad Warning Light
What should you do when the dreaded discovery sport brake pad warning light comes on? Don’t panic! Here’s a step-by-step guide to help you troubleshoot the issue:
-
Check the Brake Pads: The most common cause is worn brake pads. Visually inspect your brake pads through the wheel spokes. If they appear thin, it’s time for a replacement.
-
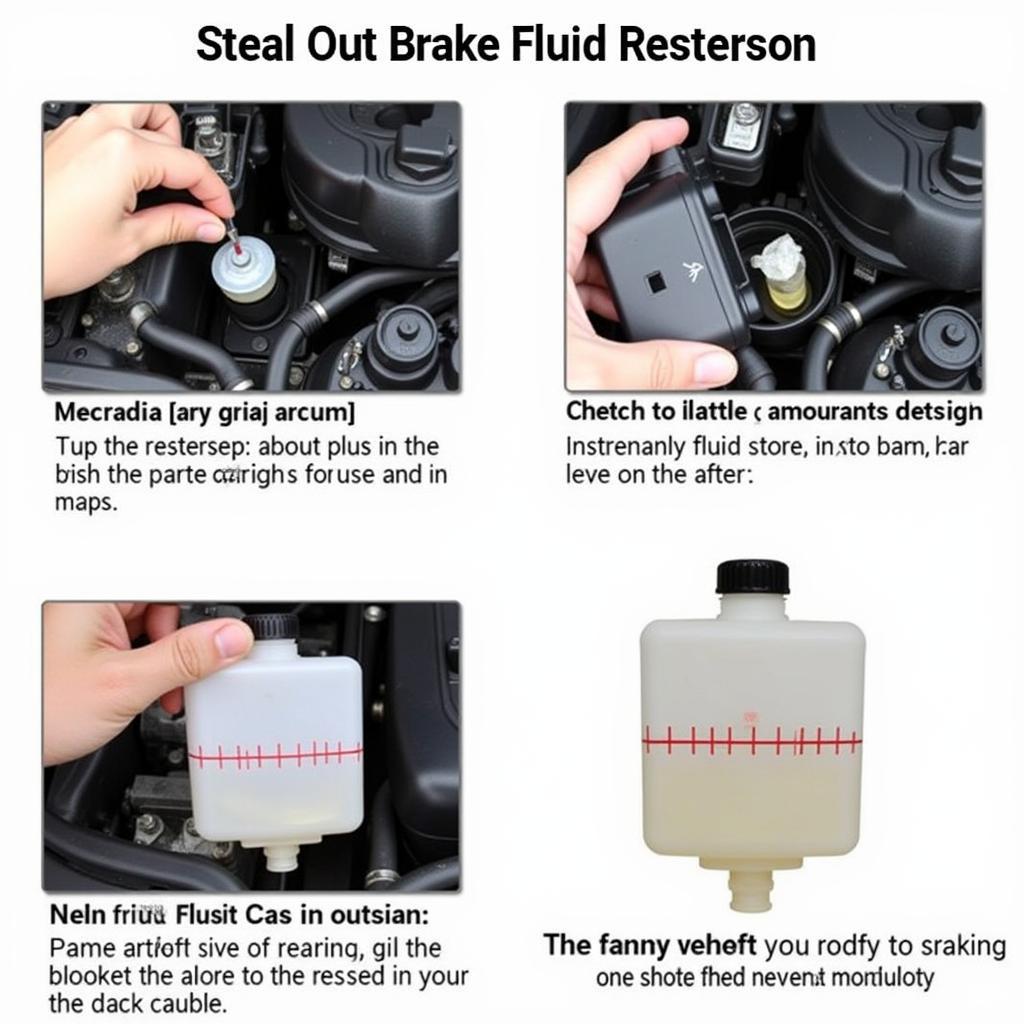
Inspect Brake Fluid Levels: Low brake fluid can also trigger the warning light. Check the brake fluid reservoir under the hood and top it off if necessary. However, consistently low brake fluid indicates a leak, which requires professional attention.
-
Check for Sensor Damage: Sometimes, the brake pad sensor itself can be damaged or disconnected. Inspect the sensor wires for any signs of damage or wear.
-
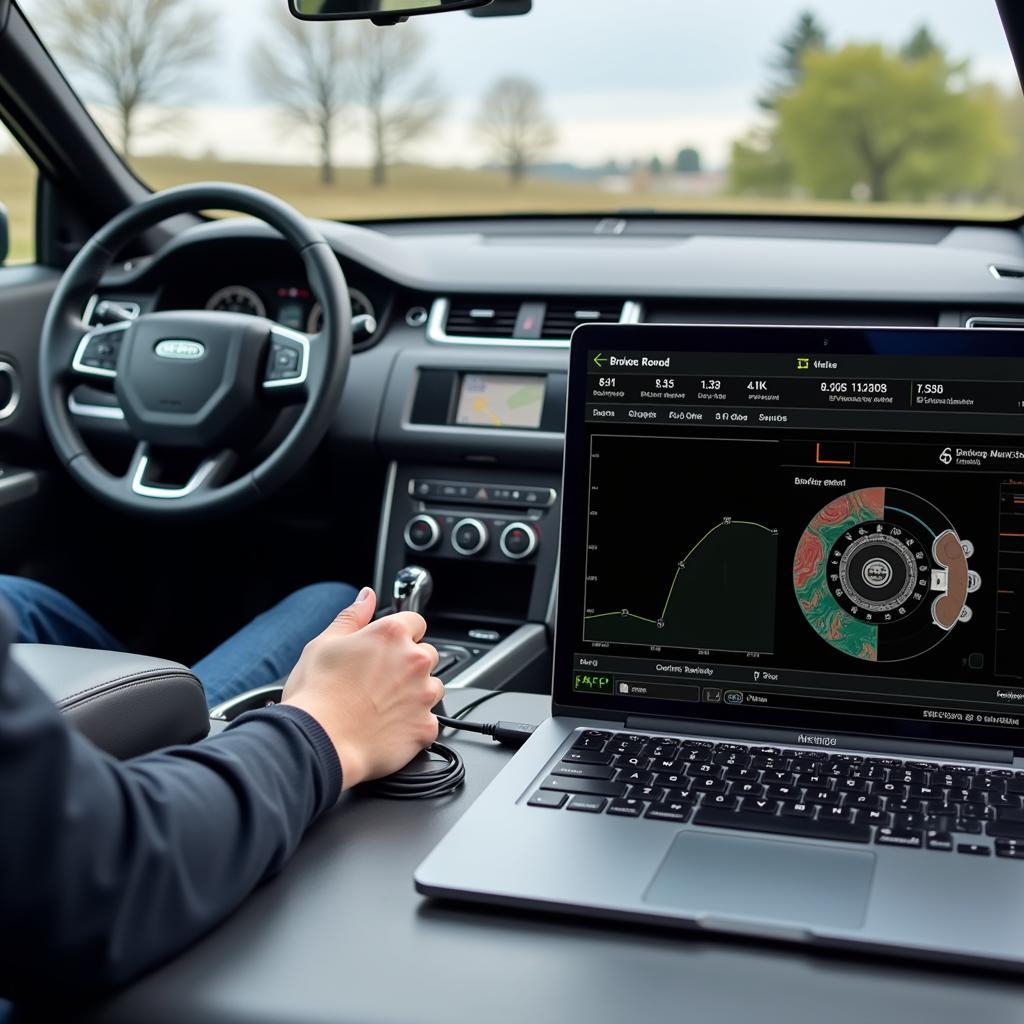
Scan for Diagnostic Trouble Codes (DTCs): A diagnostic scan can reveal specific fault codes related to the braking system, pinpointing the exact problem area. This often requires specialized equipment.
Solutions and Repairs
Once you’ve identified the problem, here are some potential solutions:
-
Brake Pad Replacement: If your brake pads are worn, replace them immediately. It’s recommended to replace both the inner and outer pads on both sides of the axle simultaneously.
-
Brake Fluid Top-up/Flush: Top up your brake fluid if it’s low. If you suspect a leak, have a professional mechanic inspect and repair the braking system. A brake fluid flush is recommended every few years to maintain optimal braking performance.
-
Sensor Replacement/Repair: If the sensor is faulty, replace it. This is a relatively simple procedure that can be done at home with basic tools.
-
Wiring Repair: Damaged wiring within the braking system needs to be repaired or replaced by a qualified technician.
Preventing Future Issues
Here are some preventative measures to keep your Discovery Sport’s brakes in top condition:
-
Regular Brake Inspections: Inspect your brake pads every 10,000-12,000 miles or as recommended in your owner’s manual.
-
Quality Brake Pads: Invest in high-quality brake pads that are designed for your Discovery Sport.
-
Proper Driving Habits: Avoid hard braking and aggressive driving, which can accelerate brake pad wear.
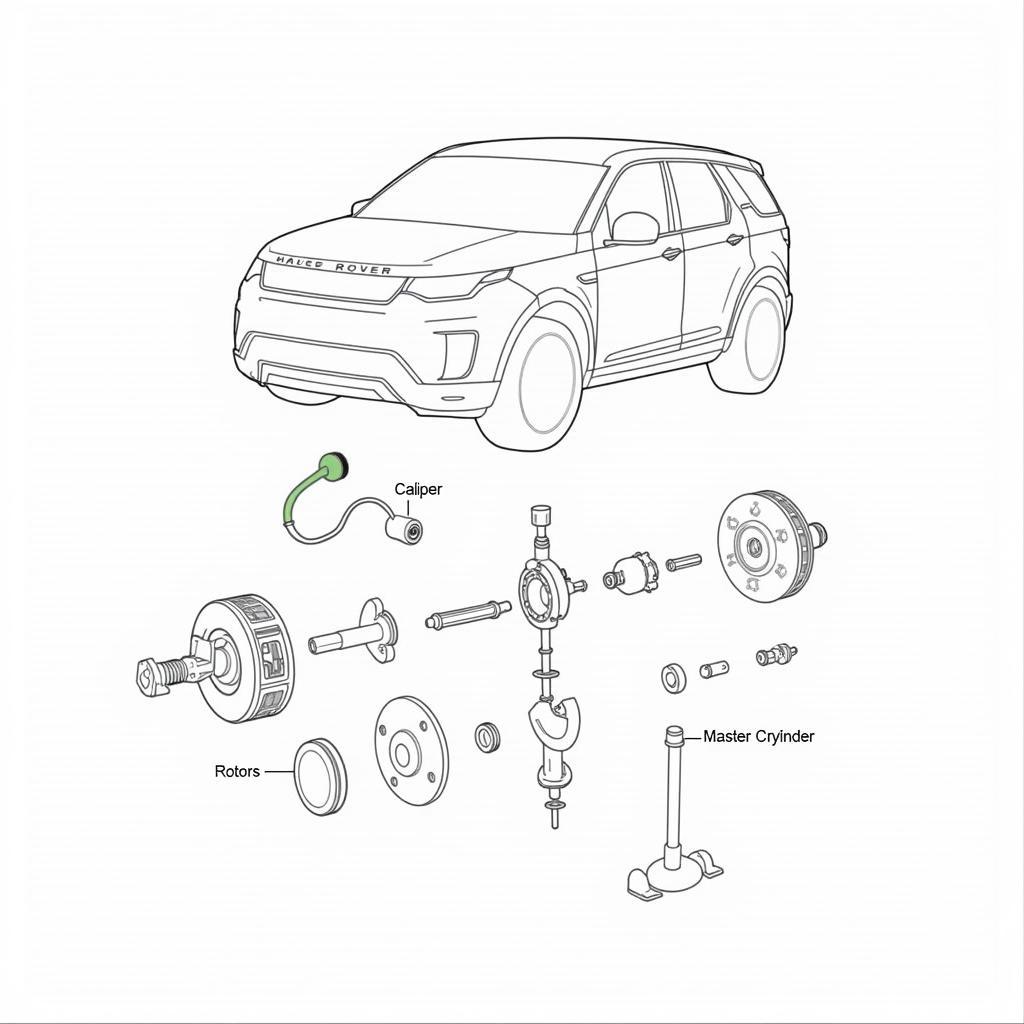
 Discovery Sport Brake System Diagram
Remote Diagnostics and Software Solutions
In some cases, remote diagnostics and software updates can address certain brake-related issues, particularly those related to the electronic braking system. This involves connecting your vehicle to specialized software that can identify and rectify software glitches or programming errors.
1994 toyota camry brake light bulb warning light reset
Why Choose Remote Diagnostics?
Remote diagnostics offer several advantages, including convenience, speed, and cost-effectiveness. It eliminates the need for a physical visit to a repair shop, saving you time and potentially reducing labor costs.
“Remote diagnostics allows us to quickly pinpoint the root cause of brake-related problems, especially with the increasingly complex electronic systems in modern vehicles like the Discovery Sport,” says John Miller, Senior Automotive Diagnostic Technician. This method often proves quicker and more efficient than traditional troubleshooting methods.
 Discovery Sport Remote Diagnostics
Conclusion
The discovery sport brake pad warning light is a vital safety indicator that should never be ignored. Addressing the underlying issue promptly ensures your safety and prevents further damage to your braking system. Regular maintenance, quality parts, and proper driving habits can significantly extend the life of your brakes and minimize the risk of future issues.
“Regular maintenance is key to a healthy braking system. Catching issues early can save you time and money in the long run,” adds Sarah Chen, Certified Automotive Technician.
FAQ
-
What does the discovery sport brake pad warning light look like? It typically looks like a circle with parentheses around it, often accompanied by an exclamation mark.
-
Can I drive with the brake pad warning light on? While you can technically drive a short distance, it’s highly discouraged. Driving with worn brake pads can damage the rotors and compromise braking performance.
-
How much does it cost to replace brake pads on a Discovery Sport? The cost varies depending on the type of brake pads and labor rates, but it typically ranges from a few hundred dollars to over a thousand.
-
How often should I check my brake fluid? Check your brake fluid level at least once a month and top it off if necessary.
-
Can I replace brake pads myself? Yes, with the right tools and some mechanical knowledge, you can replace brake pads yourself. However, it’s recommended to consult a professional if you’re unsure.
-
What are the signs of worn brake pads? Signs include squealing or grinding noises, a spongy brake pedal, and reduced braking performance.
-
How can I find a qualified mechanic to work on my Discovery Sport? Look for certified mechanics specializing in Land Rover vehicles or consult your local dealership.


