Let’s face it, a silent car ride can turn a pleasant journey into a frustrating experience. And when your trusty Eurovox car radio decides to take a break, you know you’re in for some troubleshooting. Don’t worry, we’re here to help you bring the music back!
Understanding Your Eurovox Car Radio and Common Issues
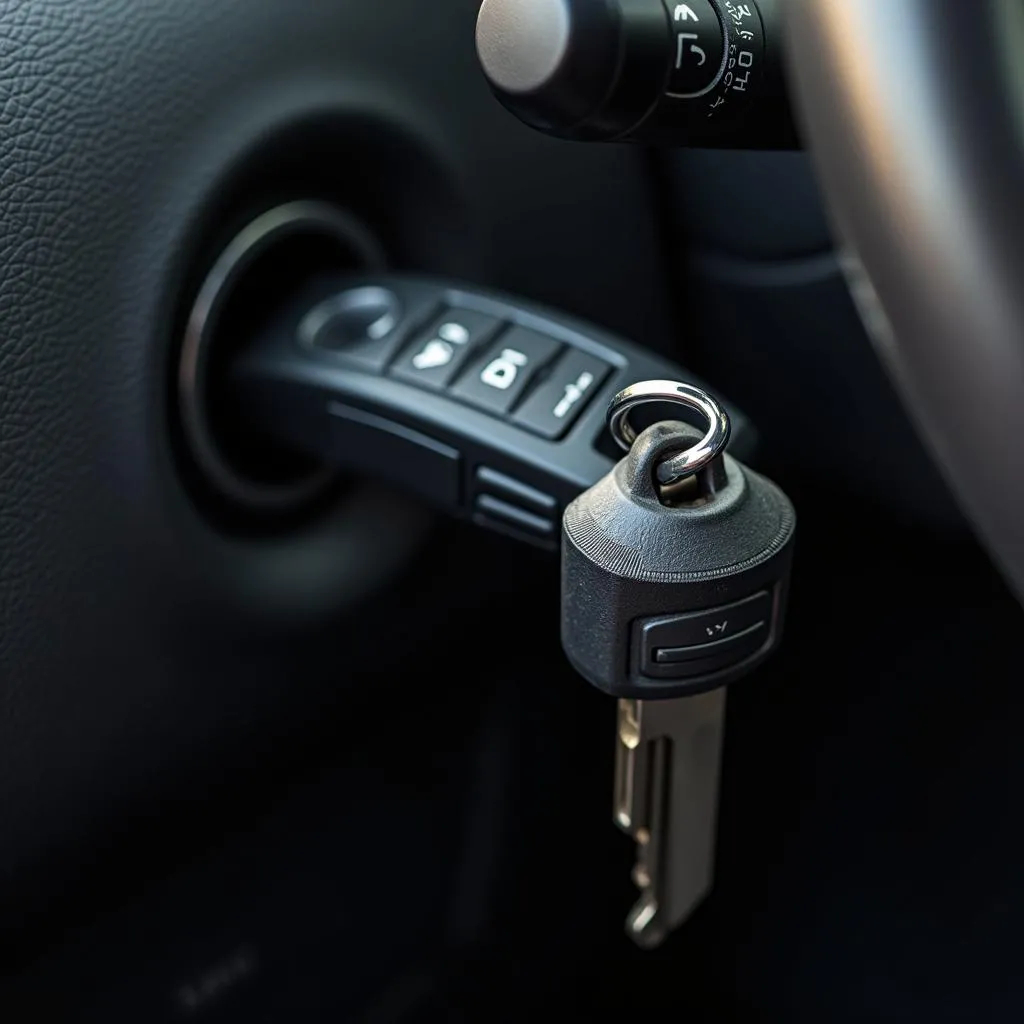
Before we dive into the wiring diagram, let’s understand why this little piece of tech is causing a ruckus. Your Eurovox car radio is the heart of your car’s entertainment system, connecting to your car’s electrical system to receive power, transmit signals to the speakers, and connect to your car’s antenna for radio reception.
Here are some common issues you might face:
- No power: This is often the first sign of trouble. If your radio doesn’t turn on, it could be a blown fuse, a faulty wiring connection, or a problem with the radio itself.
- No sound: This could indicate an issue with the speakers, the amplifier (if you have one), or the radio’s internal amplifier. Faulty wiring connections can also be the culprit.
- Poor reception: This usually points to a problem with the antenna or the antenna connection.
Delving into the Root of the Problem: Hardware or Software?
Now, how do we figure out what’s gone wrong? Car radio problems can stem from two primary sources:
1. Hardware Issues:
- Wiring problems: Loose connections, corroded wires, or damaged wires are common culprits. Always start your troubleshooting by visually inspecting the wiring harness behind the radio.
- Blown fuses: A surge in the electrical system can blow a fuse, cutting off power to your radio. Checking the fuse box, often located under the dashboard or in the engine bay, is crucial.
- Faulty antenna: A damaged antenna or a loose connection can lead to poor radio reception.
2. Software Issues:
While less common, software glitches can also affect your car radio’s performance.
Identifying the Issue: Software Diagnostics and Visual Checks
Modern car radios are complex systems, and pinpointing the exact cause of a problem often requires a diagnostic tool. These tools, like those offered by Cardiagtech, can read fault codes stored in the radio’s computer, providing valuable insights into the issue.
However, before jumping into software diagnostics, a simple visual inspection can go a long way:
- Check the wiring harness: Look for loose connections, damaged wires, or signs of corrosion.
- Inspect the fuse: Locate the fuse for your car radio and check if it’s blown.
- Examine the antenna: Make sure the antenna mast is intact and the connection at the back of the radio is secure.
Gearing Up for the Fix: Essential Tools for the Job
Before you roll up your sleeves, gather these tools:
- Wiring diagram: A wiring diagram is your roadmap, showing the location and function of each wire. You can usually find a diagram in your car’s owner’s manual or online.
- Multimeter: This handy tool helps you test for continuity and voltage, crucial for identifying wiring issues.
- Screwdrivers: You’ll need these to remove the radio from the dashboard and access the wiring connections.
- Electrical tape: Use this to insulate any exposed wires after repairs.
- Soldering iron (optional): If you need to repair damaged wires, a soldering iron is helpful.
Bringing Back the Music: A Step-by-Step Repair Guide
Once you’ve identified the issue and gathered your tools, it’s time to fix the problem:
- Disconnect the negative battery terminal: Safety first! This step prevents electrical shorts.
- Remove the car radio: Consult your owner’s manual for specific instructions.
- Inspect the wiring harness: Look for loose connections, corroded wires, or damaged wires.
- Test for continuity and voltage: Use your multimeter to check for continuity in the wiring and voltage at the radio’s power and ground connections.
- Repair or replace faulty components: If you find any damaged wires, repair them using a soldering iron or replace the entire wiring harness. If the fuse is blown, replace it with a new one of the same amperage.
- Reconnect the car radio: Once you’ve addressed the issue, reconnect the radio and secure it to the dashboard.
- Reconnect the negative battery terminal: Turn on the ignition and test the radio.
Frequently Asked Questions
Q1: Can I install a new Eurovox car radio myself?
A: Absolutely! While it requires some technical know-how, installing a car radio is a manageable DIY project. Just make sure you have the right wiring diagram and tools.
Q2: What do I do if I don’t have a wiring diagram?
A: Don’t fret! You can often find wiring diagrams in your car’s owner’s manual or by searching online.
Q3: My Eurovox radio is displaying an error code. What does it mean?
A: Error codes are like your car radio’s way of telling you something is wrong. Refer to your owner’s manual for a list of error codes and their meanings. If you need further assistance, Cardiagtech offers advanced diagnostic tools and expert support.
Need a Helping Hand? Cardiagtech is Here for You
Troubleshooting car radio issues can be a bit like detective work, but with the right knowledge and tools, you can bring back the tunes in no time. And if you’re ever stuck, remember Cardiagtech is just a call away. We offer a wide range of diagnostic tools and software solutions, empowering both car enthusiasts and professional mechanics to tackle even the most complex automotive issues.
Contact CARDIAGTECH today for expert advice and solutions to keep your car’s audio system in top shape.