A drooping or loose visor flap in your Mercedes can be incredibly annoying. Not only does it obstruct your view, but it can also rattle and distract you while driving. Fortunately, this is a common issue with a relatively simple fix. This guide will walk you through the process of diagnosing and repairing the visor flap in your Mercedes, helping you get back to enjoying a comfortable and rattle-free driving experience.
Common Causes of a Broken Visor Flap
The most common culprit behind a malfunctioning visor flap is a worn-out or broken visor clip. This small plastic component is responsible for holding the visor securely in place, and over time, it can become brittle, crack, or break completely. Other less frequent causes include a loose visor arm or damage to the headliner surrounding the visor mount.
Identifying the Issue
Before attempting any repairs, it’s essential to identify the root cause of the problem.
- Inspect the visor clip: Carefully examine the clip that holds the visor to the arm. Look for any cracks, breaks, or signs of wear. If the clip appears damaged, it will need to be replaced.
- Check the visor arm: Ensure the visor arm itself is not loose. Try tightening the screws holding it to the roof lining.
- Examine the headliner: Check the headliner around the visor mount for any tears, rips, or signs of damage that might be causing the visor to sag.
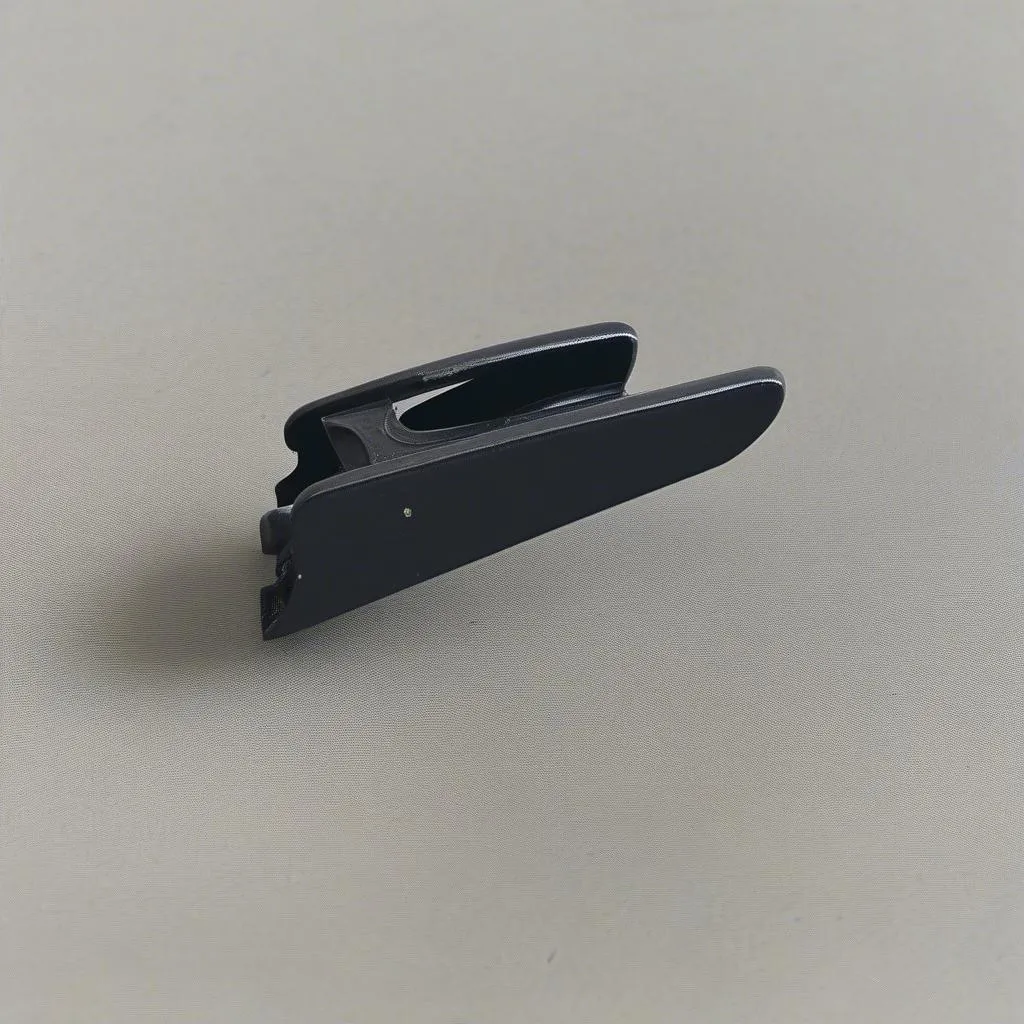
 car visor clip
Gathering the Necessary Tools
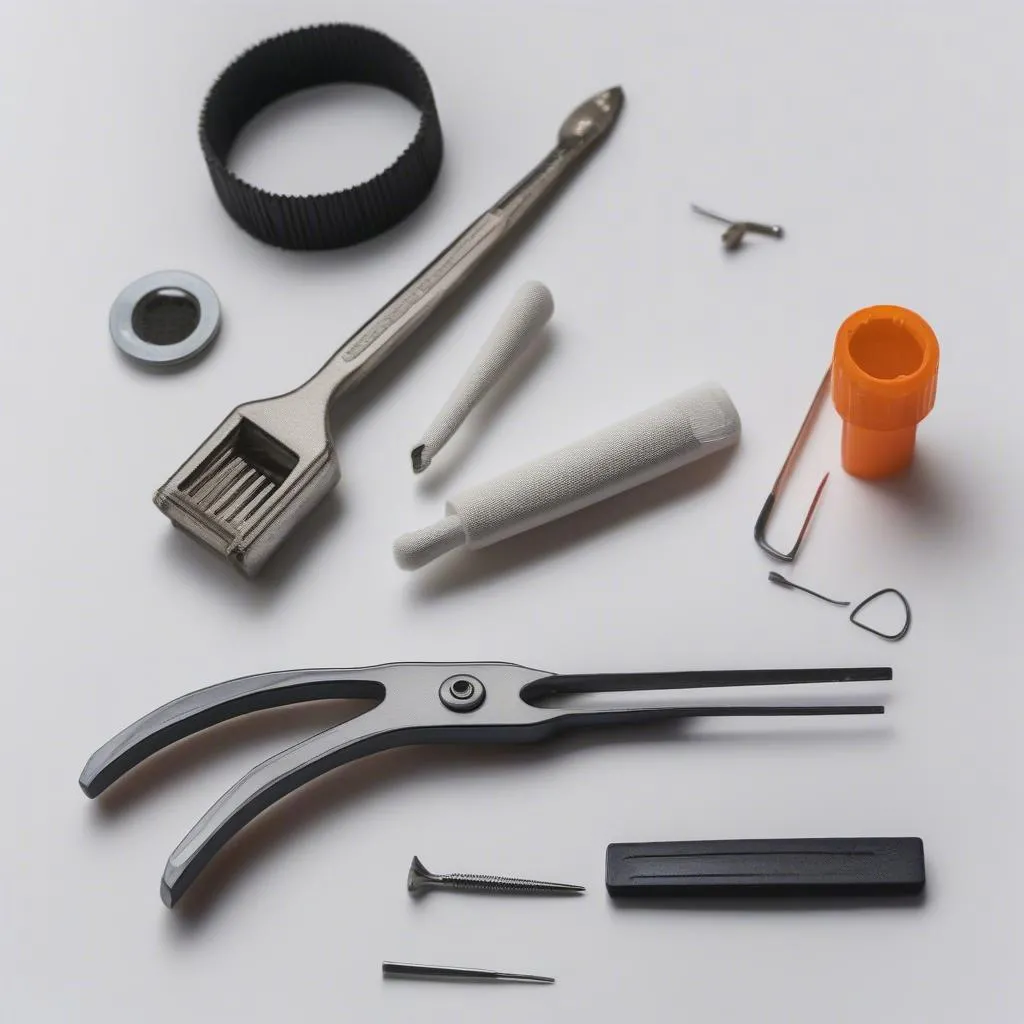
To fix a broken visor flap in your Mercedes, you will need a few basic tools:
- Small flat-head screwdriver
- Trim removal tool (optional but recommended)
- Replacement visor clip (if required)
 car visor repair tools
Repairing the Visor Flap
Step 1: Removing the Visor
Use a small flat-head screwdriver or a trim removal tool to gently pry off the plastic cover concealing the visor mounting screws. Once the cover is removed, use the screwdriver to unscrew and remove the visor from the vehicle.
Step 2: Replacing the Visor Clip
If the visor clip is broken, carefully remove it from the visor arm. Most clips are either snapped or clipped into place and can be removed with a gentle prying motion. Install the new visor clip by aligning it with the mounting point and pressing it firmly until it snaps or clicks into place.
Step 3: Reinstalling the Visor
Align the visor arm with the mounting holes and secure it using the screws you removed earlier. Don’t overtighten the screws, as this could damage the headliner or the visor arm. Replace the plastic cover over the mounting screws.


