Your car’s headlights are essential for safe driving, especially at night. When your car’s headlight vertical aim control system malfunctions, it can lead to blinding oncoming drivers or inadequate illumination for safe visibility. This can be a serious safety hazard and should be addressed promptly. This guide will delve into the intricacies of headlight vertical aim control failure coding and equip you with the knowledge and tools to diagnose and resolve this issue effectively.
Understanding Headlight Vertical Aim Control
The headlight vertical aim control system is designed to adjust the angle of your headlights based on various factors, such as the weight of the vehicle, the number of passengers, and the load in the trunk. This ensures that the headlights always illuminate the road ahead correctly, regardless of these factors.
When this system fails, it usually means that the motor responsible for adjusting the headlight angle has stopped functioning, the sensor responsible for detecting the load is malfunctioning, or there is a problem with the wiring or electrical connections.
Common Causes of Headlight Vertical Aim Control Failure
1. Faulty Motor
The motor that adjusts the angle of the headlights can wear out over time or suffer damage due to exposure to harsh weather conditions or vibrations. This can lead to the motor becoming stuck or failing to respond to commands from the control unit.
2. Defective Sensor
The sensor responsible for detecting the load in the vehicle can also malfunction, resulting in inaccurate readings and improper headlight adjustments. This can lead to a constant misalignment of the headlights, even when the load in the vehicle is minimal.
3. Wiring and Electrical Issues
The wiring connecting the headlight vertical aim control system to the control unit and the rest of the car’s electrical system can also be damaged or corroded. This can lead to open circuits, short circuits, or a loss of communication between the components.
Diagnosing Headlight Vertical Aim Control Failure
1. Visual Inspection
Start by visually inspecting the headlights and the surrounding area for any signs of damage, corrosion, or loose connections.
2. Using a Diagnostic Scanner
Use a diagnostic scanner to read the fault codes stored in the vehicle’s control unit. This can give you valuable clues about the cause of the problem.
3. Checking the Motor
Check the motor for any signs of wear, damage, or seizure. You can also test the motor by applying a small amount of voltage to it.
4. Testing the Sensor
If you suspect that the sensor is malfunctioning, you can test it using a multimeter.
5. Checking the Wiring and Connections
Inspect all the wiring and connectors for any signs of damage, corrosion, or loose connections. You can also use a multimeter to check the continuity of the circuits.
Coding Solutions for Headlight Vertical Aim Control Failure
Once you have diagnosed the problem, you can begin to code the necessary solutions. This may involve:
1. Replacing the Motor
If the motor is faulty, you will need to replace it with a new one. This will involve removing the old motor, installing the new motor, and then coding the vehicle to recognize the new motor.
2. Replacing the Sensor
If the sensor is faulty, you will need to replace it with a new one. This will involve removing the old sensor, installing the new sensor, and then coding the vehicle to recognize the new sensor.
3. Repairing or Replacing Wiring
If the wiring is damaged or corroded, you will need to repair it or replace it with new wiring. This will involve tracing the wiring, isolating the damaged section, and then repairing or replacing it.
4. Re-Calibrating the System
After making any repairs or replacements, you will need to re-calibrate the headlight vertical aim control system to ensure that the headlights are properly aligned.
Coding Tips for Headlight Vertical Aim Control Systems
“The coding process is a critical step in ensuring the proper functionality of the repaired or replaced system. Proper coding ensures compatibility and accurate adjustment of the headlights.” – Thomas Jones, Certified Automotive Technician
- Use a reputable diagnostic scanner: Ensure the scanner is compatible with your vehicle and equipped with the necessary software for headlight vertical aim control coding.
- Follow the manufacturer’s instructions: Consult the vehicle’s service manual or the manufacturer’s instructions for the specific coding procedures.
- Verify the coding results: After coding, test the headlights to ensure they are properly adjusted and functioning correctly.
FAQ
1. Can I adjust my headlights manually if the system is malfunctioning?
No, adjusting headlights manually is not recommended and can be unsafe. It can lead to misalignment and affect visibility.
2. How often should I get my headlight vertical aim control system inspected?
It’s recommended to have the system inspected at least annually or as part of your regular car maintenance schedule.
3. Can I fix the system myself?
While some aspects of the repair can be attempted by experienced DIY enthusiasts, coding and calibration often require specialized equipment and technical expertise.
4. What are the signs of a failing headlight vertical aim control system?
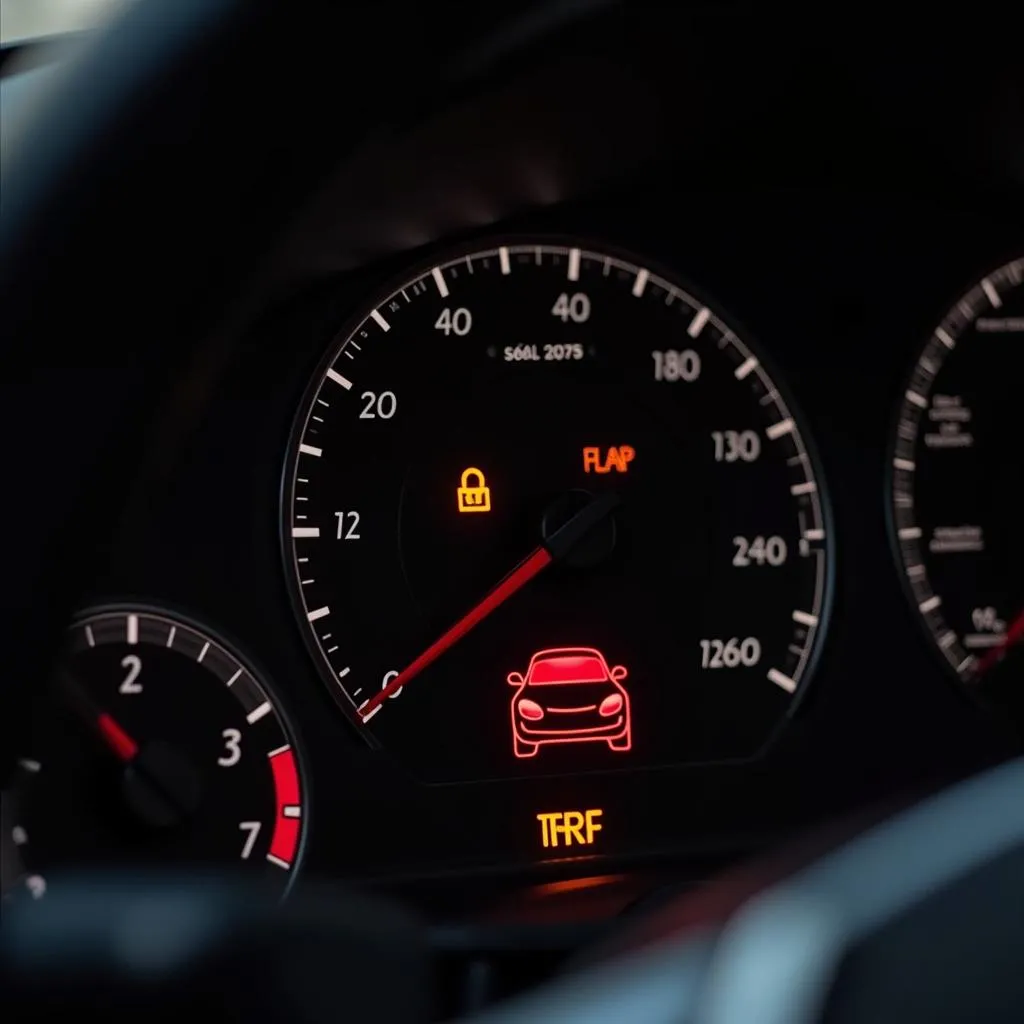
Some signs include headlights shining too high or too low, difficulty adjusting headlights, or warning lights appearing on the dashboard.
5. How much does it cost to fix a faulty headlight vertical aim control system?
The cost can vary depending on the cause of the problem, the complexity of the repair, and the labor costs. However, it is crucial to prioritize safety and address this issue promptly.
6. What are the risks of ignoring a faulty headlight vertical aim control system?
Ignoring a faulty system can lead to poor visibility, glare to oncoming drivers, and potentially increase the risk of accidents.
By understanding the intricacies of headlight vertical aim control failure coding and employing these solutions, you can ensure that your vehicle’s lighting system remains in optimal condition for safe and responsible driving.


