Connecting a car radio wiring harness correctly is crucial for a functioning and safe car audio system. Whether you’re upgrading your stereo or simply replacing a faulty unit, understanding how to attach the wiring harness is essential. This guide will provide a comprehensive step-by-step process on how to attach a car radio wiring harness, ensuring a seamless and trouble-free installation.
Understanding Your Car Radio Wiring Harness
Before diving into the installation, it’s crucial to familiarize yourself with the car radio wiring harness. This bundle of wires acts as the intermediary between your car’s electrical system and your new stereo. Each wire within the harness is designated for a specific function, such as power, ground, speakers, and antenna.
Identifying the Wires
A standard car radio wiring harness usually employs a color-coding system to identify the function of each wire. However, this color coding can sometimes vary between car manufacturers. Therefore, it’s essential to consult your car’s wiring diagram and the new radio’s instructions to ensure accurate identification. This crucial step prevents potential damage to your car’s electrical system and your new radio.
Preparing for Installation
Before you begin, gather the necessary tools: wire strippers, electrical tape, and a crimping tool. Also, ensure you have the correct wiring harness for your car model and the new radio. Disconnecting the car’s battery is a critical safety precaution to prevent electrical shocks and short circuits during the installation process.
Disconnecting the Battery
Locate your car’s battery and disconnect the negative terminal first. This precautionary measure will protect you and your equipment. After disconnecting the negative terminal, disconnect the positive terminal.
Step-by-Step Guide to Attaching the Wiring Harness
-
Match the Wires: Carefully match the wires from your car’s wiring harness to the corresponding wires on the aftermarket radio’s wiring harness, referring to the wiring diagrams provided.
-
Connect the Wires: Use a crimping tool or soldering iron for secure and reliable connections. Ensure that each connection is tight and well-insulated to prevent shorts or other electrical issues.
-
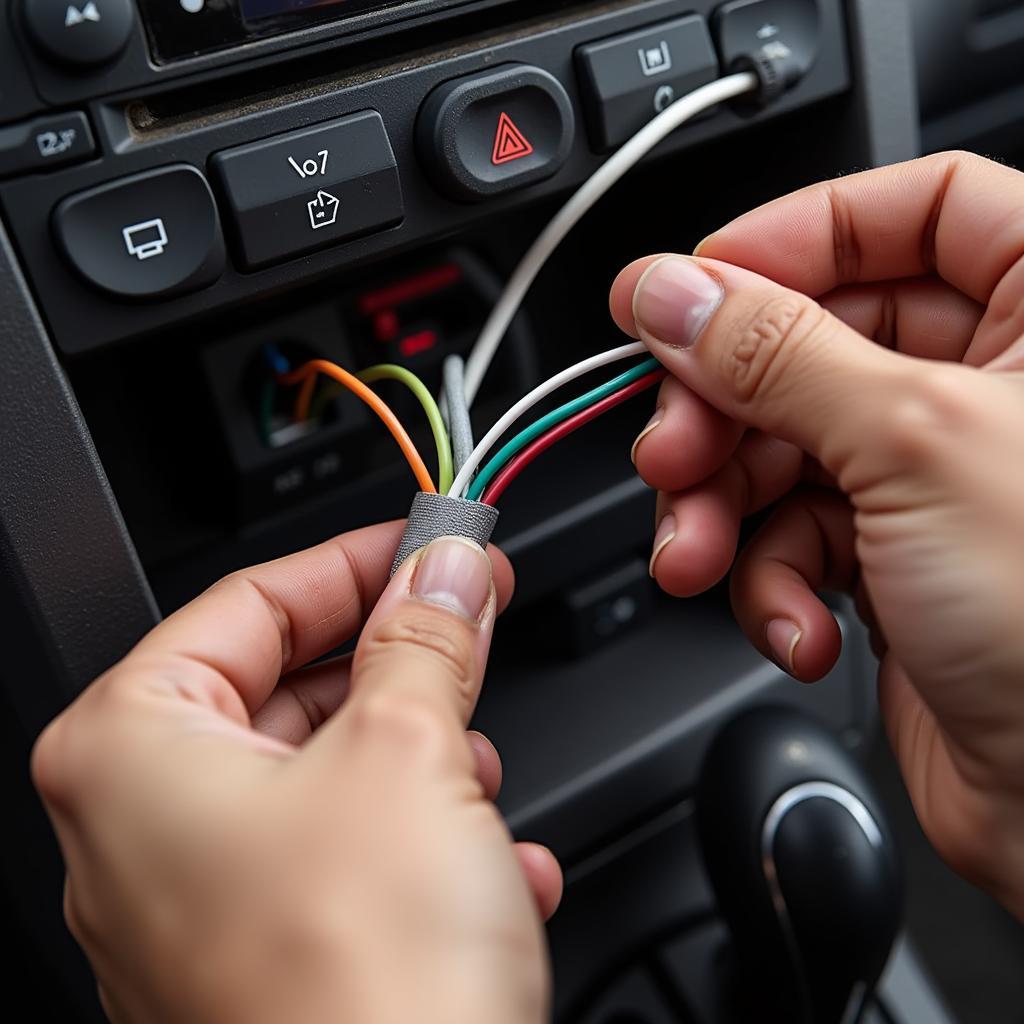
Secure the Connections: Wrap each connection with electrical tape, providing an extra layer of insulation and protection. This helps prevent accidental contact and ensures the longevity of your installation.
 Securing Car Radio Wiring Harness Connections
 -
Test the Connections: Before fully reassembling the dashboard, reconnect the car battery and test the new radio. This allows you to identify and rectify any connection errors early in the process.
-
Final Assembly: After confirming all connections are working correctly, neatly tuck the wiring harness away and reassemble the dashboard.
Troubleshooting Common Wiring Harness Issues
Sometimes, you may encounter issues even after meticulously following the steps above. Here’s how to tackle a few common problems:
-
No Power: Double-check the power and ground connections. Verify the fuse for the radio circuit.
-
No Sound: Ensure the speaker wires are correctly connected and the speakers are functioning.
-
Intermittent Issues: Check for loose connections or damaged wires.
You can find more information on installing different car audio components in our guide on how to install uhf radio in car.
Expert Advice
Johnathan Davis, a seasoned automotive electrician with over 20 years of experience, emphasizes, “Accurate wire identification is paramount. A simple mistake can lead to significant electrical problems. Always double-check your connections.”
Conclusion
Attaching a car radio wiring harness correctly is a crucial step in any car audio installation. By following this guide and paying close attention to the details, you can successfully connect your new car radio and enjoy a superior audio experience. Remember to always consult your car’s wiring diagram and the new radio’s instructions before beginning the installation. Successfully attaching a car radio wiring harness is within reach for any DIY enthusiast. For more options for car radios, check out our guide on car radio with cd bluetooth. For specific installation guides, you can find information on installing a Kenwood car radio at how to install a kenwood car radio.
FAQ
-
What is the purpose of a car radio wiring harness? It connects the car’s electrical system to the aftermarket radio.
-
Do all car radio wiring harnesses use the same color codes? No, color codes can vary, so always consult the wiring diagrams.
-
Why is it important to disconnect the car battery before working on the wiring harness? It prevents electrical shocks and potential damage to the car’s electrical system.
-
What should I do if my new radio doesn’t power on after installing the wiring harness? Check the power and ground connections, and the radio’s fuse. You can find helpful information about XM radio antenna installations at how to install xm radio antenna in car.
-
Where can I find my car’s wiring diagram? The car’s owner’s manual, online resources, or a repair manual should have this information. You can also refer to tevion car radio wiring diagram for specific examples.
-
Can I install the wiring harness myself, or should I hire a professional? With the proper guidance and tools, it is a DIY-friendly project.
-
What tools do I need to attach a car radio wiring harness? Wire strippers, electrical tape, and a crimping tool or soldering iron.

