Changing the battery in your Toyota Highlander key fob is a quick and easy process that can save you the hassle and expense of a trip to the dealership. This guide will walk you through the steps involved in replacing the battery, ensuring your key fob remains functional. We’ll cover everything from the tools you need to specific instructions for various Highlander model years.
 Toyota Highlander Key Fob Battery Replacement Steps
Gathering Your Supplies and Identifying Your Key Fob
Before you begin, you’ll need a few simple tools: a small flathead screwdriver or a similar pry tool, and of course, a fresh CR2032 battery. You can find these batteries at most electronics stores, pharmacies, and even some grocery stores. It’s a good idea to have a spare on hand, just in case. Identifying your specific Highlander key fob type is also crucial as the process can vary slightly between models. Do you have the traditional key fob with a flip-out key, a smart key, or a push-to-start key fob? Knowing this will help you follow the correct steps.
Step-by-Step Guide to Changing the Battery
Once you have your tools and battery ready, follow these steps:
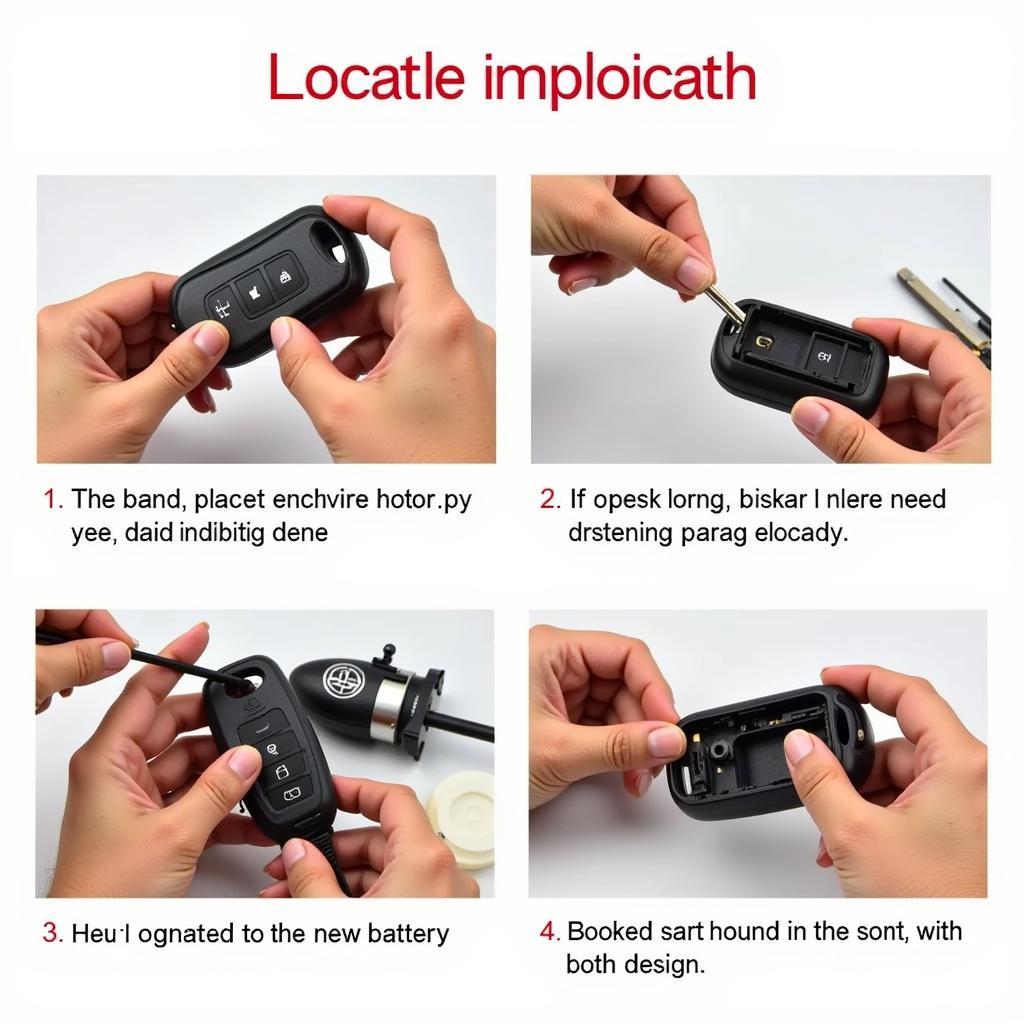
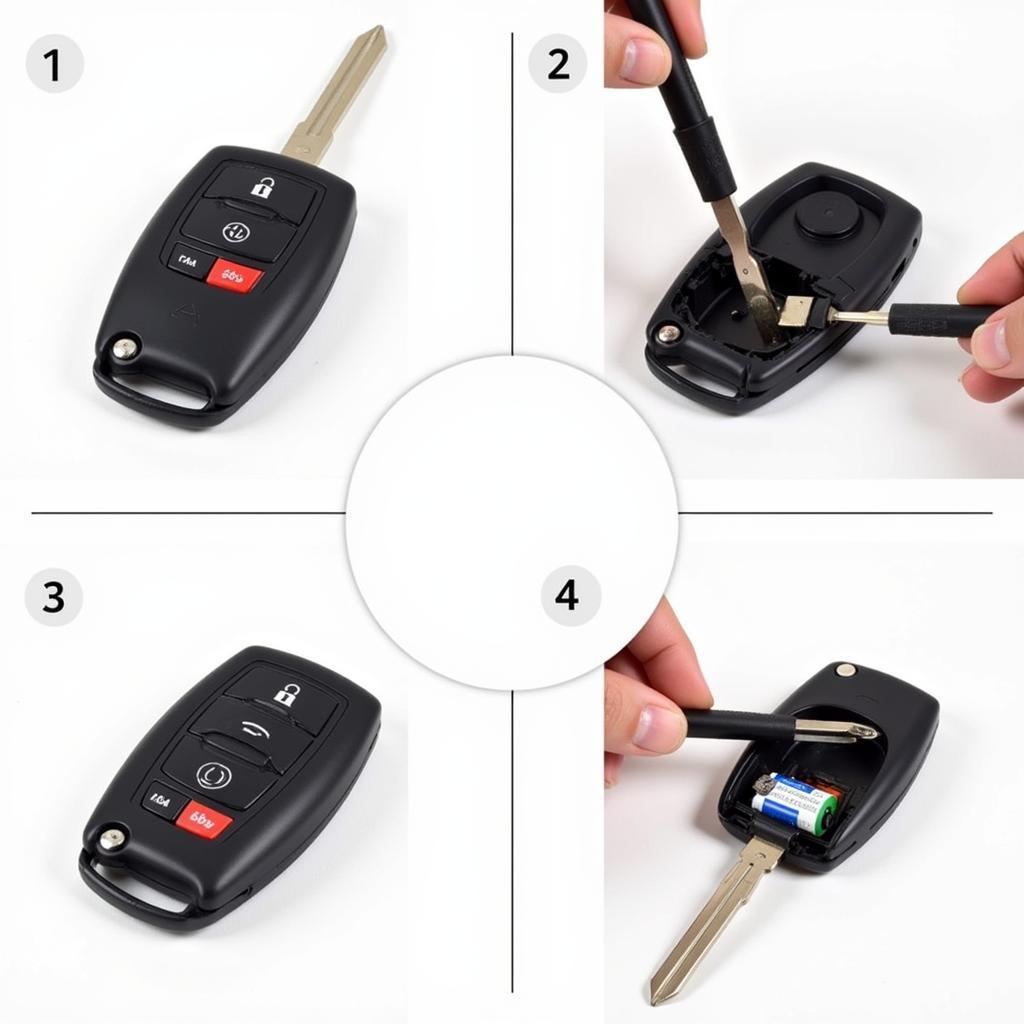
- Locate the release notch: Look closely at your key fob. There’s a small notch or groove on the side. This is the key (pun intended!) to opening the fob.
- Insert the flathead screwdriver: Carefully insert the flathead screwdriver into the notch and gently pry the two halves of the key fob apart. Avoid using excessive force, as this could damage the plastic.
- Separate the key fob halves: Once the latch is released, gently separate the two halves of the key fob. You should now see the old CR2032 battery.
- Remove the old battery: Gently pry the old battery out of its compartment. Be careful not to damage the contacts.
- Insert the new battery: Insert the new CR2032 battery into the compartment, making sure the positive (+) side is facing up. This is usually indicated on the battery itself and inside the key fob compartment.
- Reassemble the key fob: Align the two halves of the key fob and press them together firmly until they snap shut.
- Test the key fob: Test all the buttons on your key fob to ensure it’s working properly.
If your key fob still isn’t working after replacing the battery, there might be another underlying issue. In such cases, consulting a qualified automotive technician is recommended. You might need to check the 2002 audi a4 brake warning light flashing or other warning lights.
Common Issues and Troubleshooting
Sometimes, the key fob might not work immediately after a battery change. Here are a few things to check:
- Battery orientation: Double-check that the new battery is inserted correctly with the positive (+) side facing up.
- Clean contacts: If the battery contacts are dirty or corroded, clean them with a cotton swab and a small amount of rubbing alcohol.
- Key fob reprogramming: In some cases, you may need to reprogram your key fob after changing the battery. Consult your owner’s manual for instructions specific to your Highlander model year. You may also encounter issues like the audi brake warning light stays on, indicating a different problem entirely.
“A common mistake people make is not paying attention to the orientation of the battery,” says automotive expert, David Miller. “Ensure the positive terminal is facing up for proper function.”
Conclusion
Changing the battery in your Toyota Highlander key fob is a simple task that anyone can do with the right tools and a little patience. By following the steps outlined in this guide, you can save time and money and keep your Highlander’s key fob working perfectly. Remember to have a spare CR2032 battery on hand, just in case. Knowing how to change the battery in your Toyota Highlander key fob empowers you to maintain your vehicle and avoid unnecessary trips to the dealership. Sometimes, other car issues can arise, like needing a parking brake warning light kit or understanding what the dashboard warning lights brake indicate. These are separate issues and require different solutions. You may even experience something seemingly unrelated, such as a low brake fluid warning light chevy impala. Always consult your owner’s manual or a qualified technician for these issues.


