The brake symbol lighting up on your 2014 Mini Cooper’s dashboard can be a nerve-wracking experience. It usually indicates a problem with your braking system, which is critical for your safety on the road. However, don’t panic just yet! While some issues may require professional attention, others can be easily resolved with a bit of troubleshooting. This comprehensive guide will walk you through the common causes of brake warning lights in 2014 Mini Coopers and provide step-by-step instructions on how to clear them.
Understanding Your Mini Cooper’s Brake Warning System
Before diving into solutions, it’s important to understand what your car is trying to tell you. Your 2014 Mini Cooper has several sensors working together to monitor the braking system. When one or more of these sensors detect an issue, the brake symbol lights up on your dashboard.
The brake warning light can indicate a range of issues, from something as simple as low brake fluid to more complex problems with the ABS system or brake pads.
Common Causes of Brake Symbol Warnings in 2014 Mini Coopers
Let’s take a look at the most common culprits behind that glowing brake symbol in your 2014 Mini Cooper:
- Low Brake Fluid: This is the most frequent reason for the brake warning light. Brake fluid is essential for transferring force from your foot on the brake pedal to the brake calipers, which then squeeze the brake pads to stop your car.
- Worn Brake Pads: Your Mini Cooper’s brake pads are designed to wear down over time. When they become too thin, a sensor triggers the warning light to let you know it’s time for a replacement.
- Faulty Brake Light Switch: Your brake lights and brake warning system are often connected. A malfunctioning brake light switch can cause both the brake lights and the warning symbol to activate.
- ABS Sensor Issues: The Anti-lock Braking System (ABS) prevents your wheels from locking up during hard braking. A problem with the ABS sensors, such as debris build-up, can trigger the brake warning light.
- Other Issues: While less common, issues like a failing ABS module, problems with the master cylinder, or even electrical glitches can also cause the brake symbol to appear.
Step-by-Step Guide to Clearing the Brake Symbol Warning
1. Check Your Brake Fluid Level
- Park your Mini Cooper on a level surface and engage the parking brake.
- Locate the brake fluid reservoir. In most Mini Coopers, it’s a translucent plastic container located near the firewall on the driver’s side.
- Check the fluid level. The reservoir will have minimum and maximum markings. If the fluid level is below the minimum mark, add the correct type of DOT 4 brake fluid specifically designed for your Mini Cooper.
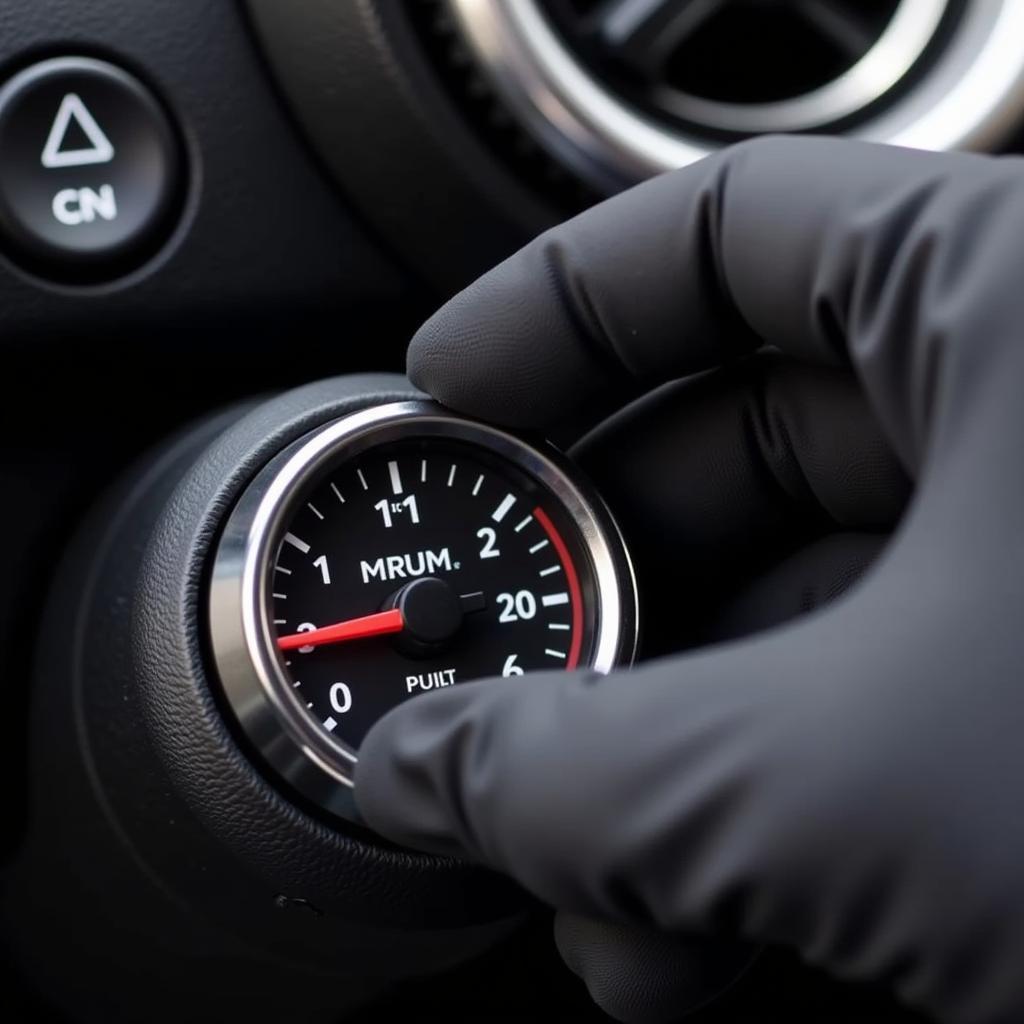 Mini Cooper Brake Fluid Reservoir
2. Inspect Your Brake Pads
- If your brake fluid level is fine, the next step is to visually check your brake pads. You might need a flashlight and possibly jack up your car for a better view.
- Look for wear and tear. Brake pads have a metal indicator that will scrape against the rotor when the pad is worn, creating a squealing sound. If you see very thin pads or hear this noise, it’s time to replace your brake pads.
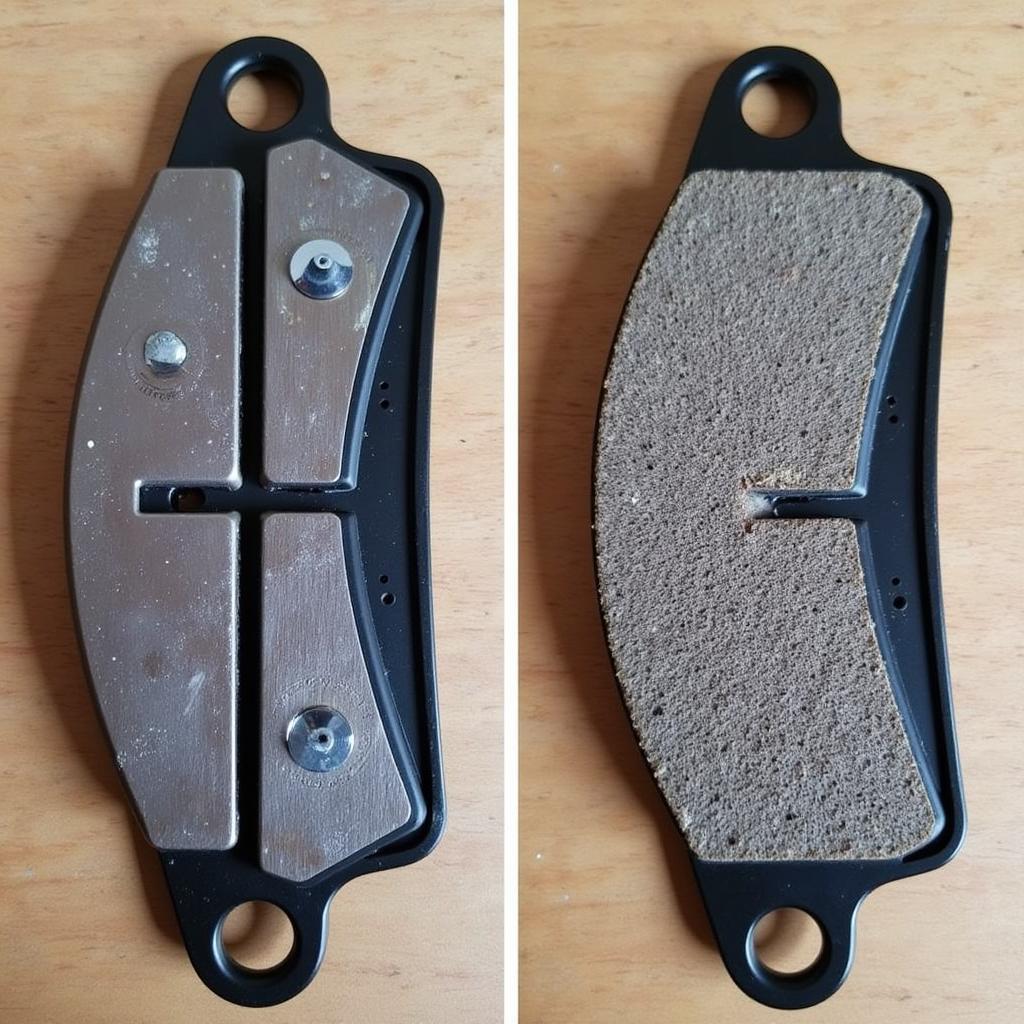 Worn Mini Cooper Brake Pads
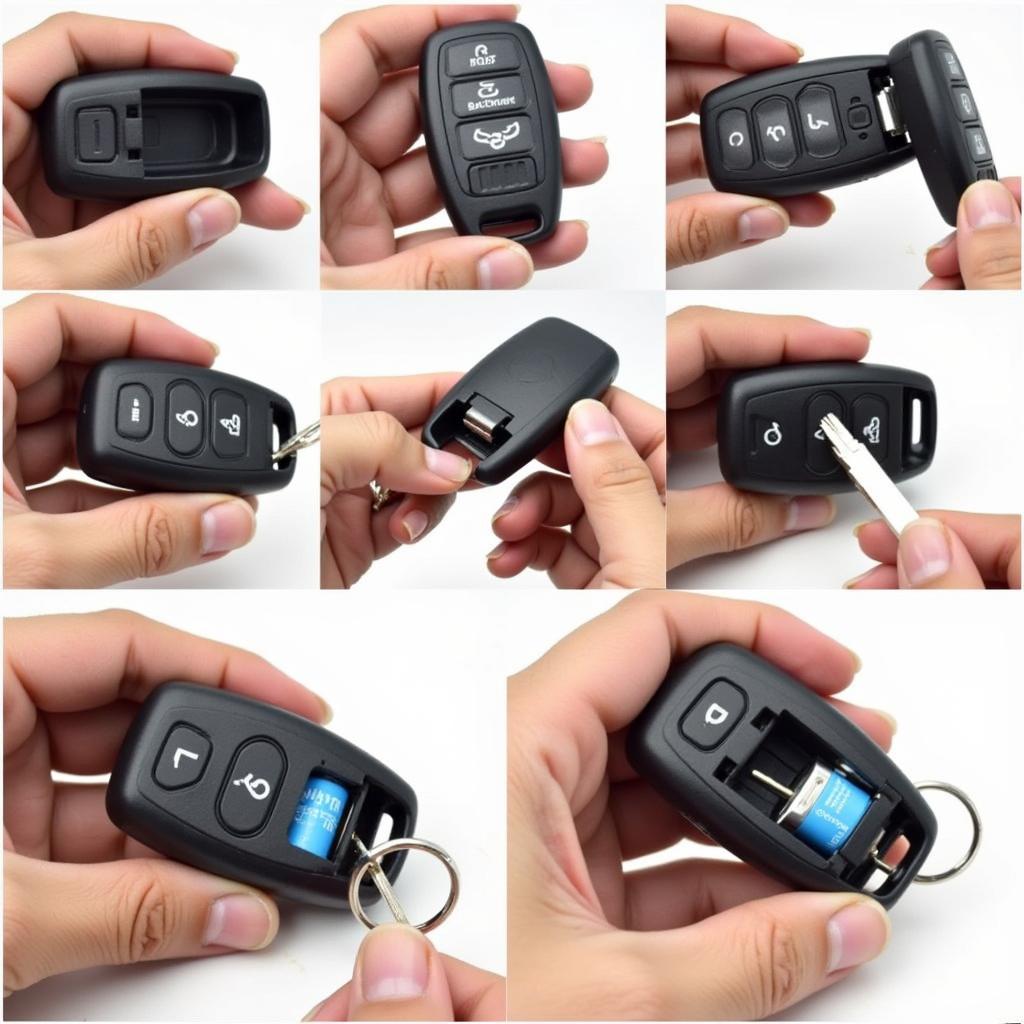
3. Test Your Brake Light Switch
- If your brake fluid and pads seem fine, the brake light switch is the next suspect. Have a friend press the brake pedal while you observe the brake lights.
- If the brake lights don’t illuminate, the switch might be faulty. Consult your owner’s manual for the location of the brake light switch in your 2014 Mini Cooper model and consider replacing it.
4. Seek Professional Diagnosis
If none of the above steps resolve the issue, it’s crucial to consult a qualified mechanic or Mini Cooper dealership. Issues with the ABS system, master cylinder, or electrical components often require specialized tools and expertise.
Expert Insight:
“Ignoring a persistent brake warning light can lead to serious safety risks,” says Mark Stevenson, a certified master technician with over 20 years of experience specializing in European cars. “While some issues can be addressed with basic car maintenance, others require the expertise of a trained professional. Don’t compromise on safety – get your car checked if the warning persists.”
When to Seek Immediate Professional Help
Certain situations warrant immediate professional attention:
- The brake pedal feels spongy or goes all the way to the floor. This could indicate a dangerous loss of brake pressure.
- You hear unusual noises like grinding or screeching when applying the brakes. These sounds often point to severe brake pad wear or damage.
- Your car pulls to one side when braking. This could indicate an issue with the brake calipers or a brake fluid leak.
Tips for Maintaining Your Mini Cooper’s Brakes
- Regularly inspect your brake fluid level. Aim to check it at least once a month and top it off as needed.
- Pay attention to unusual noises or sensations when braking. Early detection can save you from costly repairs down the line.
- Follow the recommended brake pad replacement schedule outlined in your owner’s manual.
- Avoid riding your brakes, especially on long downhill stretches. This can overheat your brakes and lead to premature wear.
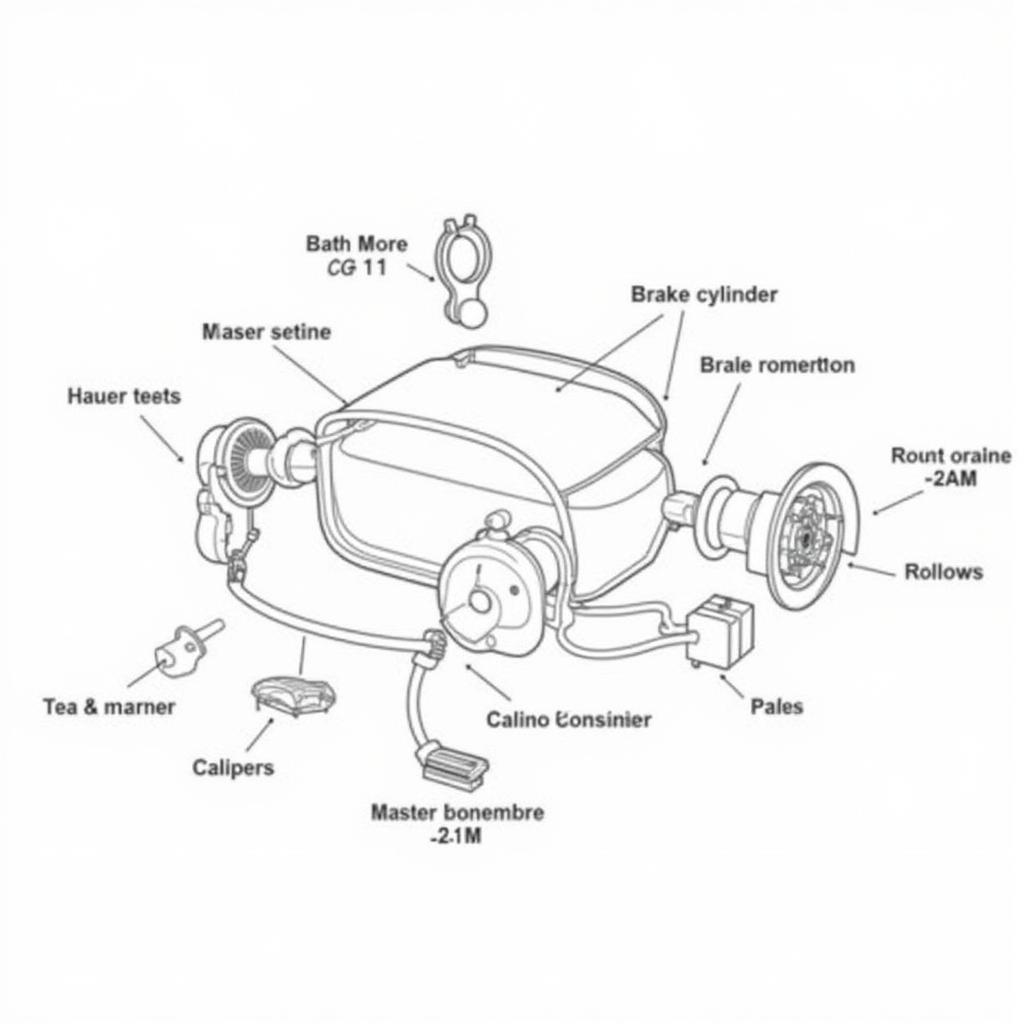 Mini Cooper Brake System Diagram
Conclusion
While a glowing brake symbol warning can be worrisome, understanding the common causes and following the troubleshooting steps outlined in this guide can help you address the issue effectively. Remember, your safety is paramount. If in doubt, always err on the side of caution and seek professional assistance. With proper care and maintenance, you can keep your 2014 Mini Cooper’s braking system in top shape, ensuring safe and enjoyable drives for miles to come.