Experiencing a flickering headlight or a complete blackout on your Mercedes Benz? Don’t panic, this is a common issue many Mercedes owners face. More often than not, the culprit is faulty headlight wiring. While it might seem daunting, fixing it yourself can save you a trip to the mechanic and a hefty bill. This guide will walk you through the common causes of Mercedes Benz headlight wiring problems and provide a step-by-step solution on how to fix them.
Understanding the Why Behind Faulty Headlight Wires
Before we dive into the fix, it’s essential to understand what causes headlight wires to fail.
- Wear and Tear: Over time, exposure to heat, vibration, and moisture can degrade the insulation on the wires, leading to shorts and open circuits.
- Corrosion: Battery acid and road salt can corrode the wiring harness connectors, disrupting the flow of electricity.
- Rodent Damage: Surprisingly, rodents often find the insulation on wiring harnesses to be a tasty treat, leaving behind chewed wires and potential electrical nightmares.
- Improper Installation: If you’ve had any recent work done on your headlights or electrical system, improper installation could be the root of the problem.
“Understanding the root cause of your headlight wiring issue is crucial for a lasting fix,” explains automotive expert, Robert Hernandez, author of The Complete Guide to Automotive Electrical Systems. “A simple visual inspection can often reveal the problem, saving you time and potential headaches.”
Identifying the Headlight Gremlins: Spotting the Signs
Knowing your Mercedes is experiencing headlight wiring problems is the first step. Here’s what to look out for:
- Dimming Headlights: One or both headlights may appear dimmer than usual.
- Flickering Headlights: This is a tell-tale sign of a loose connection or damaged wiring.
- Headlights Not Turning On: If one or both headlights refuse to illuminate, you likely have a wiring issue.
- Burning Smell: A burning smell emanating from the headlight assembly indicates a serious electrical short and requires immediate attention.
Gearing Up for the Fix: Essential Tools
Before embarking on this DIY repair, gather the following tools:
- Multimeter: To test for continuity and voltage.
- Wire strippers/cutters: For stripping and cutting wires.
- Electrical tape: To insulate and secure connections.
- Heat shrink tubing: Provides a more durable and weather-resistant insulation than electrical tape.
- Replacement wiring: In case you need to replace damaged sections.
- Protective gear: Gloves and safety glasses are a must when working with electrical components.
Fixing Your Mercedes Benz Headlight Wires: A Step-by-Step Guide
-
Disconnect the Battery: Always begin by disconnecting the negative (-) terminal of your car battery to prevent electrical shocks.
-
Access the Headlight Assembly: Consult your Mercedes owner’s manual for the specific steps to access the headlight assembly on your model. It typically involves removing screws and clips.
-
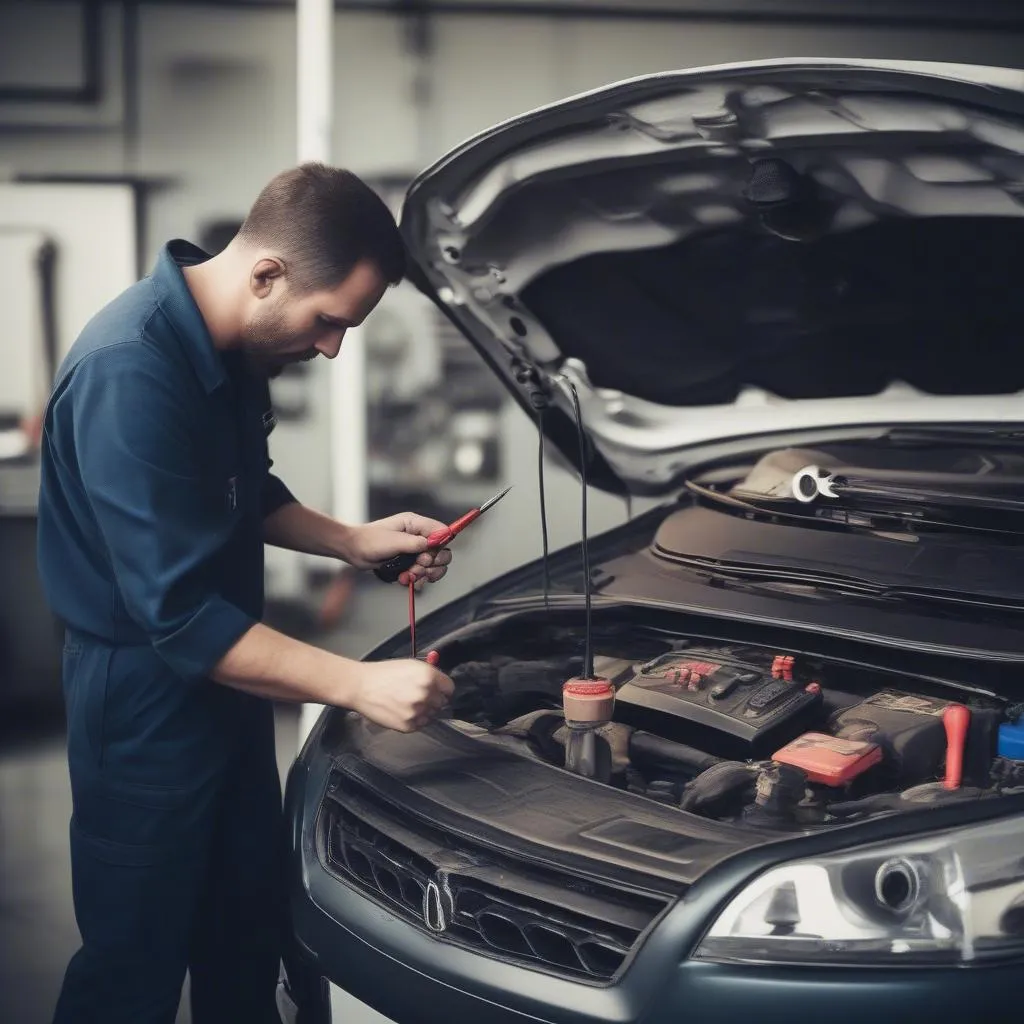
Inspect the Wiring Harness: Carefully examine the wiring harness for any visible signs of damage like cuts, burns, or corrosion. Pay close attention to the connectors.
-
Test for Continuity and Voltage: Using your multimeter, test the wiring for continuity and voltage to pinpoint the source of the problem. Set your multimeter to the appropriate setting and touch the probes to the wire or connector you want to test.
- Continuity Test: This checks for breaks in the wire. A continuous beep indicates a good connection, while silence means there’s a break.
- Voltage Test: This measures the electrical potential difference. A reading of 12 volts indicates proper voltage.
-
Repair or Replace Damaged Wires: If you find any damaged wires, use your wire strippers/cutters to remove the damaged sections and replace them with new wiring of the same gauge. Securely connect the wires using butt connectors or soldering and insulate them with heat shrink tubing or electrical tape.
-
Clean Connectors: If you notice any corrosion on the connectors, use a quality electrical contact cleaner to remove it.
-
Reassemble and Test: Once you’ve made the necessary repairs, reassemble the headlight assembly and reconnect the battery. Turn on your headlights to verify that everything is working correctly.
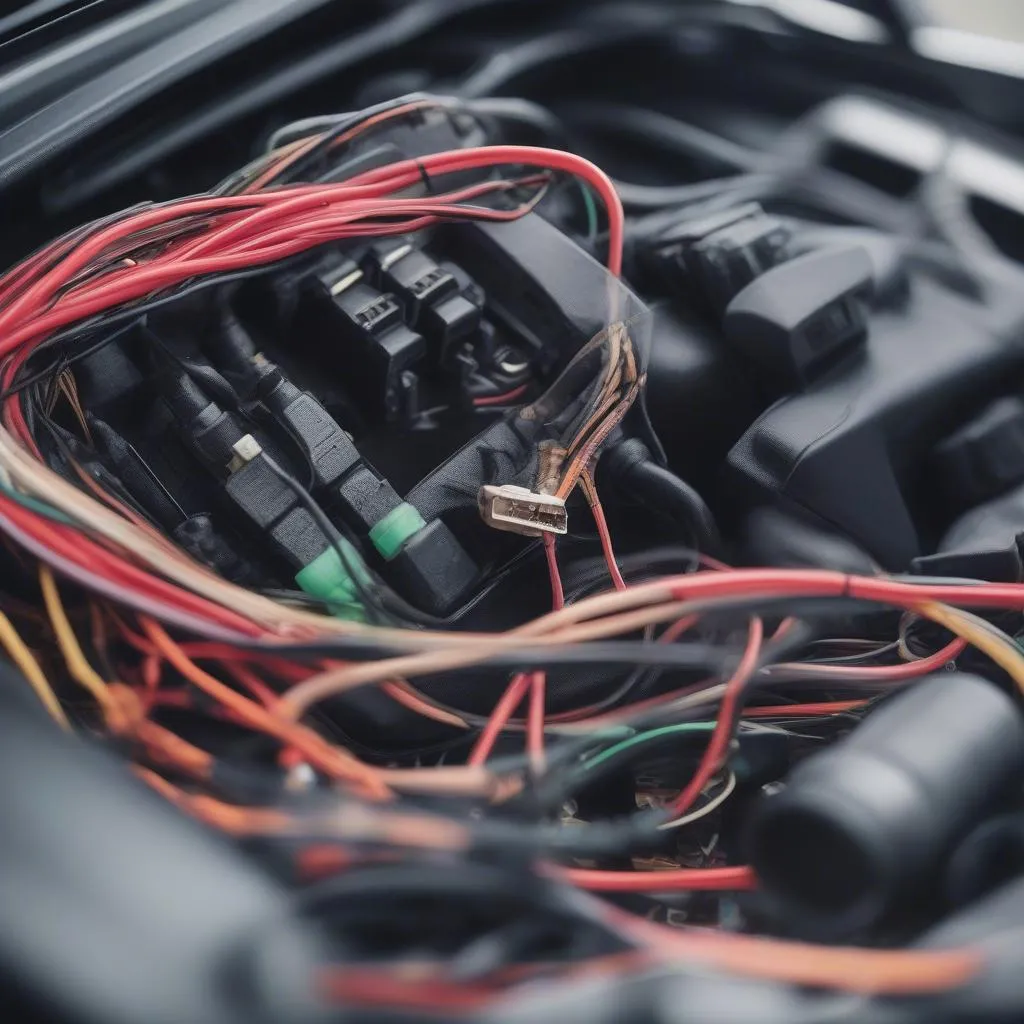 Mercedes-Benz Headlight Wiring
Common Questions About Mercedes-Benz Headlight Issues:
Q: Can I use aftermarket headlight bulbs?
A: While it’s possible, it’s recommended to stick with OEM (Original Equipment Manufacturer) bulbs for your Mercedes. Aftermarket bulbs may not meet the exact specifications and could lead to electrical problems or premature failure.
Q: My headlights are still not working after replacing the bulbs and checking the fuses. What else could be the issue?
A: It’s possible that the headlight switch, relay, or a module controlling the headlights is faulty. Further diagnosis using a professional-grade diagnostic scanner like those offered by CARDIAGTECH may be necessary.
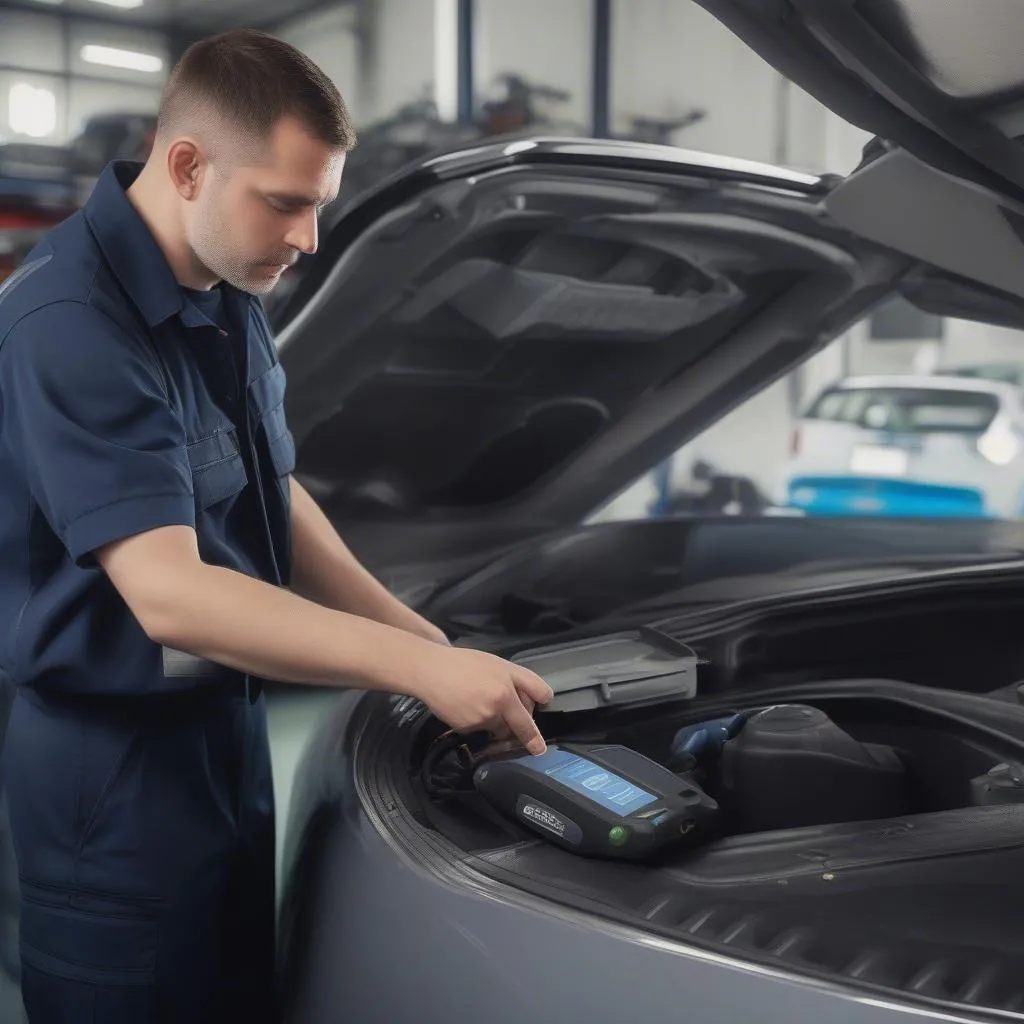 Mechanic using Cardiagtech Scanner
Q: How often should I check my headlight wiring?
A: It’s a good practice to inspect your headlight wiring at least once a year or sooner if you notice any issues with your headlights.
Illuminate the Road Ahead: Keep Your Mercedes Shining Bright
Fixing Mercedes Benz headlight wires isn’t as daunting as it may seem. With a little patience, the right tools, and this guide, you can have your Mercedes’ headlights shining bright again. Remember, safety should always come first. If you’re unsure about any part of this process, don’t hesitate to consult a qualified mechanic.