A failing Mercedes drive shaft can lead to frustrating vibrations, clunking noises, and even leave you stranded. While it’s best to leave complex repairs to the professionals, understanding the basics of how to fix a Mercedes drive shaft can help you diagnose the problem and determine the best course of action.
Understanding Mercedes Drive Shaft Problems
Common Causes of Drive Shaft Failure
Several factors can contribute to drive shaft problems in your Mercedes:
- Worn Universal Joints (U-Joints): These joints allow the drive shaft to flex during operation. Over time, the bearings within the U-joints wear down, leading to vibrations and noise.
- Damaged Center Support Bearing: This bearing supports the middle of the drive shaft. If it fails, you might experience vibrations at higher speeds.
- Loose or Damaged Drive Shaft Components: Bolts holding the drive shaft components can loosen, or the shaft itself can become damaged due to impact or wear.
Recognizing the Symptoms
Identifying drive shaft issues early can save you from costly repairs down the line. Look out for these signs:
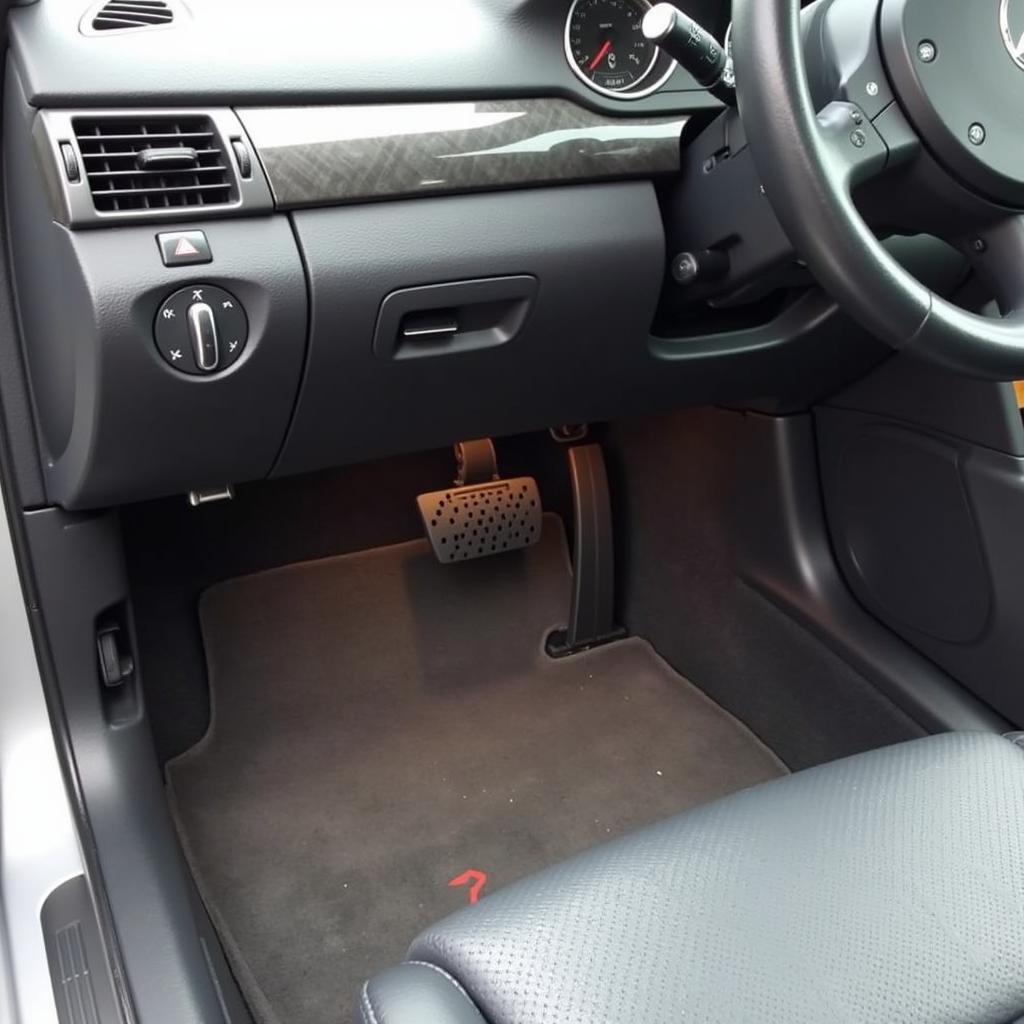
- Vibrations: Vibrations felt in the floorboard or throughout the vehicle, especially during acceleration or at specific speeds, are a common symptom.
- Clunking or Clicking Noises: Noises coming from under the vehicle when shifting gears or accelerating could indicate a failing U-joint.
- Shuddering or Shaking: Severe U-joint issues can cause shuddering or shaking, especially when starting from a stop.
worn-u-joint|Worn Universal Joint|Close-up photo of a worn universal joint, showing rust, wear and tear on the bearings, and grease splatter.
Diagnosing the Problem
Before you attempt any repairs, it’s essential to pinpoint the exact cause of the problem.
- Visual Inspection: Carefully inspect the drive shaft for visible damage, such as cracks, dents, or loose components. Pay close attention to the U-joints and the center support bearing.
- Check for Play: With the transmission in neutral, try to rotate the drive shaft by hand. Excessive play or movement in the U-joints or center support bearing indicates a problem.
- Listen for Noises: Have a helper start and shift the car while you listen for unusual noises coming from the drive shaft area.
driveshaft-inspection|Mechanic Inspecting Driveshaft|A mechanic in a garage, lying under a car on a lift, inspects the driveshaft with a flashlight.
Gathering the Necessary Tools and Parts
Depending on the specific issue with your Mercedes drive shaft, you will need various tools and parts. These may include:
- Socket Set: To remove and tighten bolts holding the drive shaft components.
- Wrenches: For additional leverage when loosening or tightening nuts and bolts.
- Jack and Jack Stands: To safely lift and support the vehicle.
- Replacement U-Joints or Center Support Bearing: Purchase high-quality parts specifically designed for your Mercedes model.
- Grease Gun: To lubricate the new U-joints after installation.
Fixing a Mercedes Drive Shaft
Important Note: Drive shaft repairs can be dangerous and require specialized knowledge. If you are not confident in your mechanical abilities, it’s always recommended to consult a qualified mechanic.
For informational purposes only, here are some general steps involved in drive shaft repairs:
- Secure the Vehicle: Park your Mercedes on a level surface and engage the parking brake. Lift the vehicle using a jack and securely support it with jack stands.
- Disconnect the Drive Shaft: Remove the bolts connecting the drive shaft to the transmission and the differential.
- Remove the Faulty Component: Whether it’s a U-joint or the center support bearing, carefully remove the damaged part.
- Install the New Component: Install the new part following the manufacturer’s instructions. Ensure all bolts are properly torqued.
- Reconnect the Drive Shaft: Align and reconnect the drive shaft to the transmission and differential. Tighten all bolts securely.
- Lower the Vehicle: Carefully lower the vehicle using the jack.


