Is your Mercedes 300’s interior looking a little worse for wear? Rips, tears, and cracks in your leather or fabric upholstery are common issues, especially in older models. But don’t worry, fixing these blemishes might be easier than you think! This guide will take you through the steps of repairing your Mercedes 300’s seat upholstery, helping you restore your car’s interior to its former glory.
Common Causes of Seat Upholstery Damage
Before we dive into the repair process, it’s helpful to understand what causes upholstery damage in the first place. Here are some common culprits:
- Wear and Tear: Frequent use, friction from entering and exiting the vehicle, and even exposure to sunlight can take a toll on your seats over time.
- Sharp Objects: Keys, tools, or even pet claws can accidentally puncture or tear upholstery.
- Spills and Stains: Liquids like coffee, juice, or cleaning products can seep into the fabric and leave unsightly stains or even weaken the material.
- Improper Cleaning: Using harsh chemicals or abrasive cleaning tools can damage the upholstery fibers and lead to premature wear.
Identifying the Problem
Inspect your seats carefully to determine the extent of the damage. Are you dealing with minor scratches, small rips, or large tears? Is the damage limited to the fabric or leather, or does it extend to the seat padding or frame?
Gathering Your Tools and Materials
Having the right tools and materials on hand will make the repair process much smoother. Here’s what you’ll likely need:
- Cleaning Supplies: A gentle upholstery cleaner, microfiber cloths, and a soft-bristled brush
- Repair Kit: Choose a kit specific to your upholstery type (leather or fabric). These kits typically include adhesive, filler, color-matching pigments, and various applicators.
- Scissors: For trimming loose threads or cutting repair patches.
- Heat Gun or Hairdryer: (Optional) Useful for setting adhesives and shaping leather patches.
- Weights or Clamps: For holding repair patches in place while they dry.
Step-by-Step Repair Guide
The specific repair steps will vary depending on the type and extent of the damage.
For Minor Scratches and Scuffs:
- Clean the Area: Use a gentle upholstery cleaner and a microfiber cloth to remove any dirt or grime from the affected area.
- Apply Leather Conditioner (Leather Only): If you have leather seats, apply a leather conditioner to help moisturize the material and minimize the appearance of scratches.
- Use a Leather Repair Pen or Compound (Leather Only): For deeper scratches, consider using a leather repair pen or compound that matches the color of your upholstery. Apply it according to the manufacturer’s instructions.
For Small Tears and Holes:
- Clean the Area: Thoroughly clean the area around the tear using a gentle upholstery cleaner and a microfiber cloth.
- Trim Loose Threads: Carefully trim any loose threads or frayed edges around the tear using scissors.
- Apply Adhesive: Apply a thin layer of adhesive from your repair kit to the back of the tear and the surrounding area.
- Patch the Tear: If the tear is large, use a patch from your repair kit. Cut the patch to size, apply adhesive, and carefully align it over the tear.
- Apply Pressure: Use weights or clamps to hold the patch in place while the adhesive dries completely.
For Extensive Damage:
For severe damage, such as large tears, extensive wear, or damage to the seat padding or frame, it’s best to consult a professional upholstery shop specializing in Mercedes-Benz vehicles. They have the expertise and tools to handle complex repairs and ensure a high-quality result.
Frequently Asked Questions
Q: Can I use superglue to repair a tear in my car seat?
A: While superglue might seem like a quick fix, it’s not recommended for upholstery repairs. Superglue dries stiff and can crack or flake over time, especially with the constant movement and pressure car seats endure. It’s best to use a flexible adhesive designed specifically for upholstery repair.
Q: How can I prevent future upholstery damage?
A: Protecting your Mercedes 300’s upholstery can go a long way in preventing premature wear and tear. Consider using seat covers, especially if you frequently transport pets or cargo. Be mindful of sharp objects, and clean up spills promptly using a suitable upholstery cleaner.
Q: My Mercedes is having electrical issues! Could this be related to the seat upholstery problem?
A: While it’s unlikely that upholstery issues are directly related to electrical problems, it’s always wise to address any concerns with your vehicle. Consider using a reliable diagnostic tool like those offered by CARDIAGTECH to pinpoint and troubleshoot electrical faults in your Mercedes 300.
Conclusion
Repairing your Mercedes 300’s seat upholstery can be a rewarding DIY project, especially for minor damage. By following these guidelines and using the right tools and techniques, you can restore your car’s interior and preserve its timeless elegance. Remember, if you’re unsure about any step of the process or dealing with extensive damage, don’t hesitate to seek professional help.
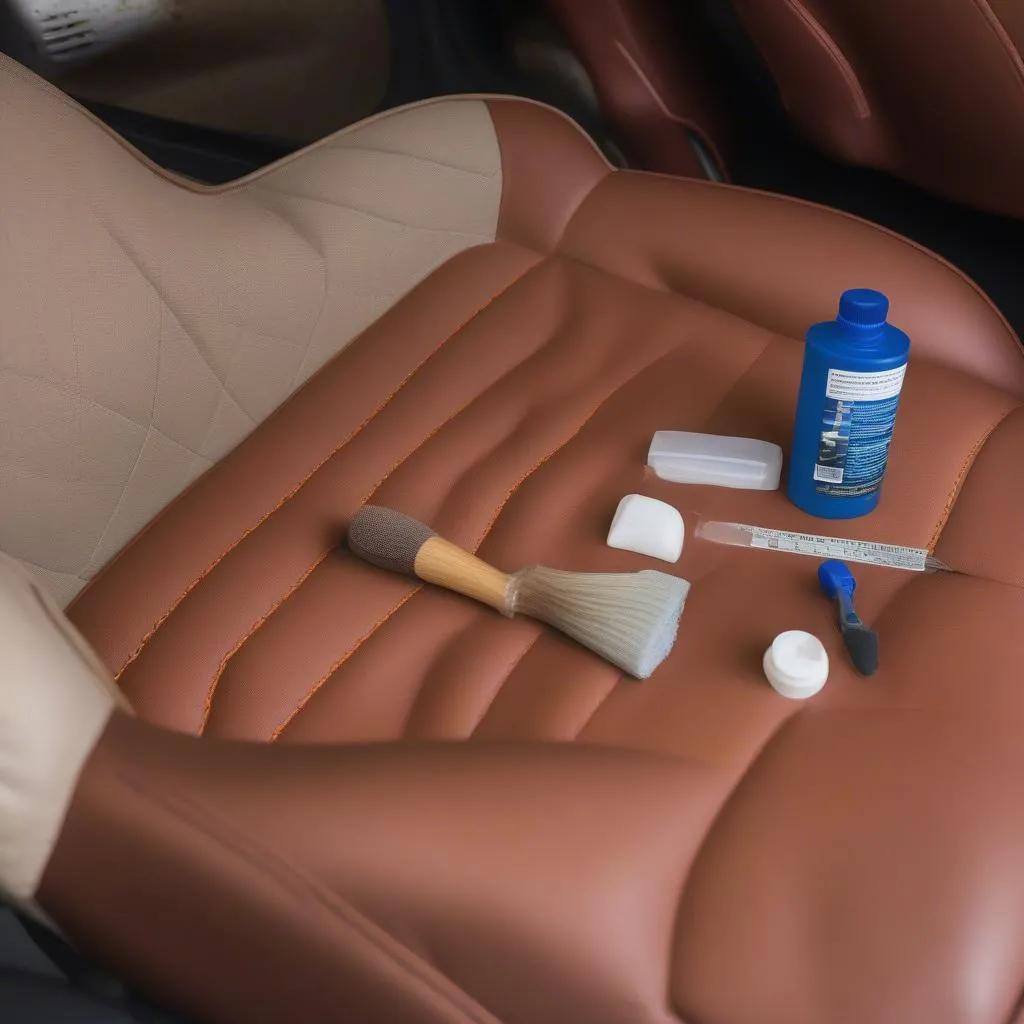 Mercedes Seat Upholstery Repair
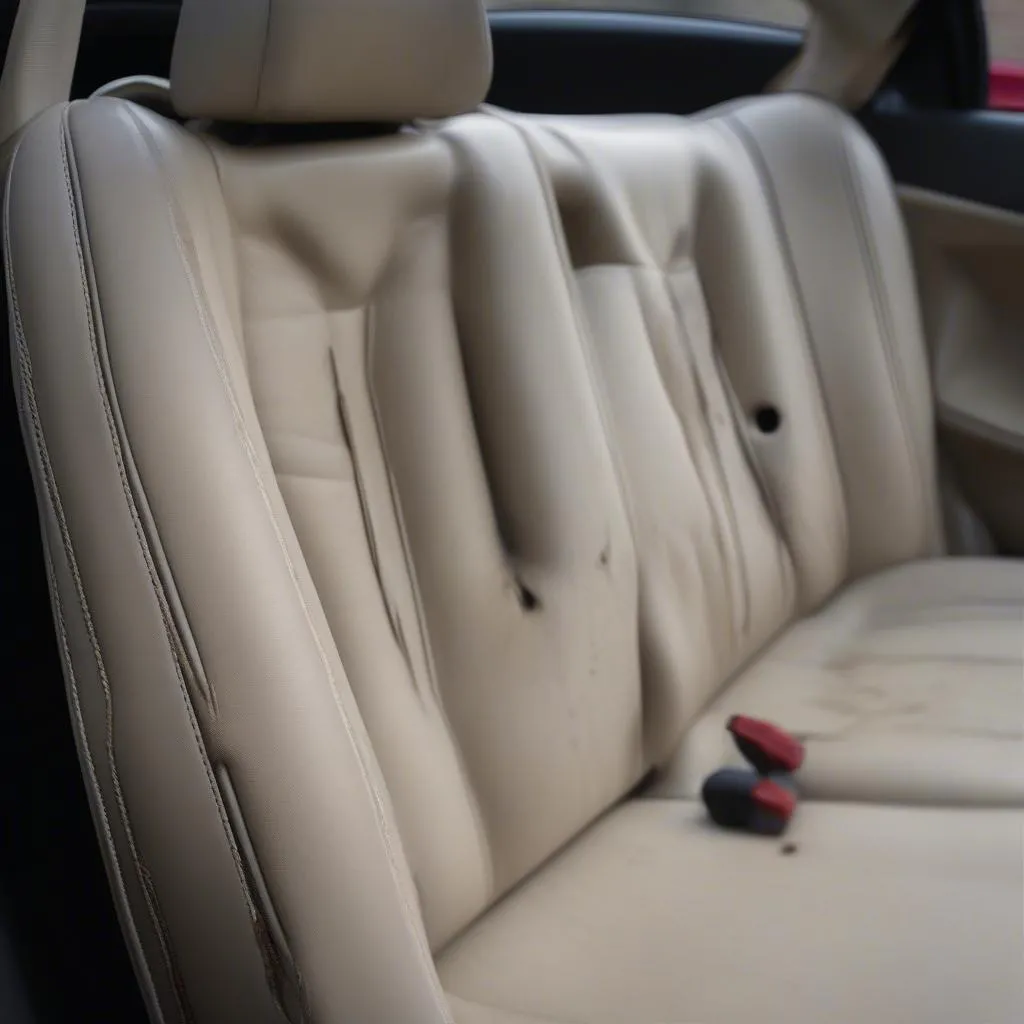 Car Seat with Torn Upholstery