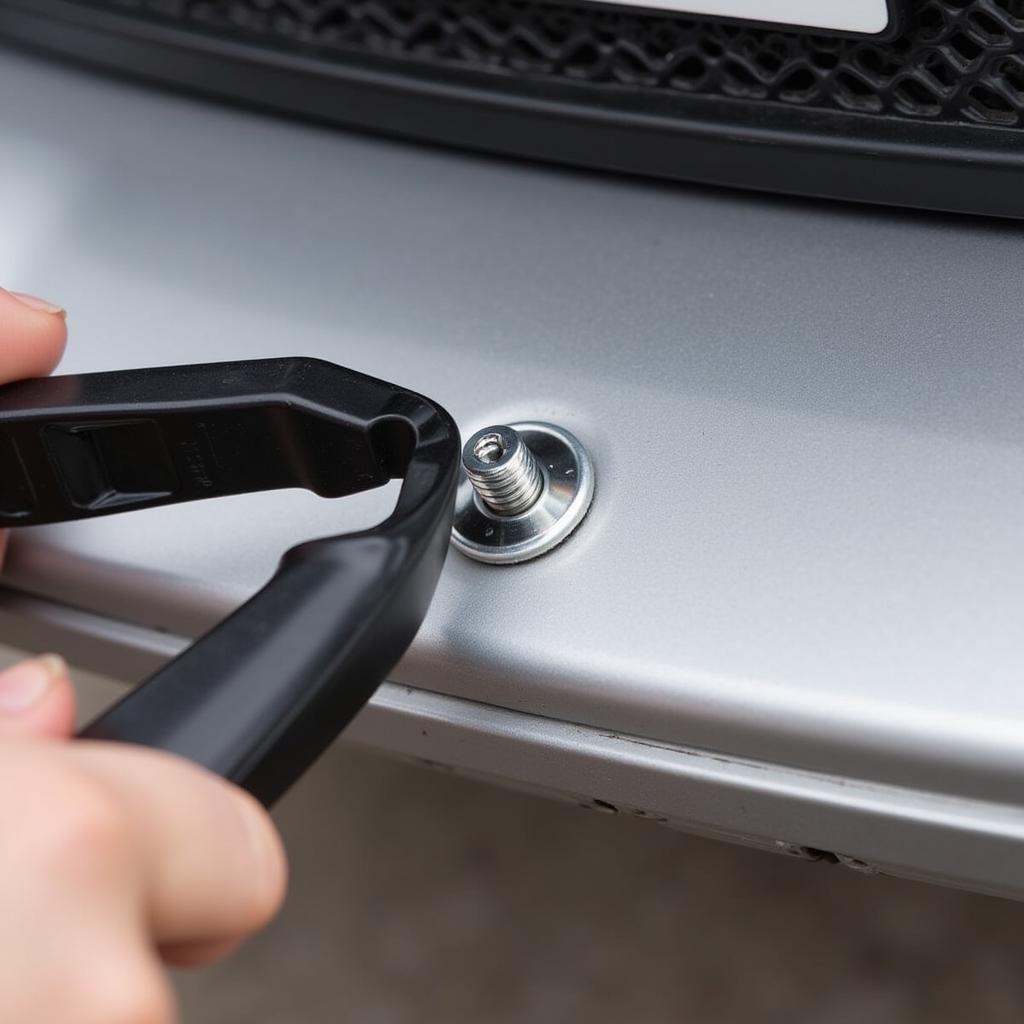
Removing anti-theft screws can be a frustrating experience, especially when you need to access vital car components. Whether you’re a seasoned mechanic or a DIY enthusiast, this guide will equip you with the knowledge and techniques to tackle these security fasteners effectively. You’ll learn about the various types of anti-theft screws commonly found in vehicles and discover the best tools and methods for their removal, even in challenging situations.
Understanding Anti-Theft Screws in Automobiles
Anti-theft screws, also known as security screws, are designed to deter unauthorized access to valuable parts. They feature unique head designs that prevent removal with standard screwdrivers. These specialized screws are often used to secure license plates, wheel trims, stereo systems, and other components susceptible to theft. Understanding their purpose and design is the first step to successfully removing them.
There are several common types of anti-theft screws used in vehicles, each requiring a specific tool or technique for removal. One-way screws, for example, can only be tightened but not loosened with a conventional screwdriver. Others have unique head designs like a pin in the center, requiring specialized removal tools. These design variations make unauthorized removal incredibly difficult.
 Removing One-Way Screws from a Car
Effective Methods for Removing Anti-Theft Screws
There are various methods for removing anti-theft screws, ranging from specialized tools to DIY techniques. Choosing the right approach depends on the specific type of screw you’re dealing with and the tools available to you.
Utilizing Specialized Removal Tools
The most straightforward approach is to use a dedicated anti-theft screw removal kit. These kits typically contain a variety of bits designed to match the unique head designs of security screws. They offer the advantage of being specifically engineered for the task, minimizing the risk of damaging the screw or surrounding components. You can usually find these kits at auto parts stores or online.
If you’re dealing with a specific type of anti-theft screw frequently, investing in a dedicated tool might be worthwhile. For example, a key removal tool is ideal for screws with a central pin, while a spanner bit set is effective for screws with unusual outer profiles.
DIY Techniques for Removing Security Screws
In situations where specialized tools are unavailable, several DIY methods can be employed. These techniques often require ingenuity and careful execution.
- Using a Damaged Screwdriver: Grinding down a standard screwdriver to create a tighter fit can sometimes be effective. However, this method requires caution and precision to avoid further damaging the screw.
- Creating an Impression with Epoxy: For screws with intricate head designs, creating a mold with epoxy putty and then using the hardened mold with a screwdriver can sometimes work. This method requires patience and careful preparation.
- Drilling Out the Screw: As a last resort, drilling out the screw is an option. This method should be approached with caution, as it can damage the surrounding material. It’s crucial to use the correct drill bit size and proceed slowly to minimize damage.
“Remember, patience and the right tools are key to successfully removing these security fasteners without causing any damage,” advises John Miller, a veteran automotive electrician with over 20 years of experience. “Always prioritize using the appropriate tool for the job, but in a pinch, some ingenuity can go a long way.”
Troubleshooting Difficult Anti-Theft Screws
Sometimes, even with the right tools and techniques, anti-theft screws can prove stubborn. In such cases, a few troubleshooting steps can help.
- Applying Penetrating Oil: Soaking the screw in penetrating oil can help loosen it, especially if it’s rusted or seized.
- Heating the Screw: Applying heat to the screw can expand it, making it easier to remove. However, exercise caution when using heat near sensitive components.
- Seeking Professional Assistance: If all else fails, seeking the help of a professional mechanic is always a good idea. They have the experience and tools to handle even the most challenging security screws.
 Troubleshooting Stuck Anti-Theft Screws
“Don’t be afraid to ask for help if you’re struggling,” adds Miller. “A professional can often save you time and frustration, especially if you’re dealing with a complex situation.” He also reminds us that understanding basic car warnings, like those related to the trailer brake system or brake low warning sensor, can be crucial for overall vehicle maintenance. For more information on such warnings, you can check out resources like the Trailer Brake System GMC Warning or the Brake Low Warning Sensor articles. You might even find useful information about the Service ESC warning and service parking brake light, or even on how to handle situations when you encounter a “warning output shorted no brakes” message. Sometimes, even a seemingly unrelated warning like the Seat Leon Oil Pressure Warning Light can offer clues about underlying electrical issues.
Conclusion
Removing anti-theft screws effectively requires a combination of the right tools, techniques, and a bit of patience. By understanding the different types of security screws and employing the appropriate methods, you can successfully tackle this task. Remember to prioritize using specialized removal tools, but don’t hesitate to explore DIY solutions if needed. If you encounter persistent difficulties, seeking professional assistance is always a wise choice. Knowing how to get off anti-theft screws empowers you to maintain and repair your vehicle efficiently and effectively.

